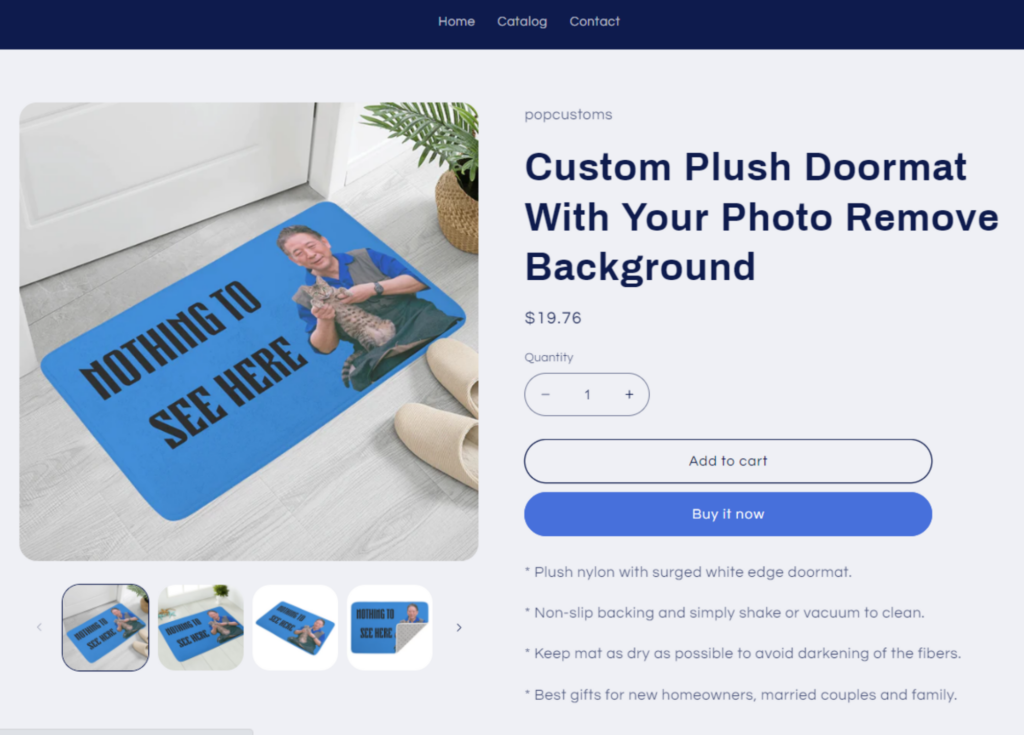
- You’ll have to plan the design first to decide which parts are open for personalization by customers. In this tutorial, the grandpa can be replaced by the customer’s photo.
- Click ‘Upload & Remove Background‘ to upload images and save your designs after you complete them. Go to check the design and click ‘Create a Design-Plus’ to start the configuration.

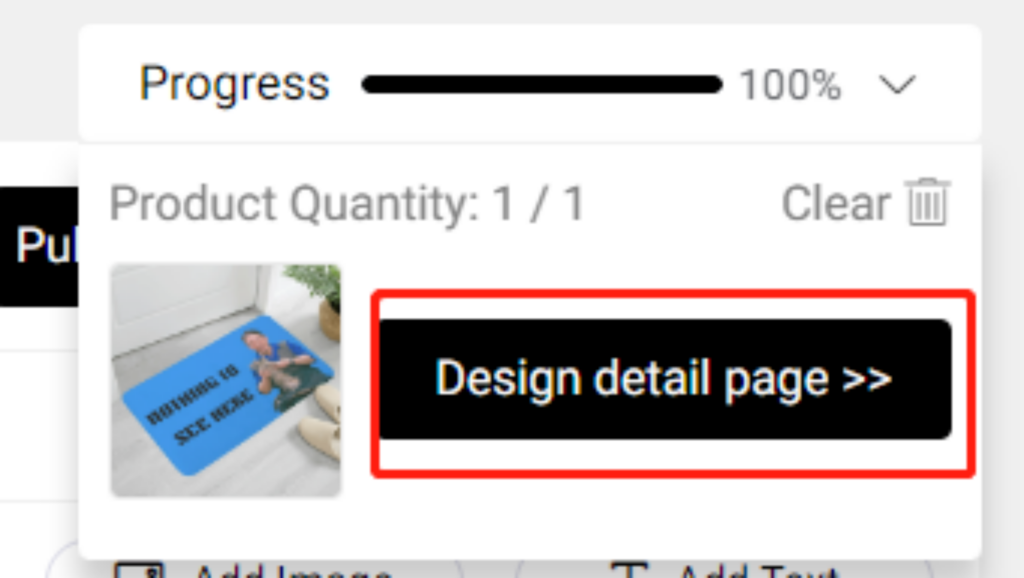
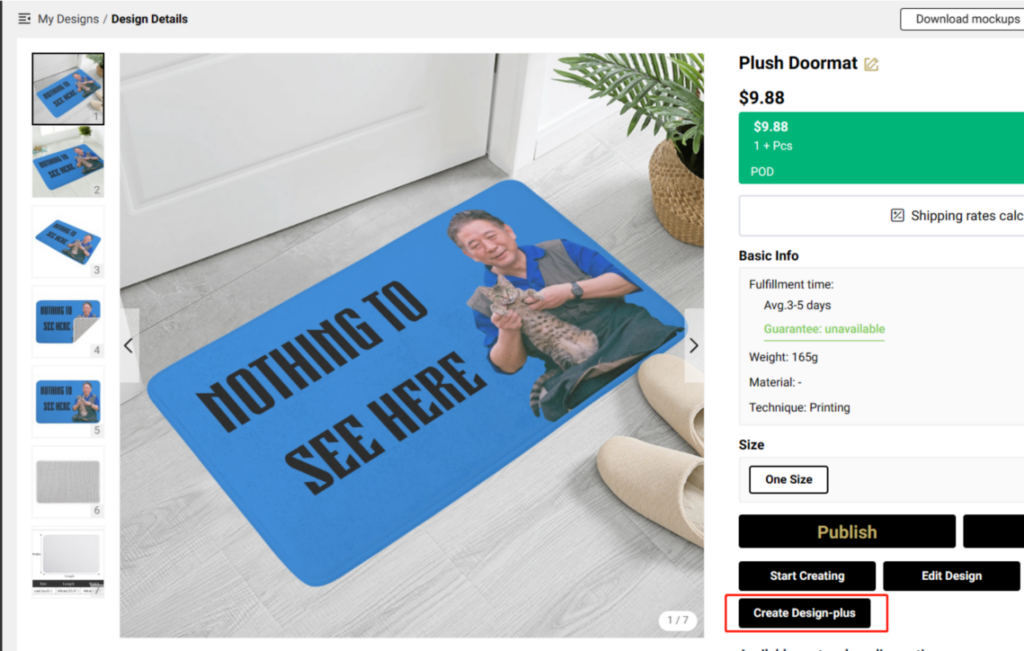
- Go to the Design detail page and click ‘Create Design-Plus‘ to start the configuration.
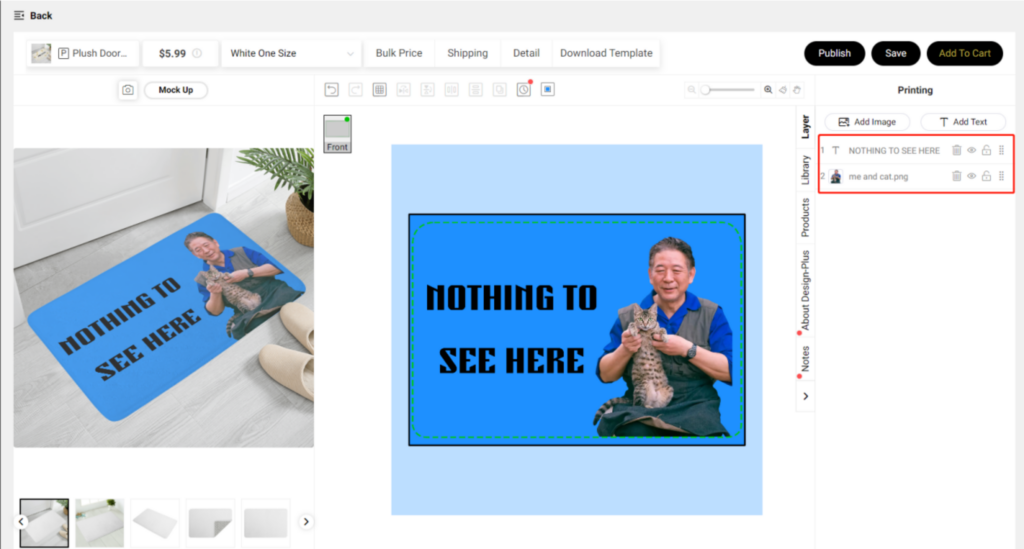
- Drag and drop images from the left to the right to configure customizable areas. Images and text that you drag and place on the right will be replaced by the images and text uploaded by your customers.
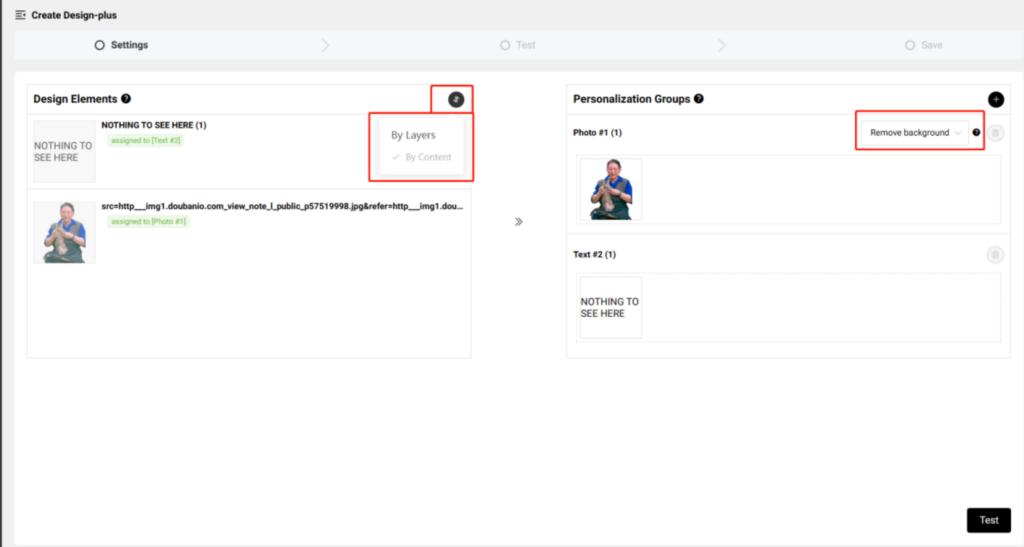
*On the left, you can choose to sort your design elements By Layer or By Content.
*Choose Remove background to make sure the background of the image uploaded by your customers will be automatically removed to fit the design area perfectly.
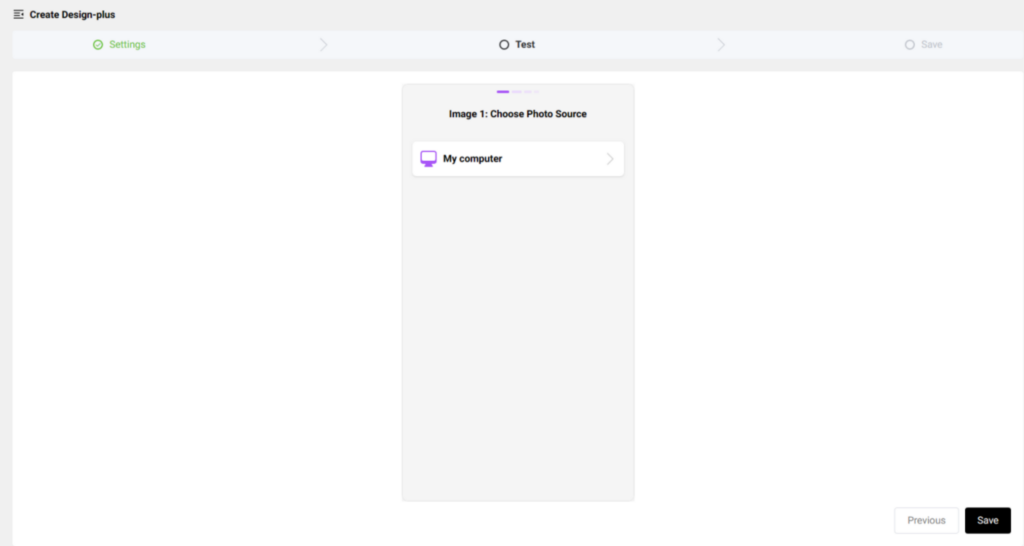
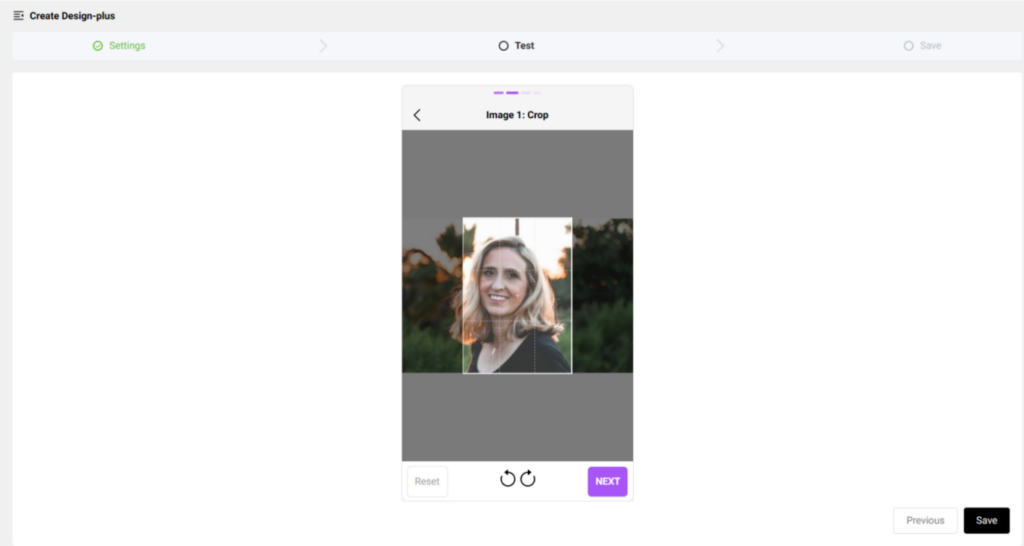
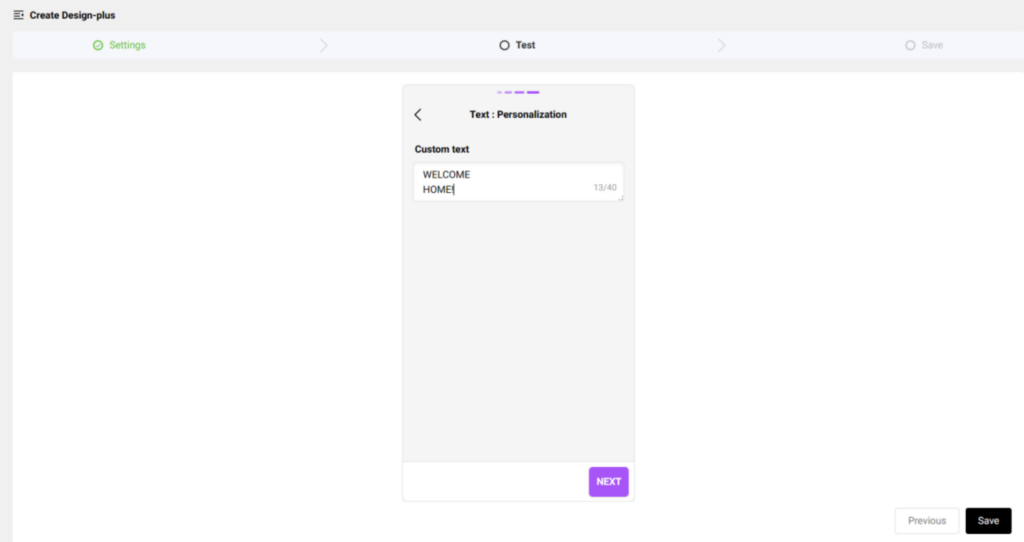
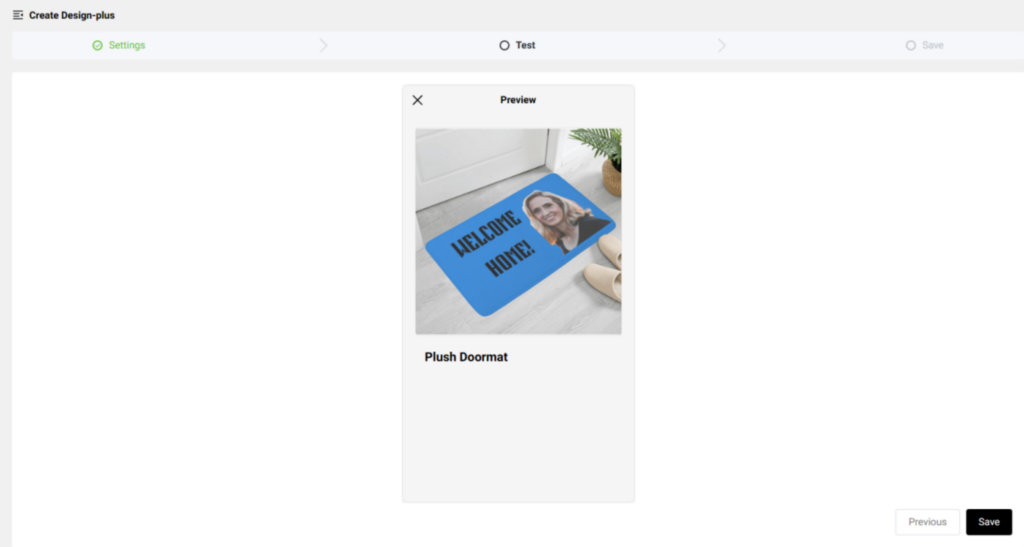
- Uploading photos to test if the configuration result meets your need. Save it if you are satisfied with the test result.
- Publish it to your Shopify/ WooCommerce/ POPCOMMERCE store and set it active for your customers to personalize.