First of all, you will have to plan the design to decide which parts are open for personalization by customers. There are two design styles recommended: ①Replace Heads ②Replace Objects
How to Configure ‘Replace Heads’ Products and Sync to Your Etsy Store?
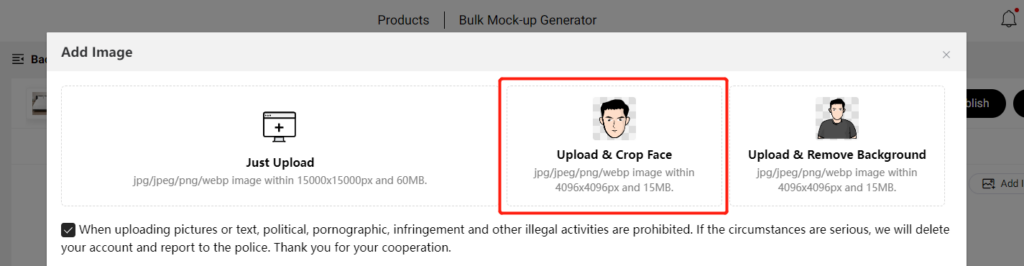
1 – Select a product you want to design, click ‘Upload & Crop Face‘ to upload images and save your design after you complete it.

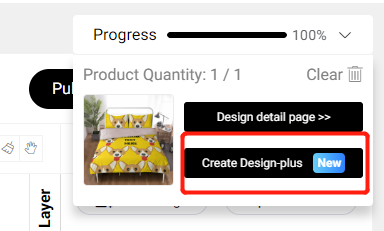
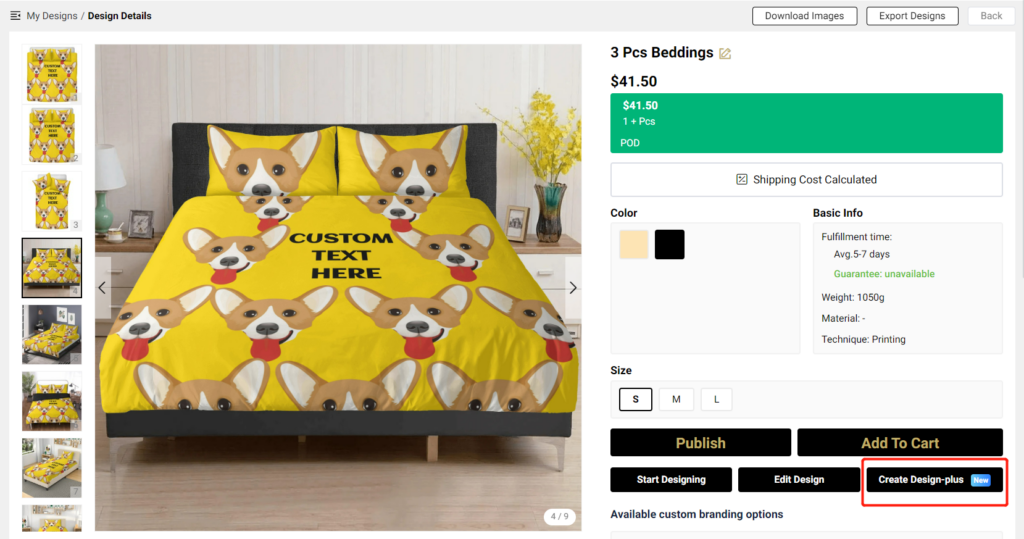
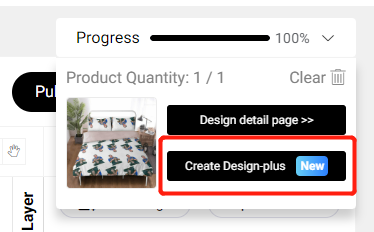
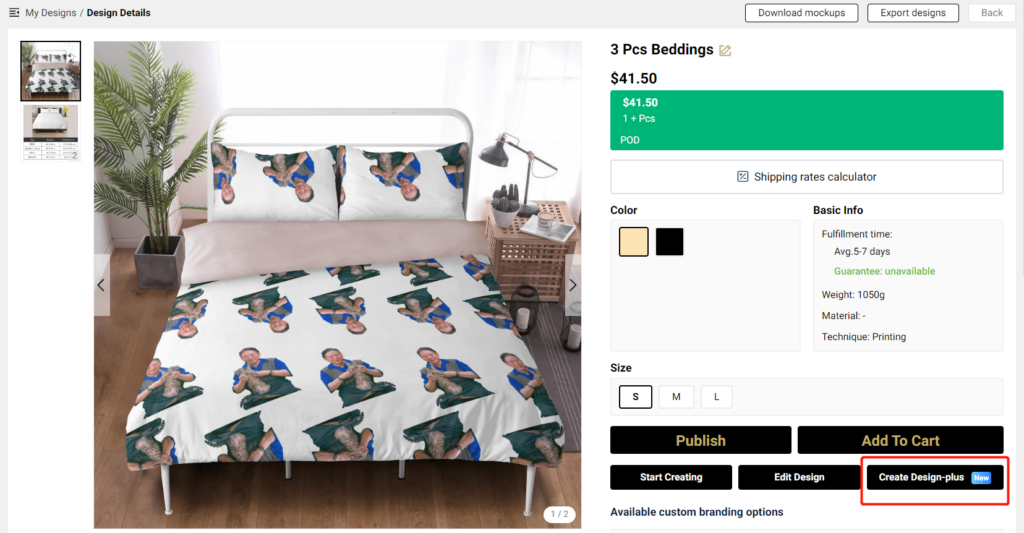
2 – Click ‘Create Design-plus‘ on the design page, or go to ‘My designs‘ – ‘Design details‘ page, and click ‘Create Design-plus‘ to start configuration.
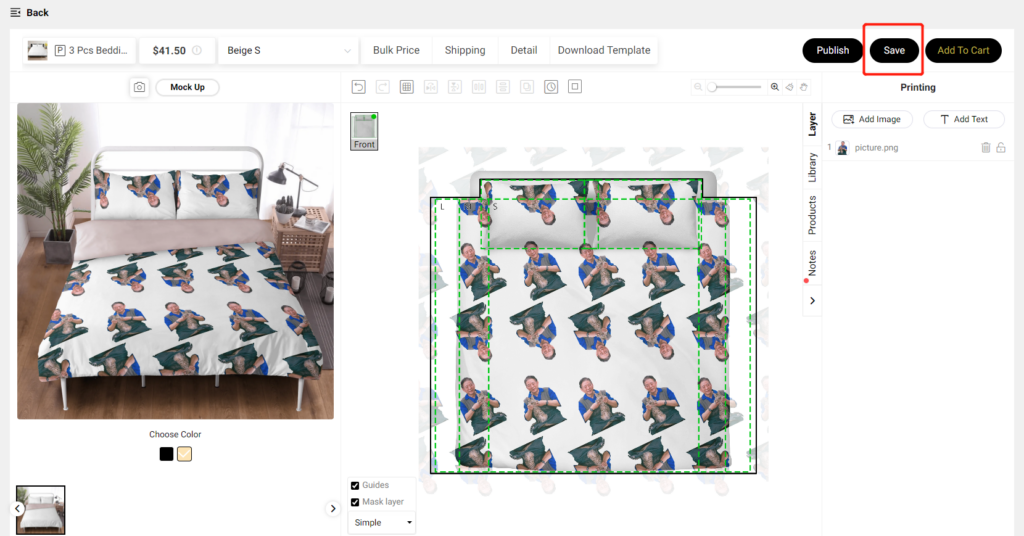
3 – Drag and drop images or texts from the left to the right to configure personalization areas. Dragging them to the right and placing them on the same row means that they will be replaced by the same image uploaded by your customers.
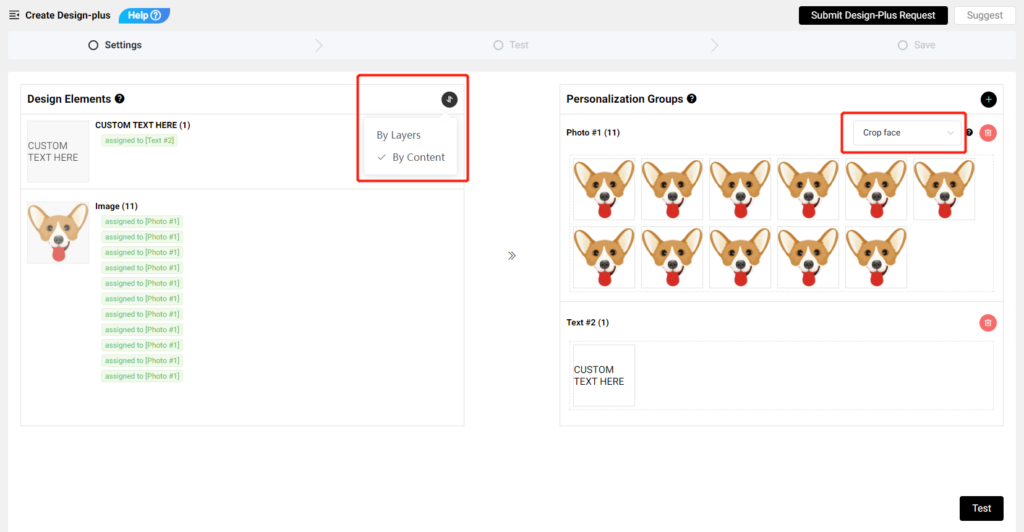
* On the left, you can choose to sort your design elements By Layer or By Content.
* Choose ‘Crop face’ to make sure the image uploaded by your customers will be automatically cropped to fit the design area perfectly.
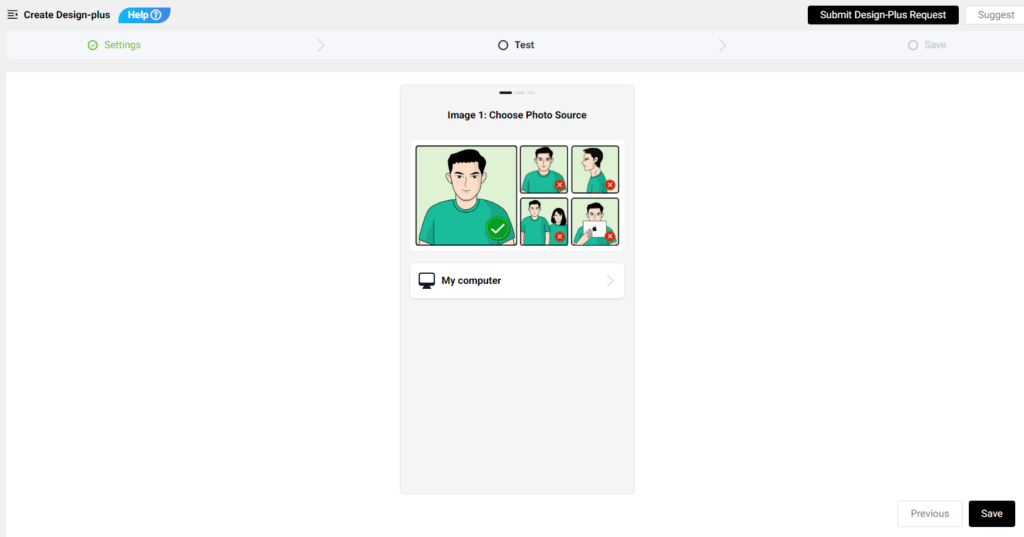
4 – Upload a picture to test if the configuration result meets your need. Save it if you are satisfied with the test result.
5 – Publish it to your Etsy store, turn on the ‘Personalization’ button, and set it active for your customers to personalize.
How to Configure ‘Replace Object‘ Products and Sync to Your Etsy Store?
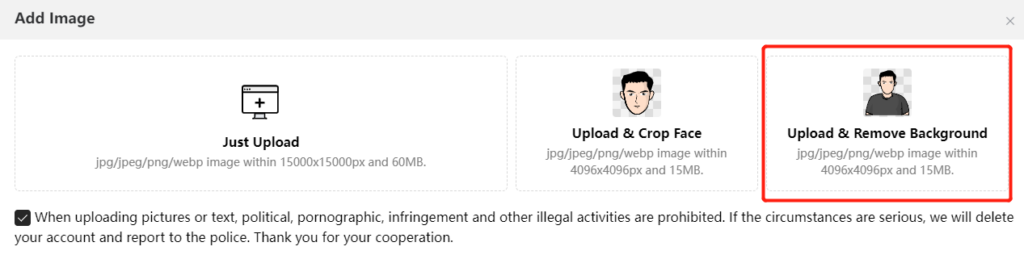
1 – Select a product you want to design, click ‘Upload & Remove Background‘ to upload images and save your design after you complete it.
2 – Click ‘Create Design-plus‘ on the design page, or go to ‘My designs‘ – ‘Design details‘ page, and click ‘Create Design-plus‘ to start configuration.
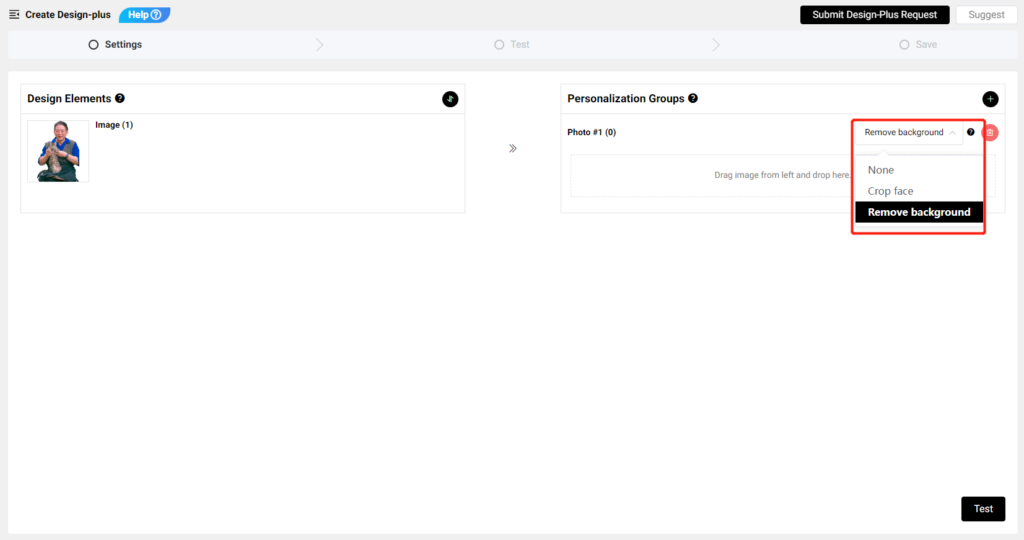
3 – Drag and drop images or texts from the left to the right to configure personalization areas. Dragging them to the right and placing them on the same row means that they will be replaced by the same image uploaded by your customers.
* On the left, you can choose to sort your design elements By Layer or By Content.
* Choose ‘Remove background’ to make sure the background of the image uploaded by your customers will be automatically removed to fit the design area perfectly.
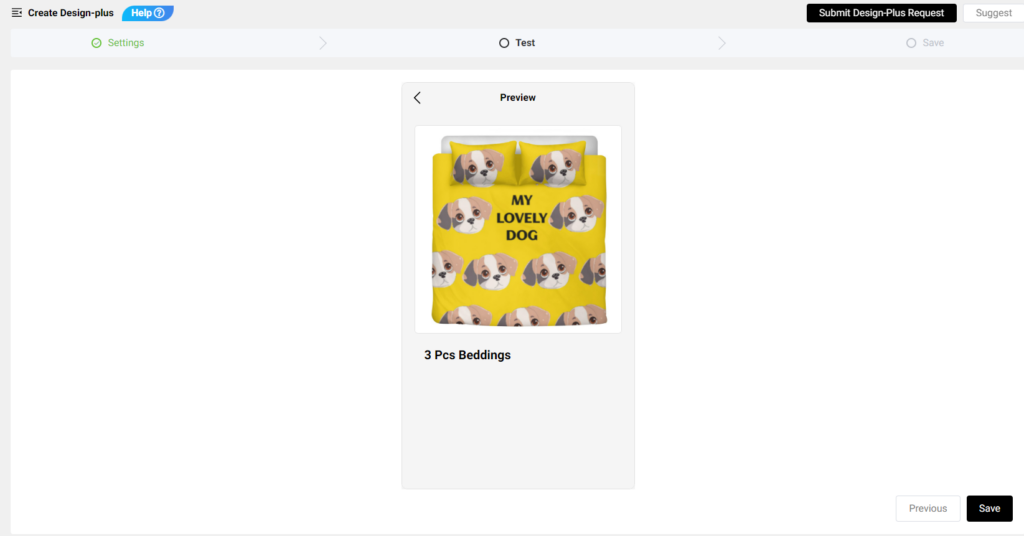
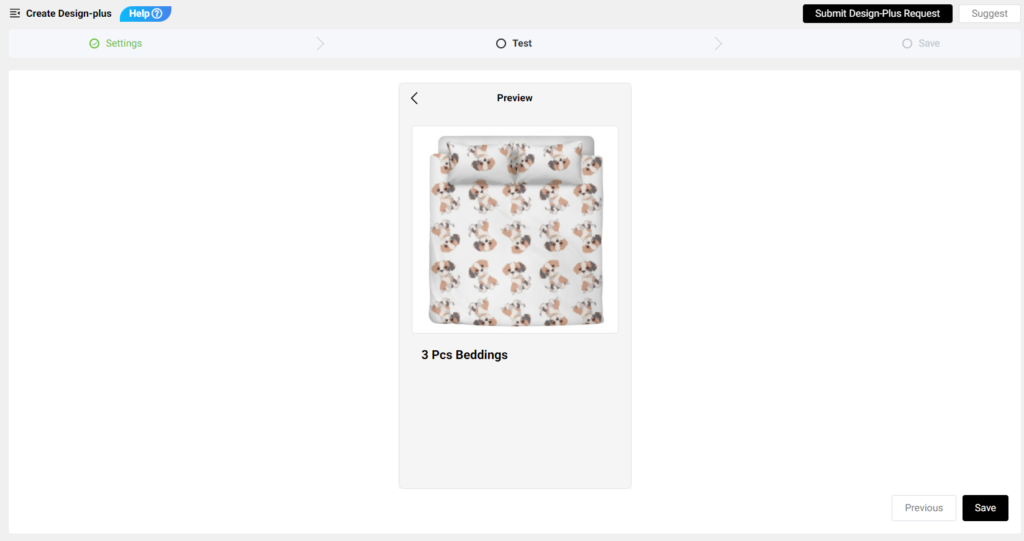
4 – Upload a photo to test if the configuration result meets your need. Save it if you are satisfied with the test result.
5 – Publish it to your Etsy store, turn on the ‘Personalization’ button, and set it active for your customers to personalize.
How To Order?
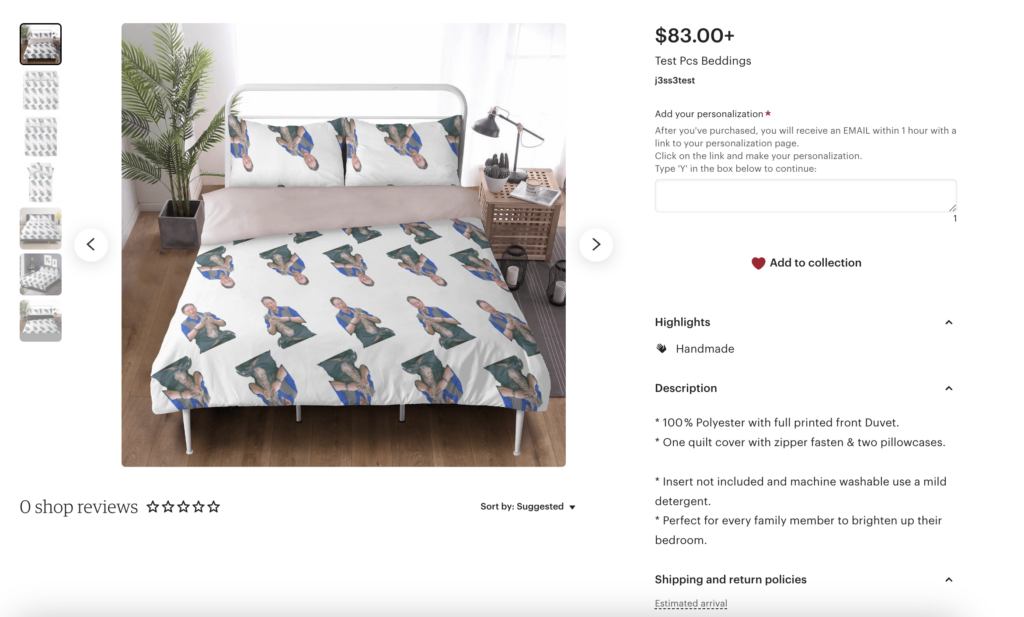
Your customers need to choose the attributes (size, color, etc.) and quantity they want to buy, type ‘Y’ in the personalization box, add to cart and checkout.
After they’ve purchased, the order will be synced to your POPCUSTOMS account. And they will receive an email within 1 hour with a link to the personalization page. They need to click on the link to personalize.
If they are satisfied with the preview, after they saved it, the design of the order on your POPCUSTOMS account will be replaced to their personalization design. At the same time, you will receive an email reminding you to pay for the order, after which we will start production and ship the product to your customers as soon as possible!