Category Archives: 隐藏的

Q: What should I do when I done with the store’s basic setting?

Just go to our site’s catalog to choose the product and put your design on it, sync designs to your POPCOMMERCE Store that you just created. Start your online business right now to make extra profit!

You create a store, publish products to your store to sell and POPCUSTOMS will handle the rest of all. We’ll produce and ship your orders to your customer directly. It will not take too much of your time and energy to run your e-commerce store with reliable support from a seasoned supplier. All you should do is create designs, publish them to your store and promote your business wherever you can. That’s all!

What is POPCUSTOMS POPCOMMERCE Store?

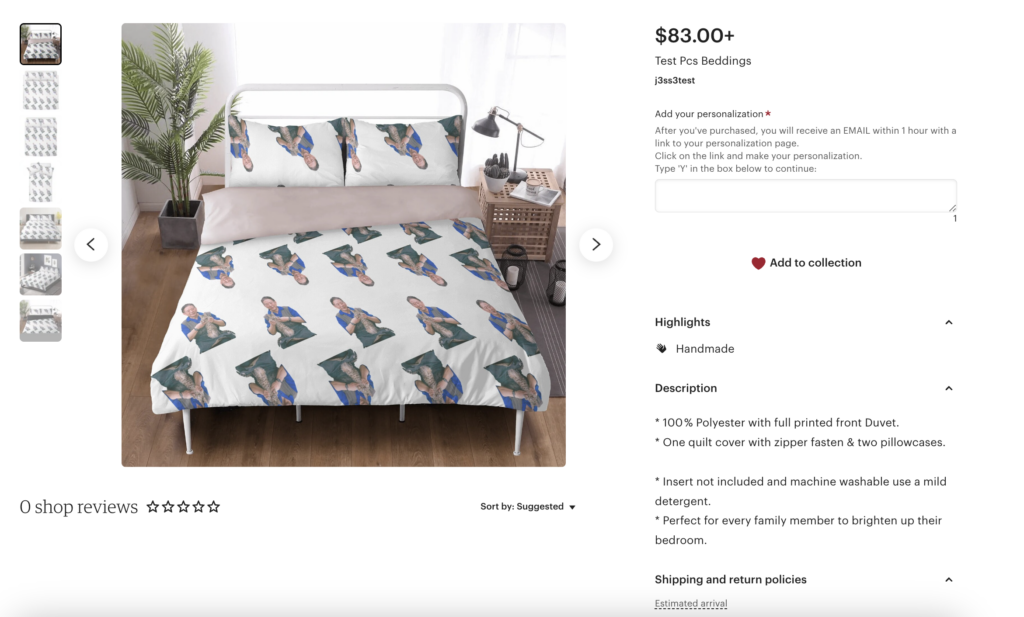
POPCUSTOMS POPCOMMERCE Store is an all-in-one solution provided by POPCUSTOMS that allows you to create an online store. You can create products with just a few clicks and start selling with no upfront cost.

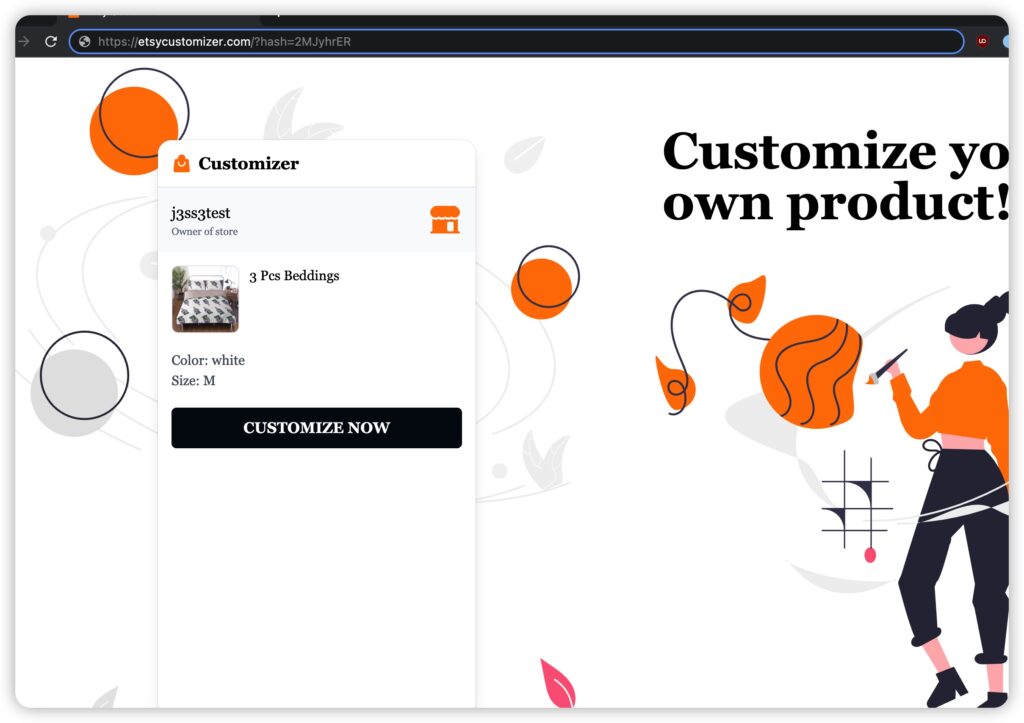
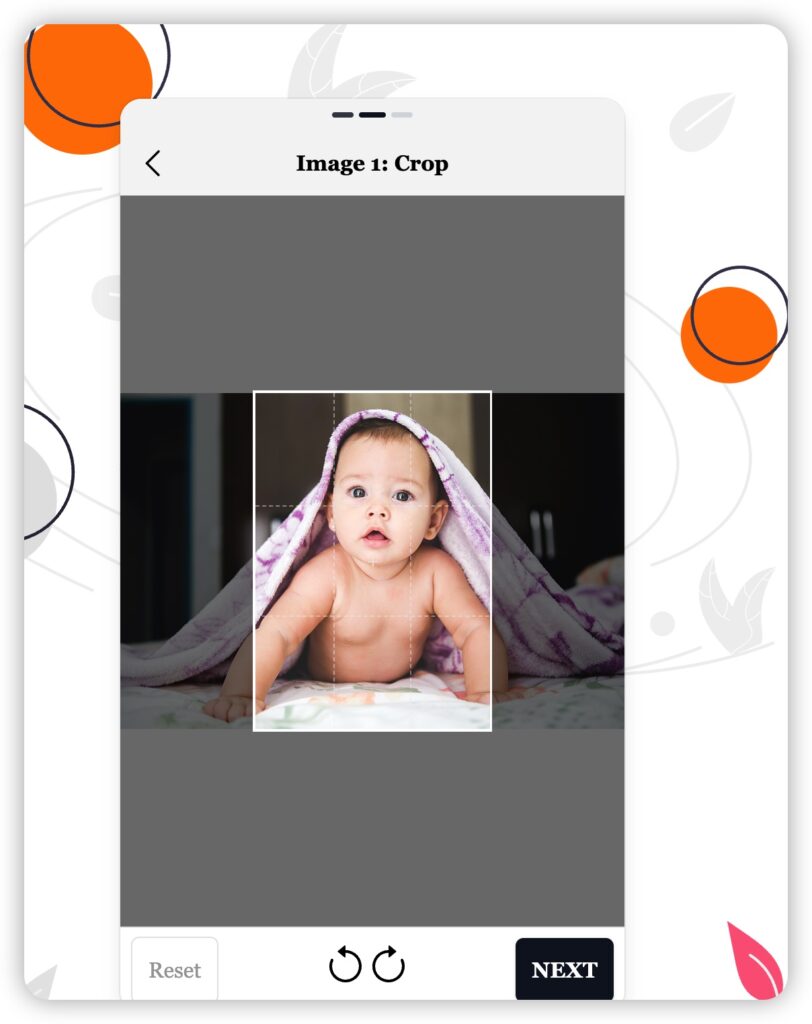
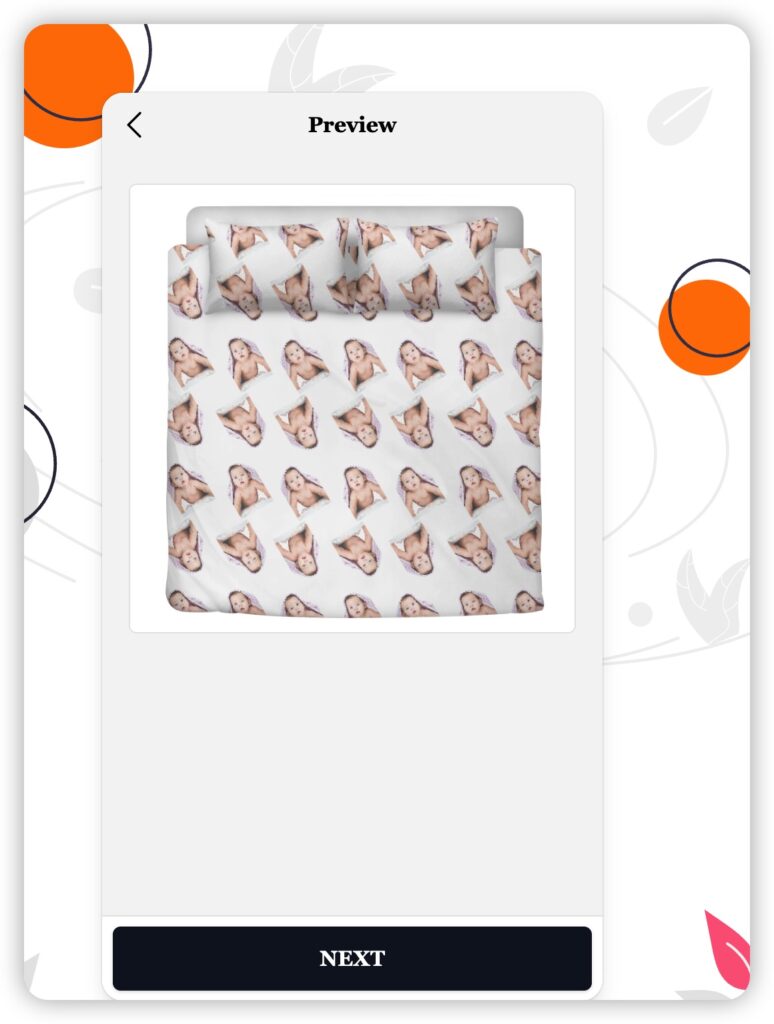
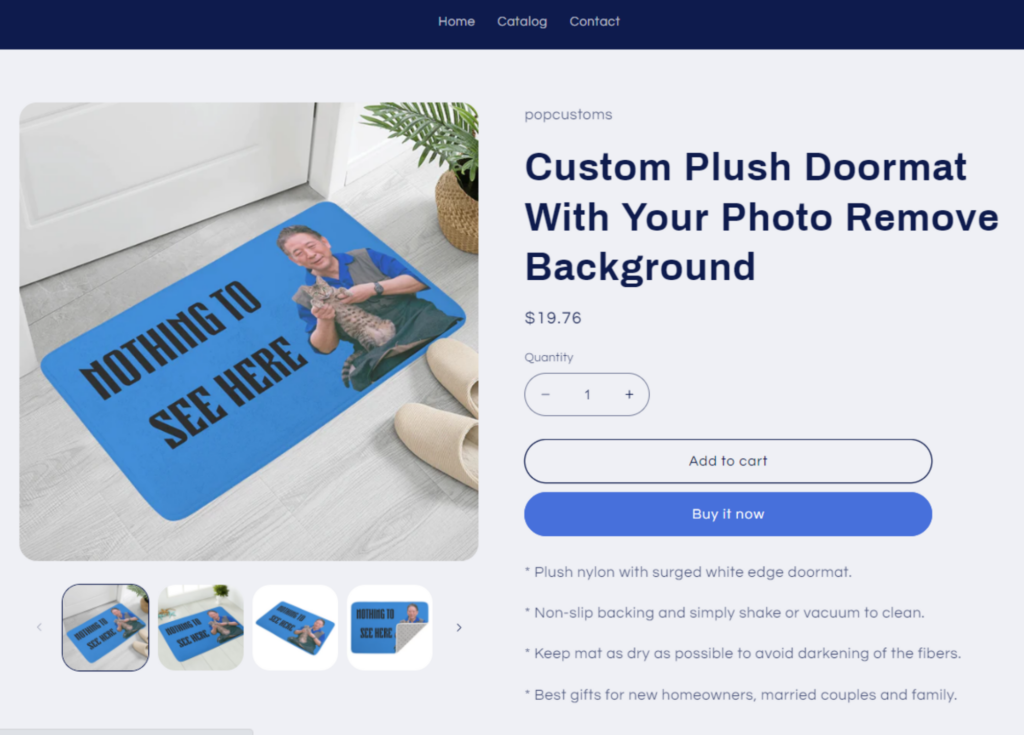
Generate an unique product page with a URL (under popcustoms.me domain) that can be shared with friends, family, or on social media, allowing anyone to purchase your products.

With POPCUSTOMS POPCOMMERCE Store, customers can purchase products from your store, and the payment is sent directly to POPCUSTOMS. POPCUSTOMS will take care of payment processing, printing, shipping.

Sales tax will be automatically added to the order at checkout as POPCUSTOMS manages the order payment process.

With POPCOMMERCE Store, you won’t be charged for any upfront cost, which sets it apart from our other sales channel integration.

What is my store URL going to look like?

Your store URL will contain your store name ([store-name].POPCUSTOMS.me), so it has to be unique. For example, if your store name is “perfectto”, then your store URL will be like: perfectto.popcustoms.me

You can always change your store name later if needed. However, note that the store URL will not be changed by that.

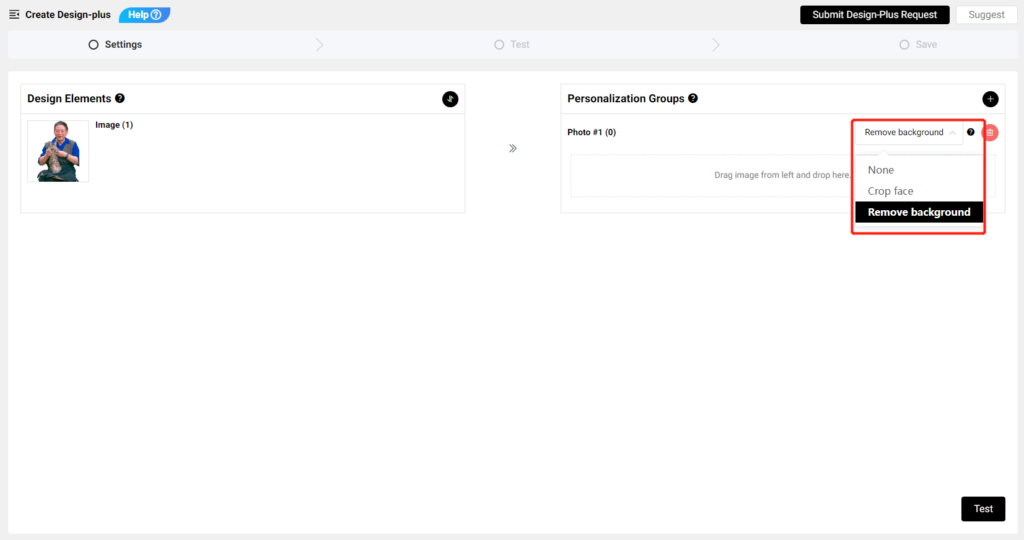
Can I customize the look of my POPCOMMERCE Store?

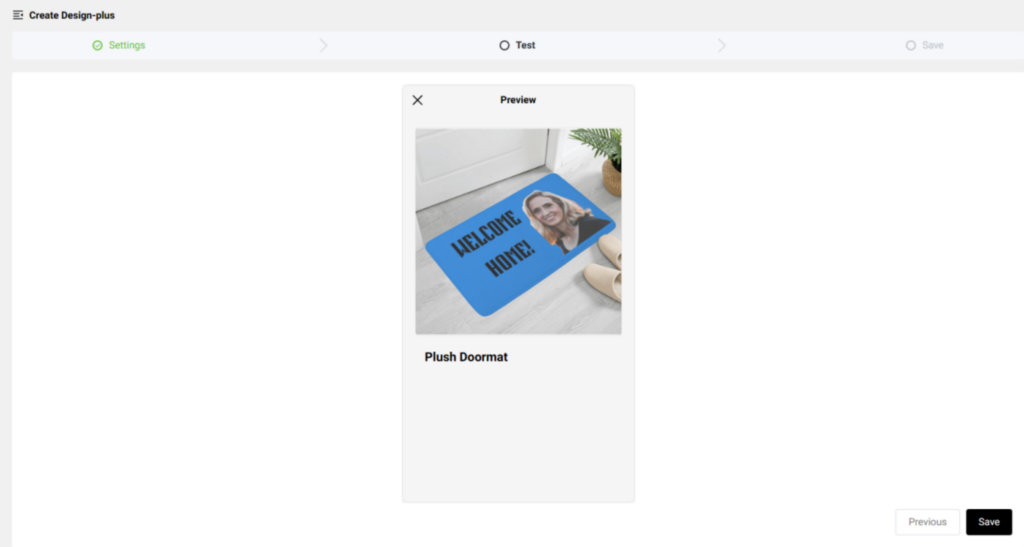
Yes, you can customize the look of your POPCOMMERCE Store by choosing a store theme, adding links to your social media accounts, and selecting a theme for your store.

Tip

Take a look at our preview store by visiting this link: demo.popcustoms.me

There have Something Important you need to note before starting POPCOMMERCE SERVICE:

  1. One account is limited to ONE POPCOMMERCE Store
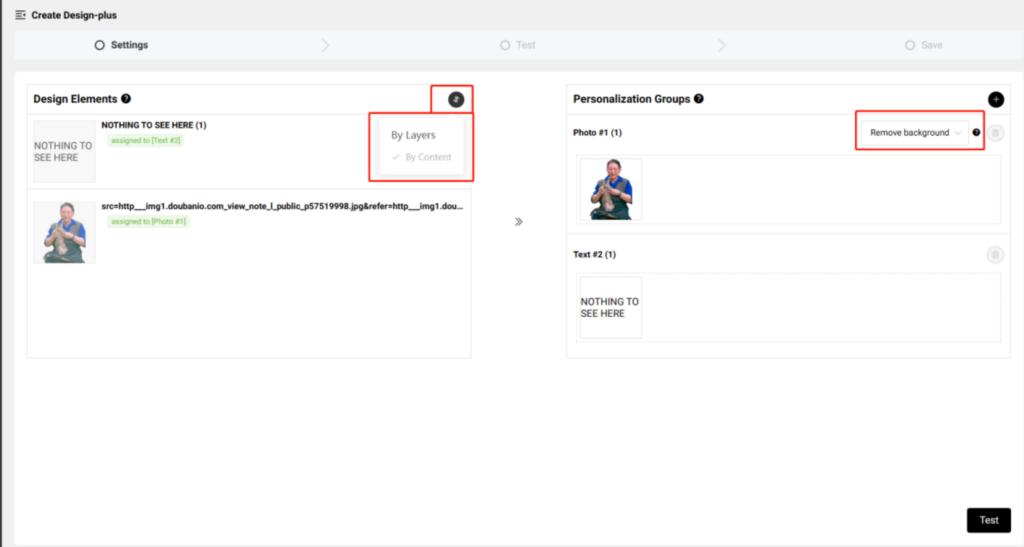
  2. Only 50 designs can be synchronized to your POPCOMMERCE Store.
  3. Inactivity Criteria: We will automatically close stores that have not synchronized finished products for 60 days and have not generated orders within 180 days.

It is totally free for you to use our POPCOMMERCE service. However, when your store has an order, we will charge 8% of Your Profit as commissions, that is “Your Profit * 8%”.

Your Profit = Total amount (paid by your customers to POPCUSTOMS) – Product’s cost – Shipping cost – Payment Processing Fee

Note: Payment processing fee ranges from 3.3% to 3.9%+0.3$

POPCUSTOMS Sitemap

Etsy Design-Plus Tutorial

The design and setup procedures at popcustoms are not different than shopify/woocommerce. You’ll be more concerned about how customers can customize and place orders.

The screenshot below is how design-plus looks like in your Etsy storefront once published. As you can see, the Etsy personalization setting is nabled.

How To Order And Customize?

Your customers need to choose the attributes (size, color, etc.) and quantity they want to buy, type ‘Y’ in the personalization box, add to cart and checkout.

After they’ve purchased, the order will be synced to your POPCUSTOMS account. And they will receive an email within 1 hour with a link to the personalization page. They need to click on the link to personalize.

personalization page
cropping image
preview
confirm

If they are satisfied with the preview, after they confirm, the design of the order on your POPCUSTOMS account will be replaced to their personalization design. At the same time, you will receive an email reminding you to pay for the order, after which we will start production and ship the product to your customers as soon as possible!

How to Design and Setup Design-Plus

First of all, you will have to plan the design to decide which parts are open for personalization by customers. There are two design styles recommended: ①Replace Heads ②Replace Objects

How to Configure ‘Replace Heads’ Products and Sync to Your Etsy Store?

  1. Select a product you want to design, click ‘Upload & Crop Face‘ to upload images and save your design after you complete it.
  • Click ‘Create Design-plus‘ on the design page, or go to ‘My designs‘ – ‘Design details‘ page, and click ‘Create Design-plus‘ to start configuration.
  • Drag and drop images or texts from the left to the right to configure personalization areas. Dragging them to the right and placing them on the same row means that they will be replaced by the same image uploaded by your customers.

* On the left, you can choose to sort your design elements By Layer or By Content.

* Choose ‘Crop face’ to make sure the image uploaded by your customers will be automatically cropped to fit the design area perfectly.

  • Upload a picture to test if the configuration result meets your need. Save it if you are satisfied with the test result.
  • Publish it to your Etsy store, turn on the ‘Personalization’ button, and set it active for your customers to personalize.

How to Configure Replace ObjectProducts and Sync to Your Etsy Store?

  1. Select a product you want to design, click ‘Upload & Remove Background‘ to upload images and save your design after you complete it.
  • Click ‘Create Design-plus‘ on the design page, or go to ‘My designs‘ – ‘Design details‘ page, and click ‘Create Design-plus‘ to start configuration.
  • Drag and drop images or texts from the left to the right to configure personalization areas. Dragging them to the right and placing them on the same row means that they will be replaced by the same image uploaded by your customers.

* On the left, you can choose to sort your design elements By Layer or By Content.

* Choose ‘Remove background’ to make sure the background of the image uploaded by your customers will be automatically removed to fit the design area perfectly.

  • Upload a photo to test if the configuration result meets your need. Save it if you are satisfied with the test result.
  • Publish it to your Etsy store, turn on the ‘Personalization’ button, and set it active for your customers to personalize.

New Design-plus – Style 1: Replace Heads

  1. You’ll have to plan the design first to decide which parts are open for personalization by customers. In this tutorial, the dog face can be replaced by the customer’s photo.
  2. Click ‘Upload & Crop Face‘ to upload images and save your designs after you complete them. The “Crop Face” feature will cut out the face from the picture you uploaded.
  • Go to the Design detail page and click ‘Create Design-Plus‘ to start the configuration.
  • Drag and drop images from the left to the right to configure customizable areas. Dragging them to the right and placing them on the same row means that in time they will be replaced by the same image uploaded by your customers.

*On the left, you can choose to sort your design elements By Layer or By Content.

*Choose Crop face to make sure the image uploaded by your customers will automatically cut out the face to fit the design area perfectly.

  • Uploading photos to test if the configuration result meets your need. Save it if you are satisfied with the test result.
  • Publish it to your Shopify/ WooCommerce/ POPCOMMERCE store and set it active for your customers to personalize.

New Design-plus – Style 2: Replace Object

  1. You’ll have to plan the design first to decide which parts are open for personalization by customers. In this tutorial, the grandpa can be replaced by the customer’s photo.
  2. Click ‘Upload & Remove Background‘ to upload images and save your designs after you complete them. Go to check the design and click ‘Create a Design-Plus’ to start the configuration.
  • Go to the Design detail page and click ‘Create Design-Plus‘ to start the configuration.
  • Drag and drop images from the left to the right to configure customizable areas. Images and text that you drag and place on the right will be replaced by the images and text uploaded by your customers.

*On the left, you can choose to sort your design elements By Layer or By Content.

*Choose Remove background to make sure the background of the image uploaded by your customers will be automatically removed to fit the design area perfectly.

  • Uploading photos to test if the configuration result meets your need. Save it if you are satisfied with the test result.
  • Publish it to your Shopify/ WooCommerce/ POPCOMMERCE store and set it active for your customers to personalize.

Q: What is Coupon?

Generally, coupons is a piece of paper that can be used to get something without paying for it, or at a reduced price. Our coupons can be used to buy products on POPCUSTOMS at a less price or to get a free sample.