Category Archives: Features
3D Design Maker Tutorial
Step 1: PICK
Log in to popcustoms.com, there are more than 200 products in our catalog for you to customize. Choose the most suitable product for your business.
Step 2: CUSTOMIZE
We have two ways to display product mockup. Choose “3D Display”, click “Add Image” to easily upload your design from your computer, or choose one image from existing image library.
①Every time you upload an image to design any side of the product, you can put the mouse on the product, hold down the left button of the mouse, and drag the product to see the corresponding effect, the side view, top view, back view, and bottom view.
②By moving the mouse scroll wheel forward, you can zoom in the effect picture to see more carefully, and by moving backwards, you can zoom out the picture.
③Click on the side of the product you want to design next, and click “Add Text”, you can add any text, and adjust the text size, font, transparency, etc.
④The design widgets will help you complete the design easier, more convenient and faster.
⑤You also can click the color options to switch between black white and preview your product from different angles.
Step 3: PUBLISH
After ensuring that the look and feel of the product mockup match your imagination, click “Save” to easily add to your online store for sale or click “Add To Cart” to purchase.
Bulk Design Tutorial
If you want to design several products at once, our bulk design feature will help you make it easily and quickly.
Please follow the steps below,
Step 1: Sign up & log in
Step 2: Choose products & upload images
Step 3: Adjust and save designs
Step 1: Sign up & Log in
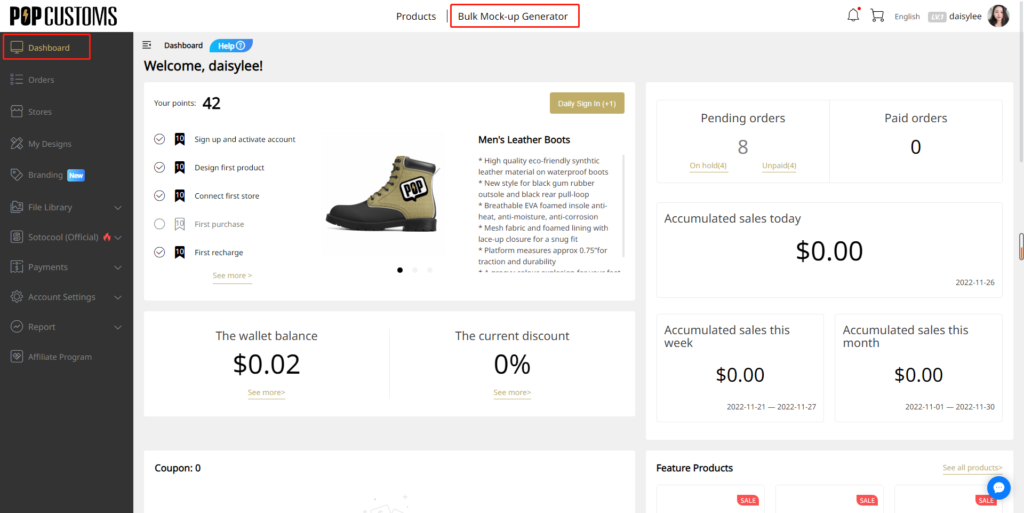
You should sign up for a free account on our website, and go to your Dashboard>Bulk Mock-up Generator.
Step 2: Choose products & upload images
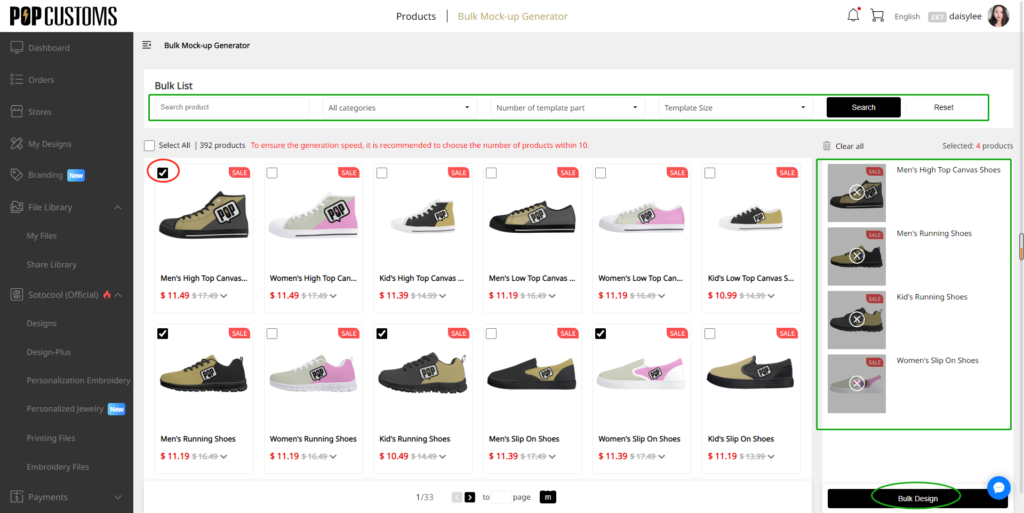
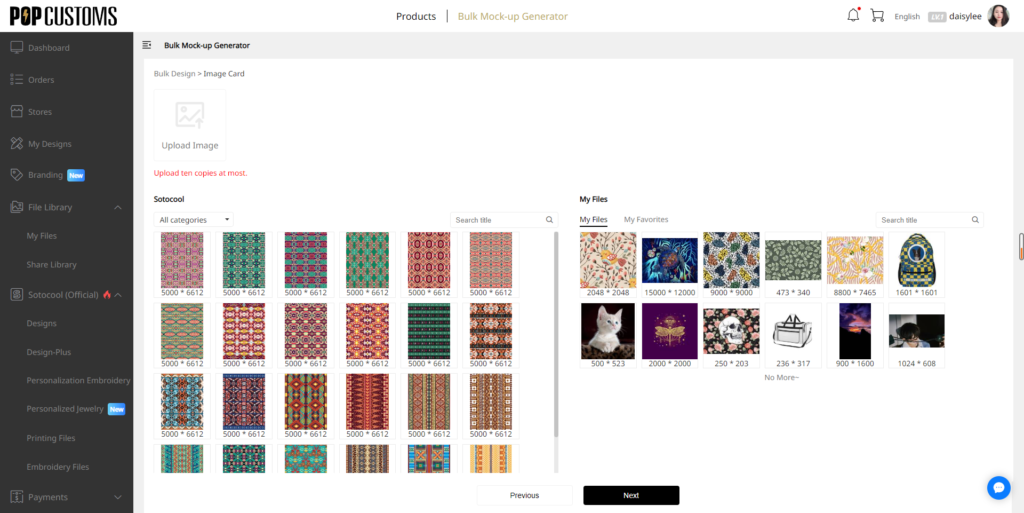
Choose products that you want to design, you can select up to 10 at once. Then click the Bulk Design button to upload your own images or select images from our Sotocool library. You are allowed to upload 10 images at most.
Step 3: Adjust and save designs
Save the design if you are satisfied with the design result. However, if there are some images’ pixels too small, you have to redesign the product to make sure the print quality is good enough. Don’t forget to click the Save Product button to save your designs.
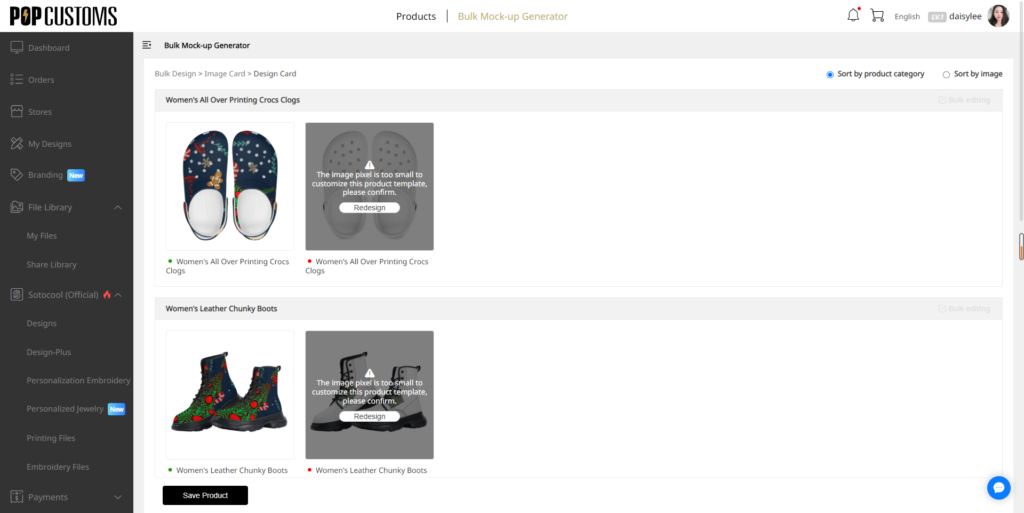
That’s it! All your designs will be stored in My Designs, you can go to check and sync them to your store there.
Inventory Template Tutorial
Use this method if you want to use an E-commerce platform that currently doesn’t integrate with POPCUSTOMS, or if you sell products in person and want to place orders for your customers manually.
① If you use Amazon, then
Step 1: Create a custom store
Step 2: Upload a file
Step 3: Fill in all info
Step 4: Save the template
Step 5: Import design & order
Follow these steps below to create your Inventory Template.
To sync products and place orders manually, create a custom store.
Step 1: Create a custom store
Click the Create button below to create an Amazon store, and name the store as required. This store will be used to store your template.


Step 2: Upload a file
After creating the store, click View to customize your Amazon inventory template. Click Add your inventory template, choose Yes and upload a file.
Note: The inventory template can be downloaded from your Amazon store.


Step 3: Fill in all info
Fill in the info to customize your inventory template.

Step 4: Save the template
Click the Save Template button in the bottom to save the template to use next time.

Step 5: Import design & order
After downloading the designs from POPCUSTOMS, you can import it to your store. Once you get orders from your store, you import the orders to POPCUSTOMS manually.
Note: You should download our Order Import Template from, fill in your order info as requested then import it to POPCUSTOMS.


② If you use other E-commerce platforms except Amazon, then
Step 1: Create a custom store
Step 2: Export design
Step 3: Import design & order
Follow these steps below to sync products and place orders manually, create a custom store.
Step 1: Create a custom store
Click the Create button below to create a custom store, name the store as required.

Step 2: Export designed products data
If you have designed some products on POPCUSTOMS. Go to My Designs to choose the product that you want to sync to your store, click Export design to export products’ data in our default template.


Step 3: Import design & order
After downloading the designs from POPCUSTOMS, you can import it to your store. Once you get orders from your store, you import the orders to POPCUSTOMS manually.
Note: You should download our Order Import Template from, fill in your order info as requested then import it to POPCUSTOMS.
That’s it!