We are excited to announce that you can integrate your Wix store to sell with us now!
Follow the steps below to set up the integration between your Wix store and our POPCUSTOMS.
Step 1: Sign up on POPCUSTOMS
Step 2: Connect your Wix store
Step 3: Sync products to your store
Step 4: Sync orders to POPCUSTOMS in real-time
Step 1: Sign up on POPCUSTOMS
First of all, you should have accounts both on POPCUSTOMS and Wix. If you don’t have signed up for your account on POPCUSTOMS, please register with us now.
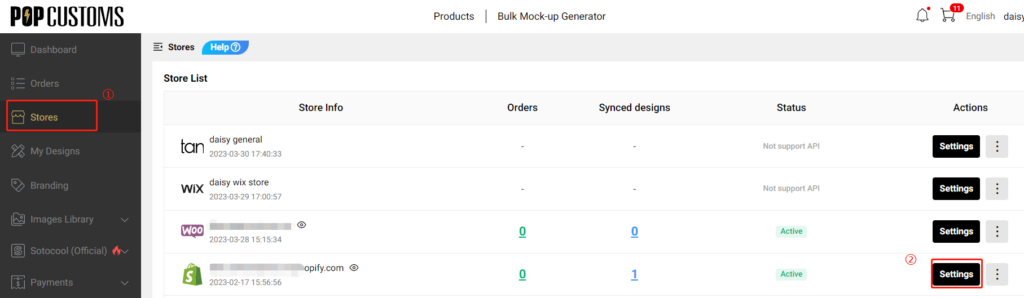
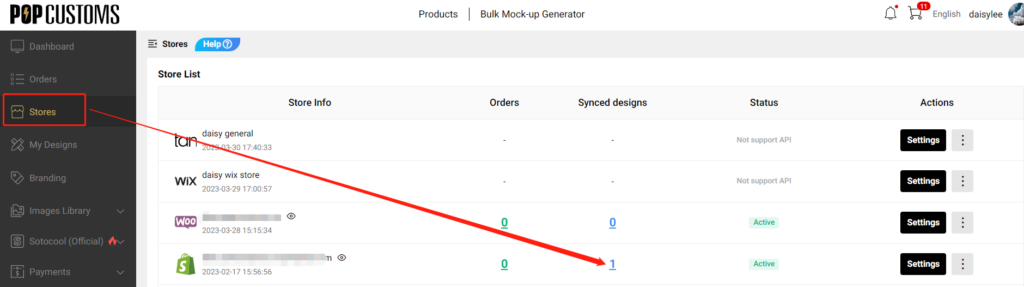
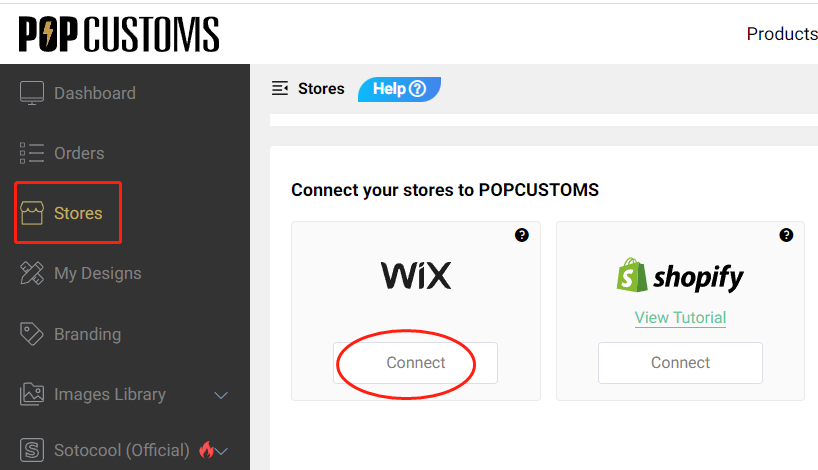
Step 2: Connect your Wix store
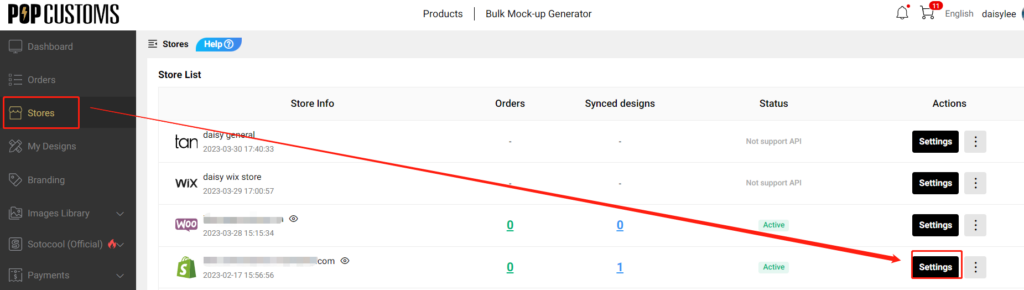
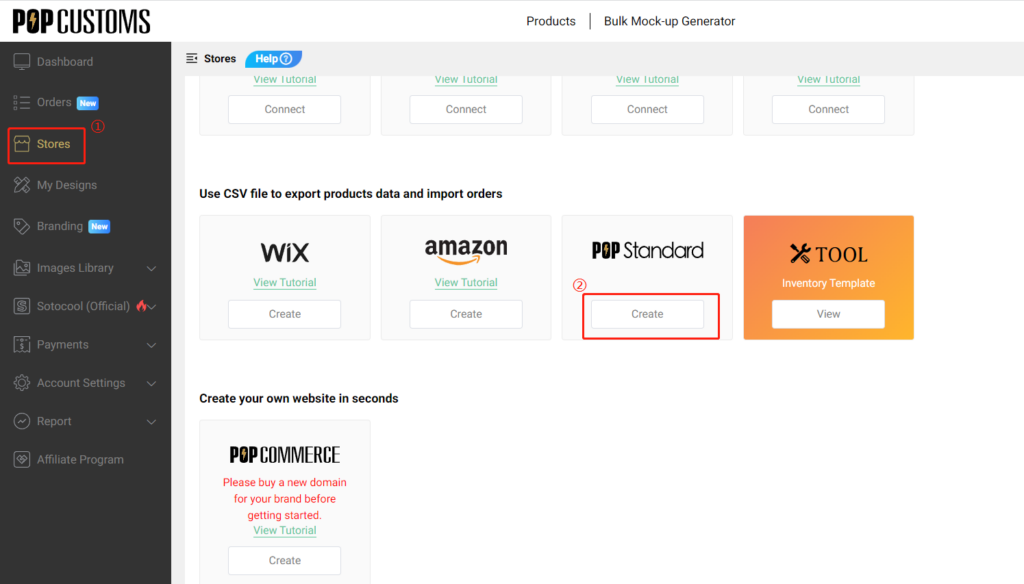
Log into your POPCUSTOMS account, go to Stores to find Wix, and click the Connect button to get started.
Choose a Wix store that you have to connect.
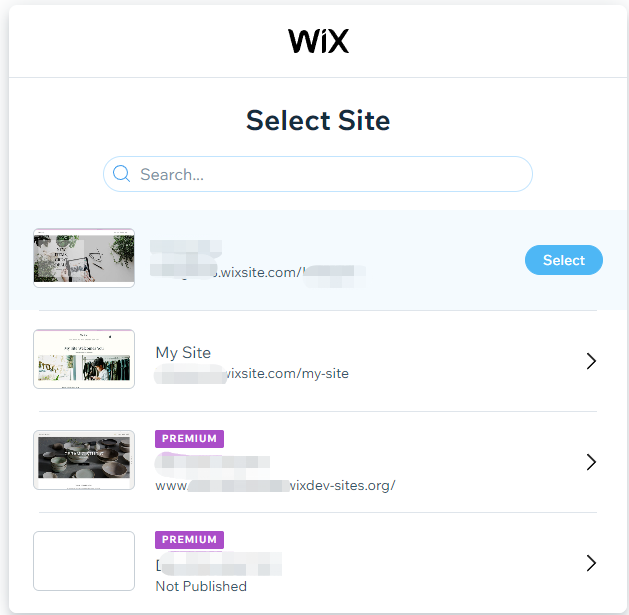
*Make sure that your Wix store is Published, if the status is Not Published, please go to publish it first.
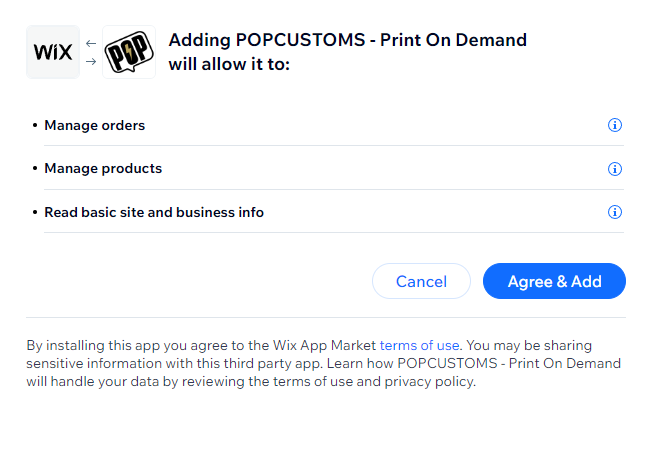
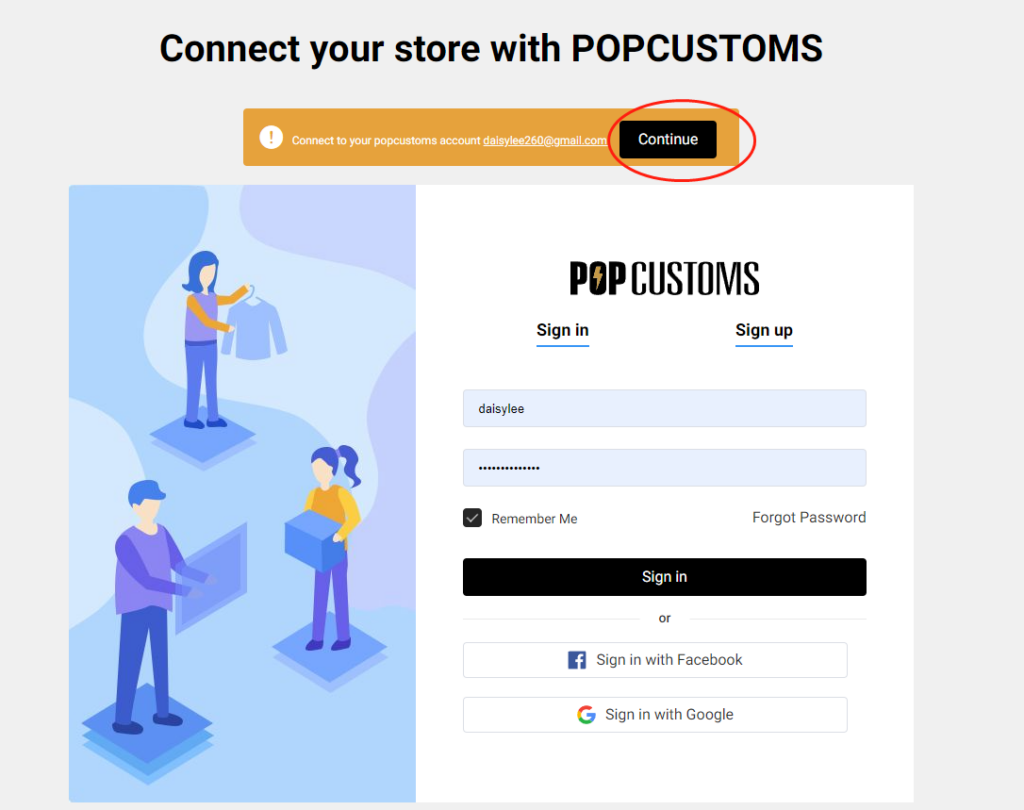
Click Agree & Add and then you’ll be driven to our site, sign in and click Continue to move forward.
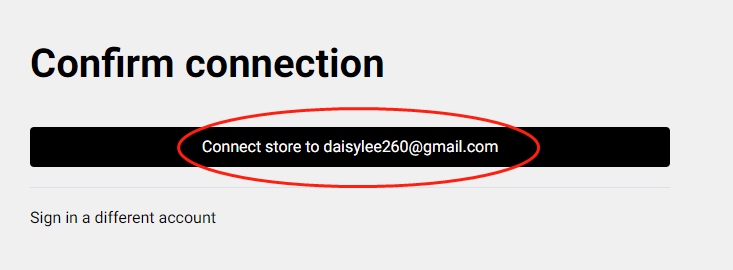
Click the black line to confirm the connection between your Wix store and POPCUSTOMS.
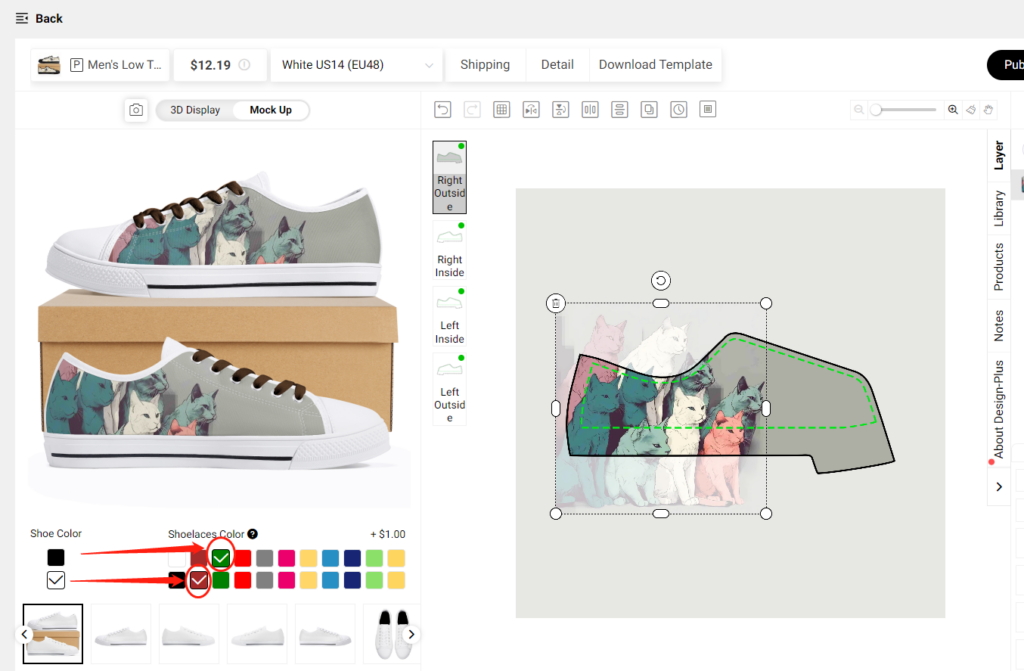
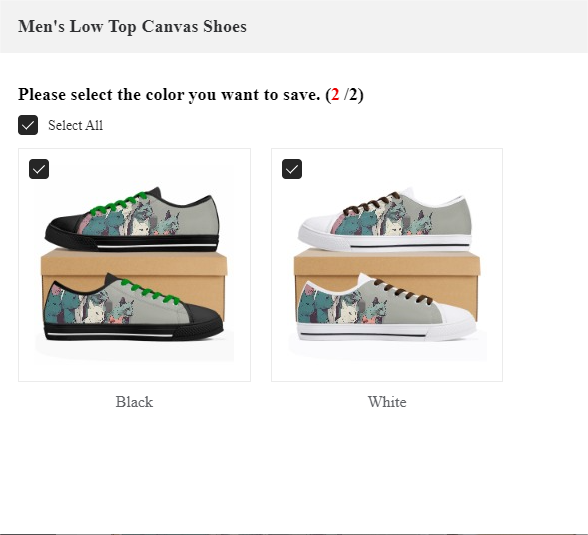
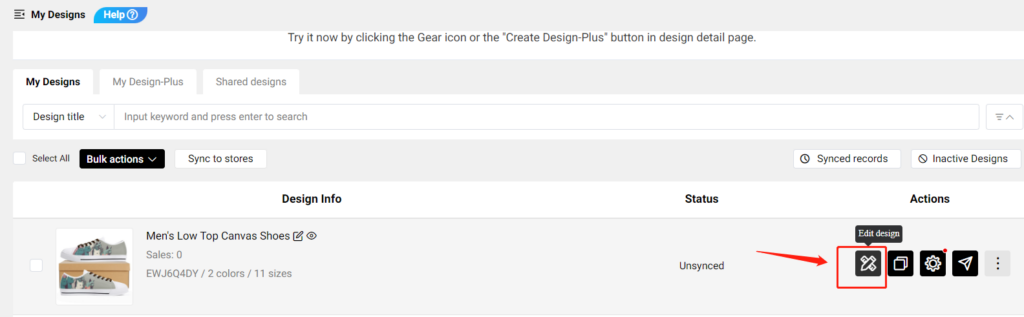
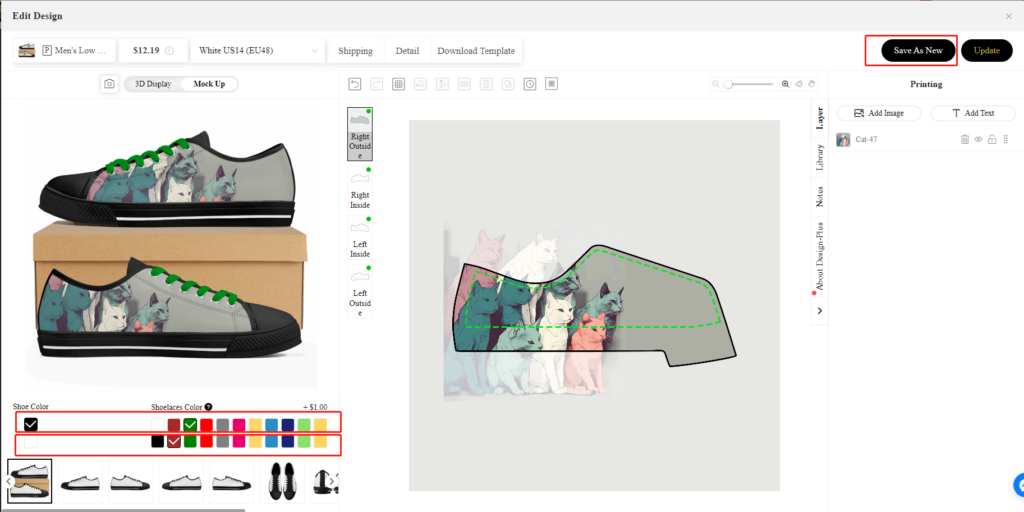
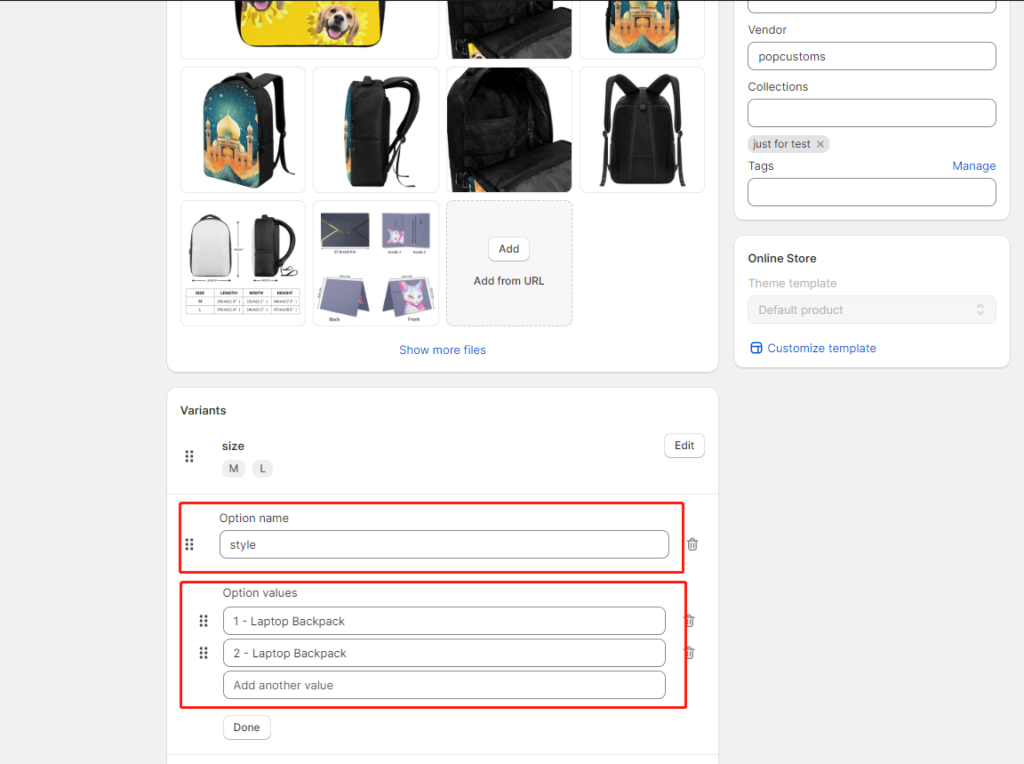
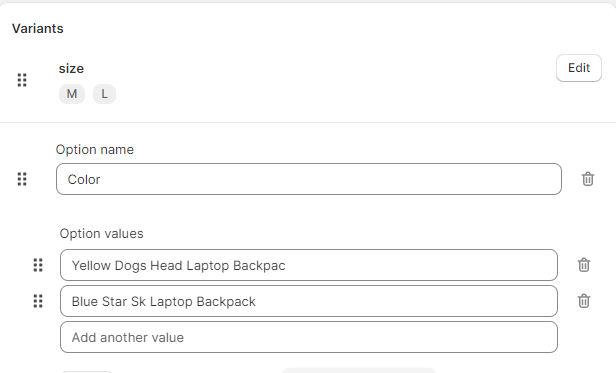
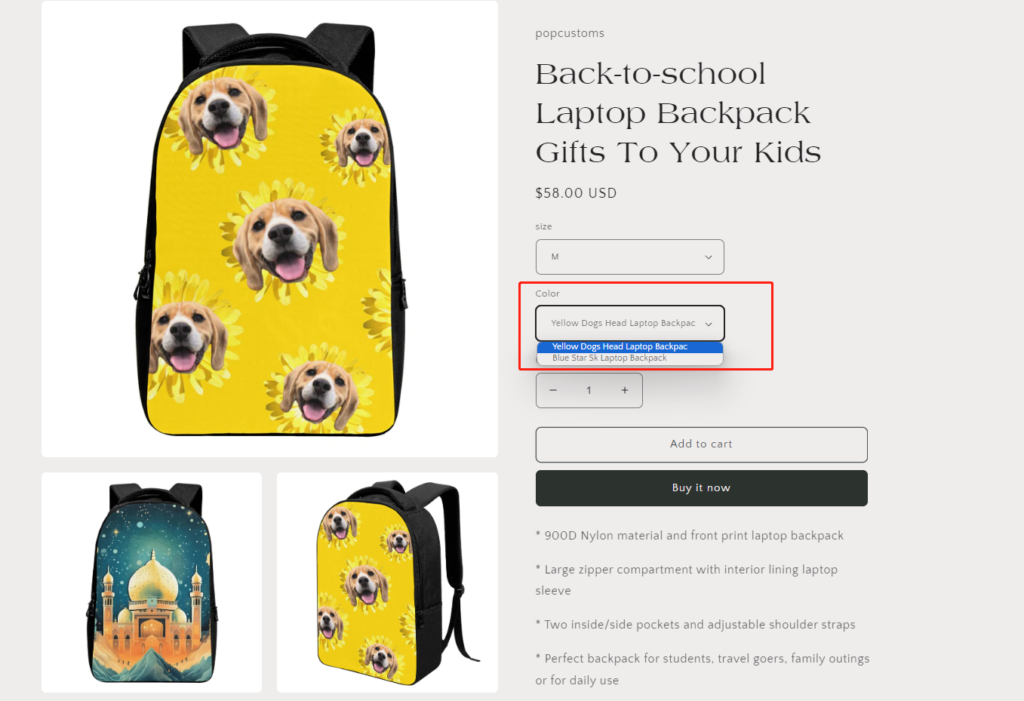
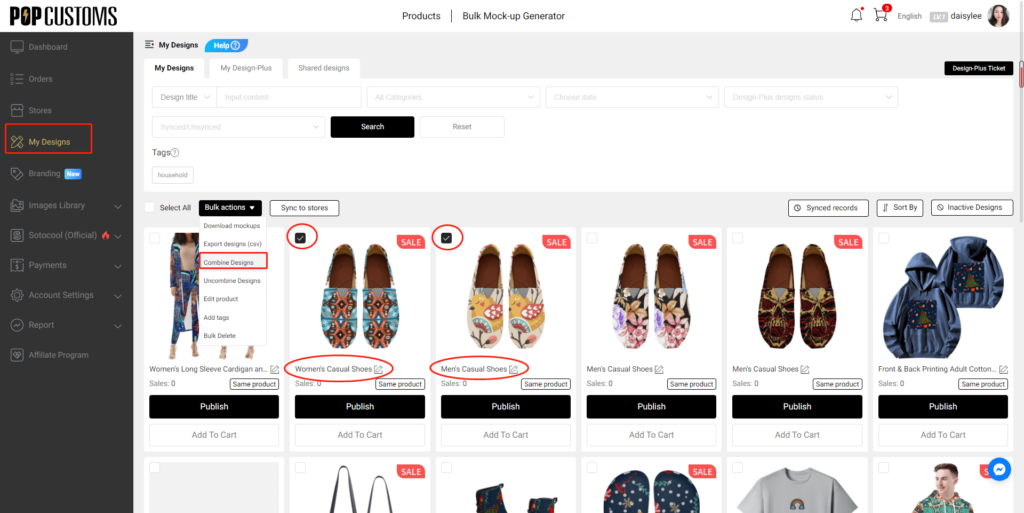
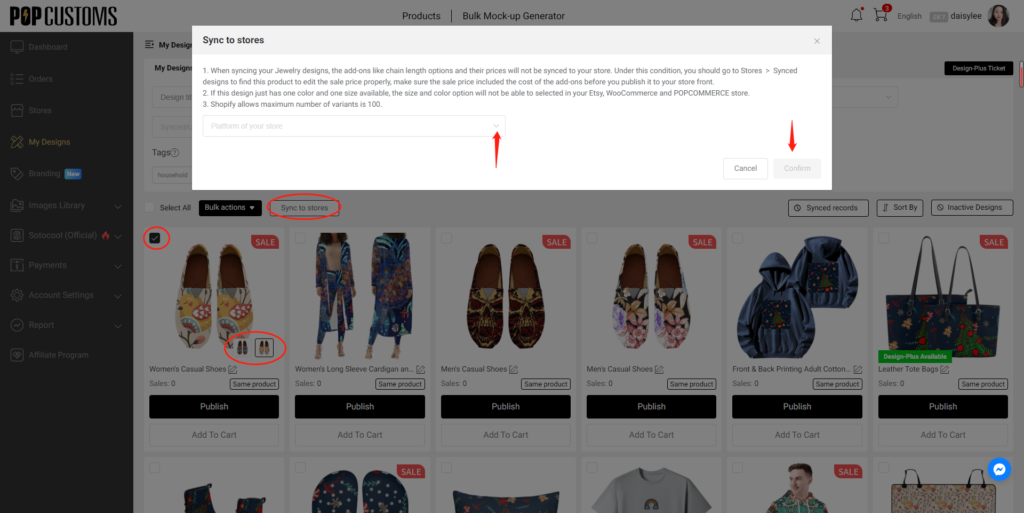
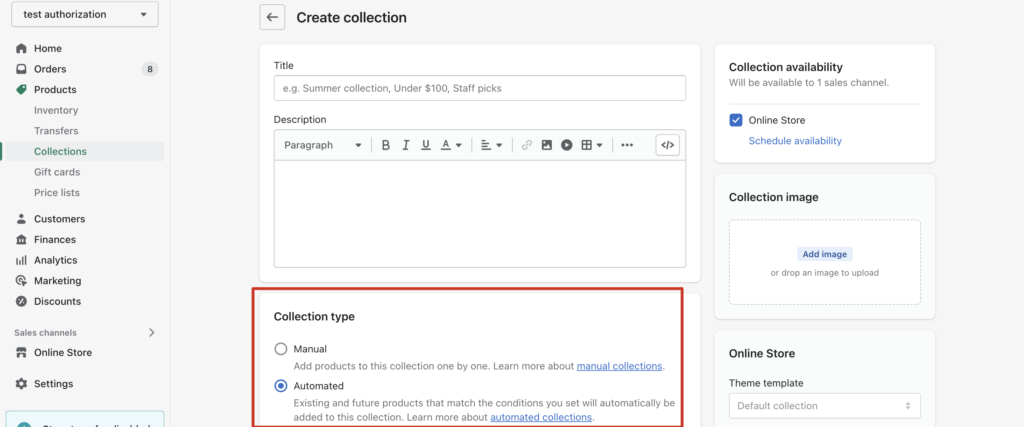
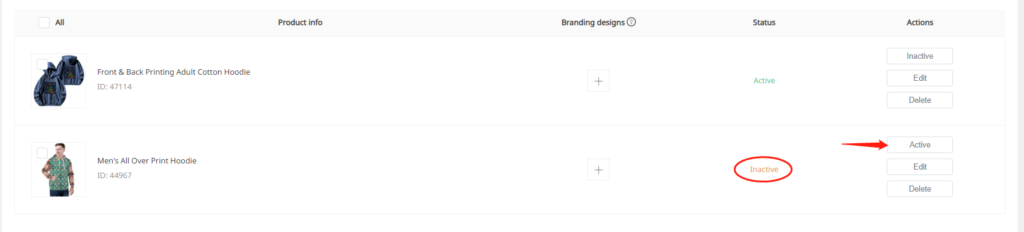
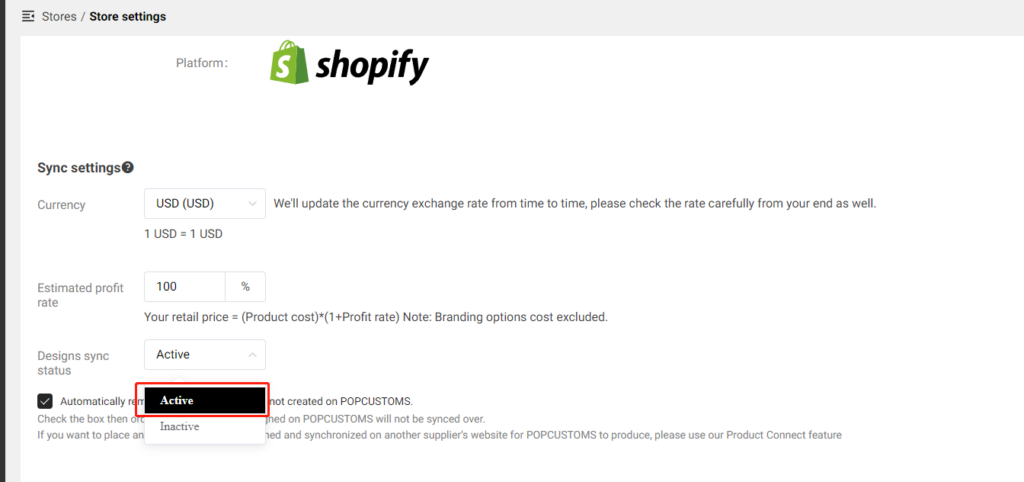
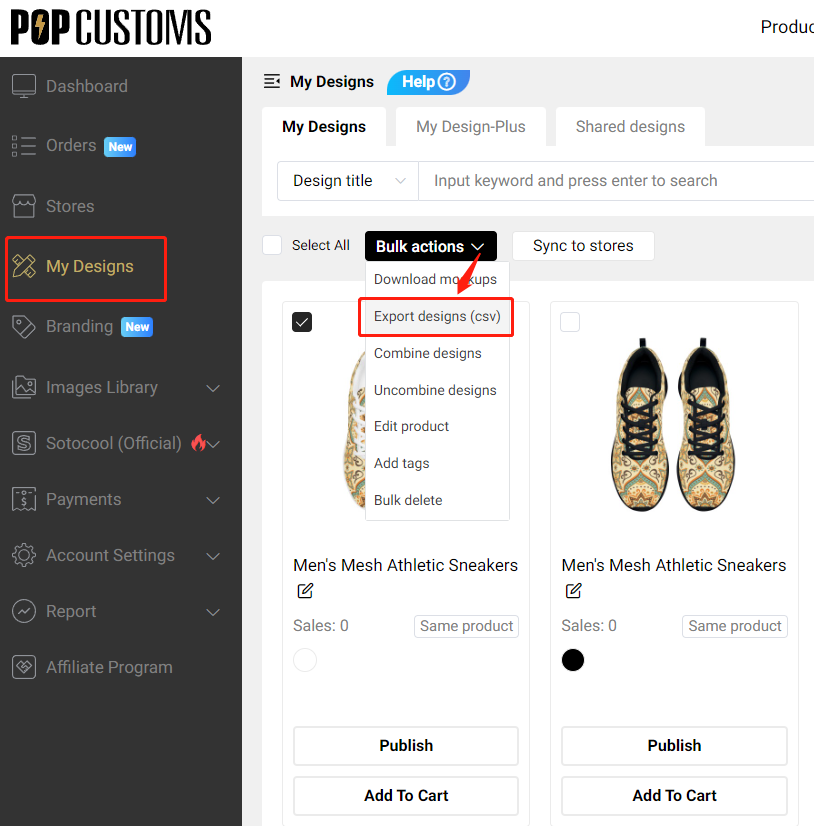
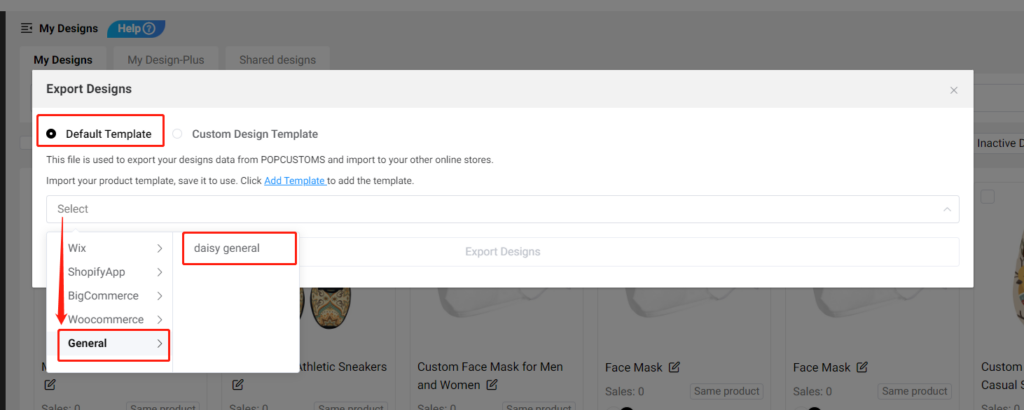
Step 3: Sync products to your store
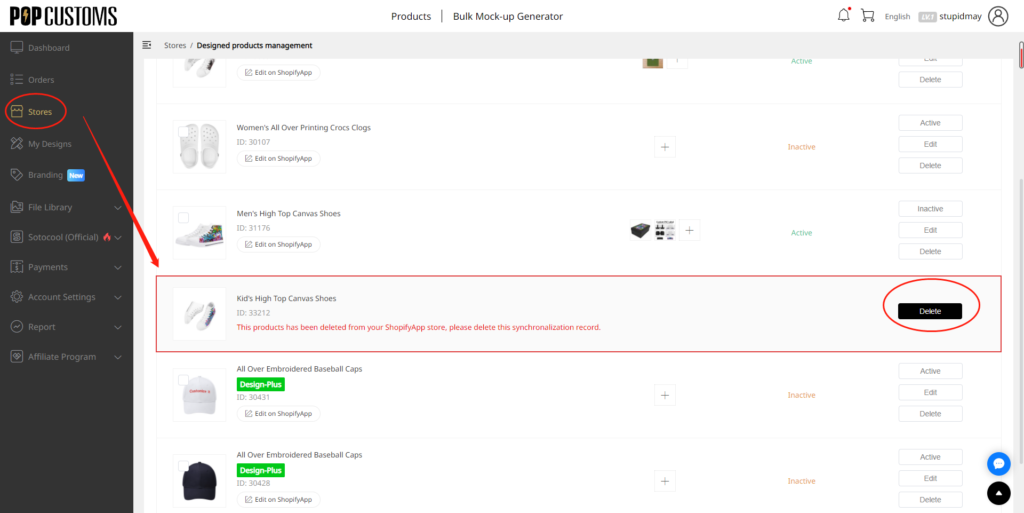
Go to our product page to select products to design and sync them to your store.
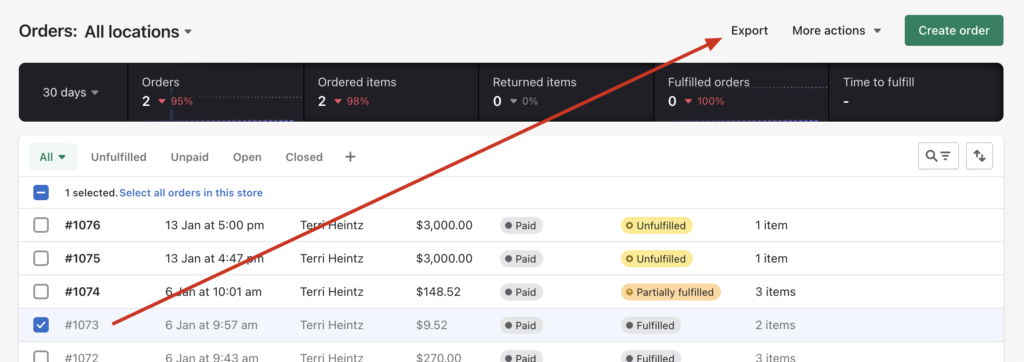
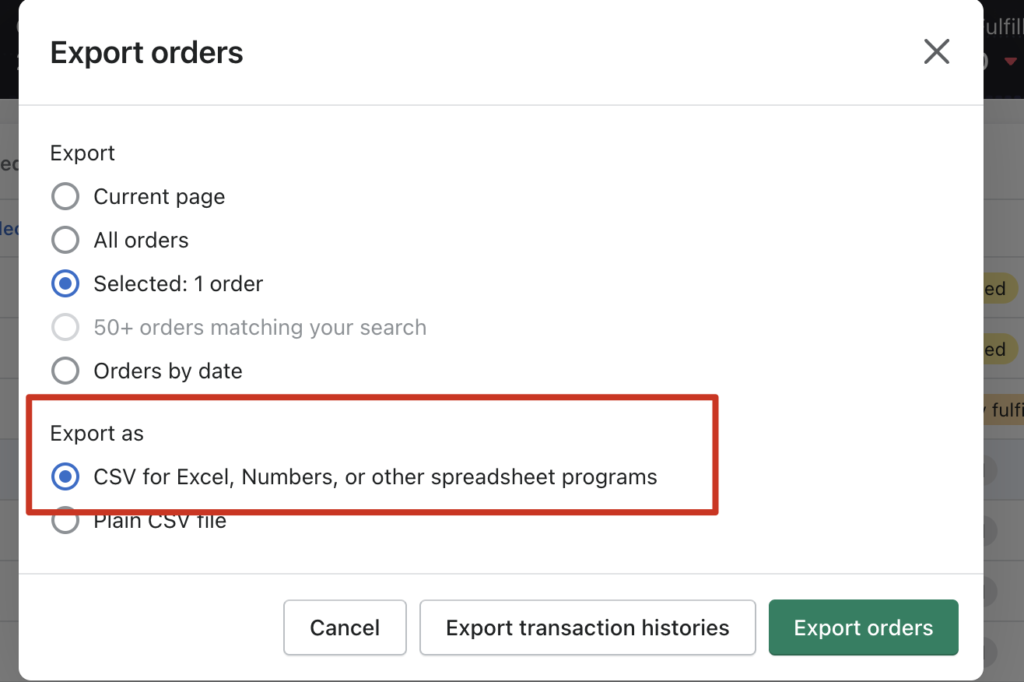
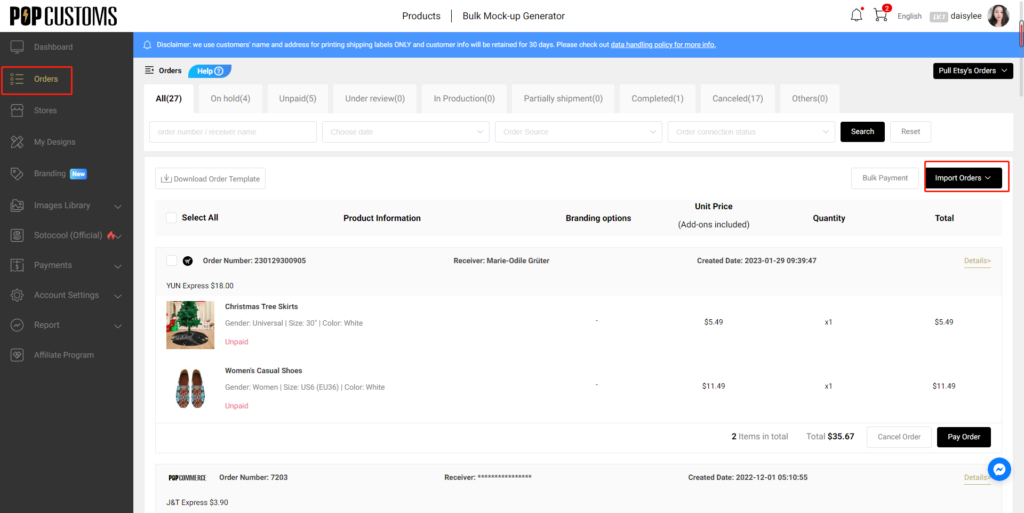
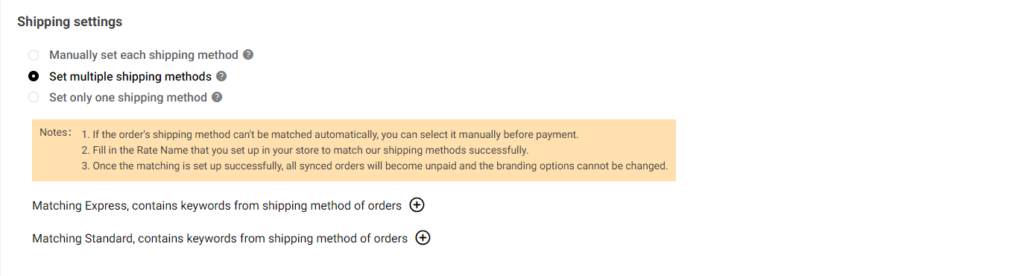
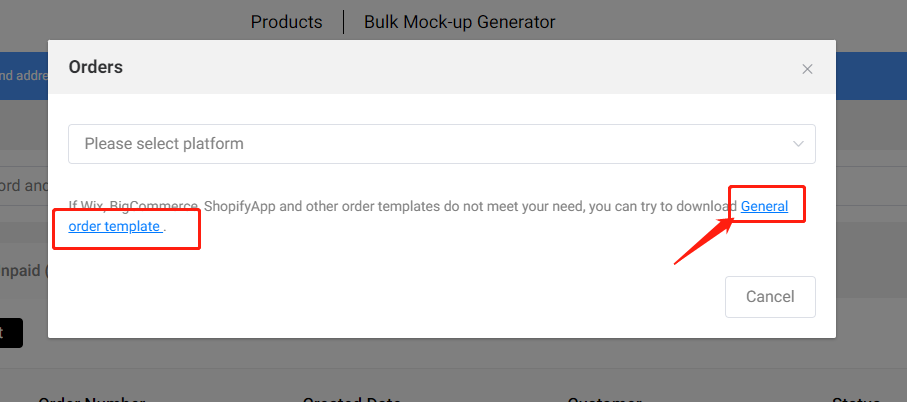
Step 4: Sync orders to POPCUSTOMS in real-time
When your customers place orders from your store, the order will automatically come to our site in real time.
Something important to know:
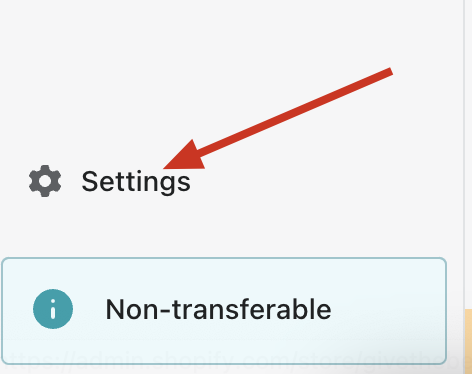
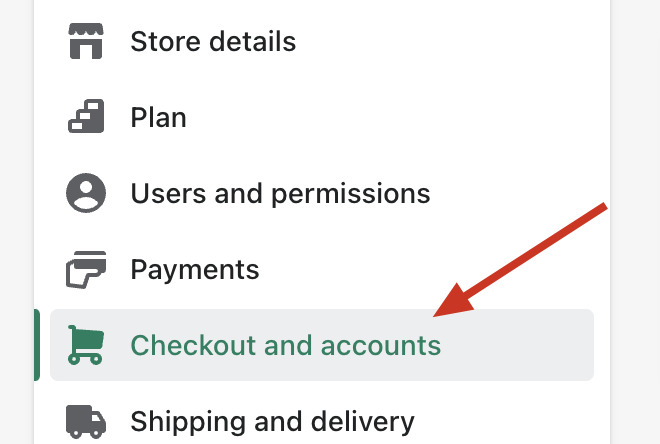
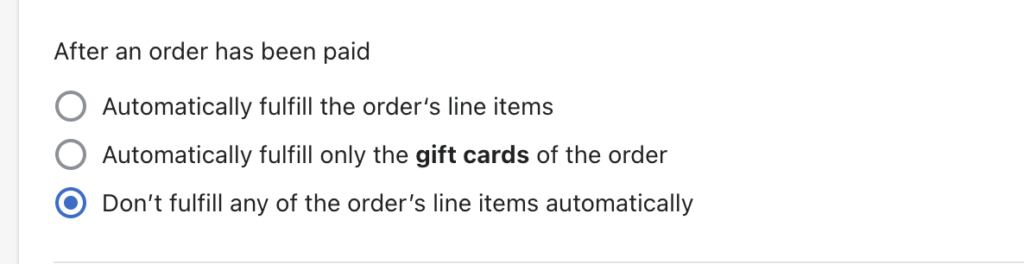
- When your orders are shipped out, we send an email to the recipient by default. The email will be sent on behalf of the seller’s store and will never contain any information about POPCUSTOMS. You can check the email template by clicking Wix admin -> Settings -> eCommerce Settings -> Order email notifications -> SHIPPING CONFIRMATION. You can also uncheck the box to turn it off so the email will not be sent to your customers, or click the Edit button to edit the email notification as needed.
- Don’t support updating mock-ups; Support syncing combined products but not personalized products to Wix.
- Previous Wix users should integrate your Wix store again so the product and orders can be automatically synced between your store and our site.