Currently, we can’t integrate into Amazon stores, but you can export your design info including images and descriptions from our website, fill them in your Amazon product template, and import them to Amazon.
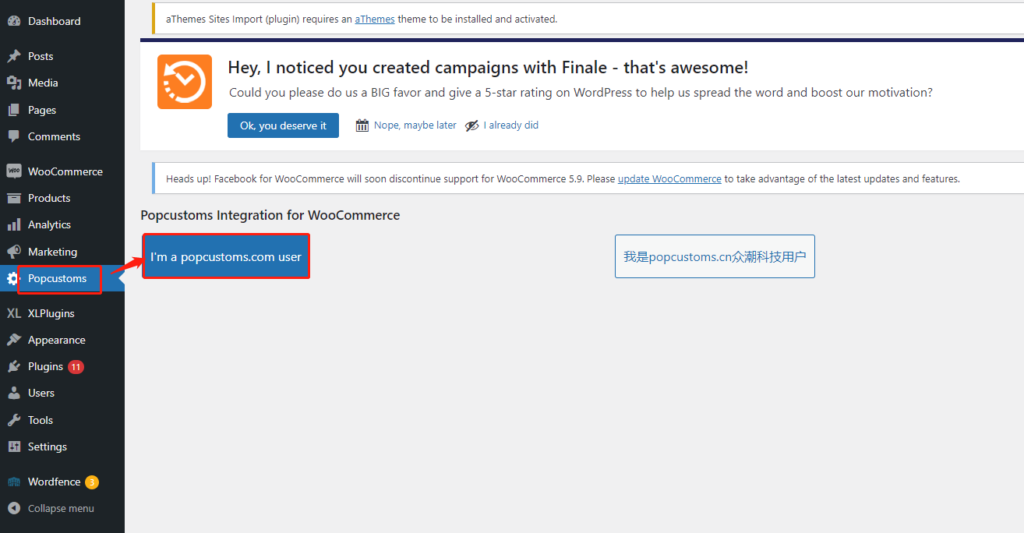
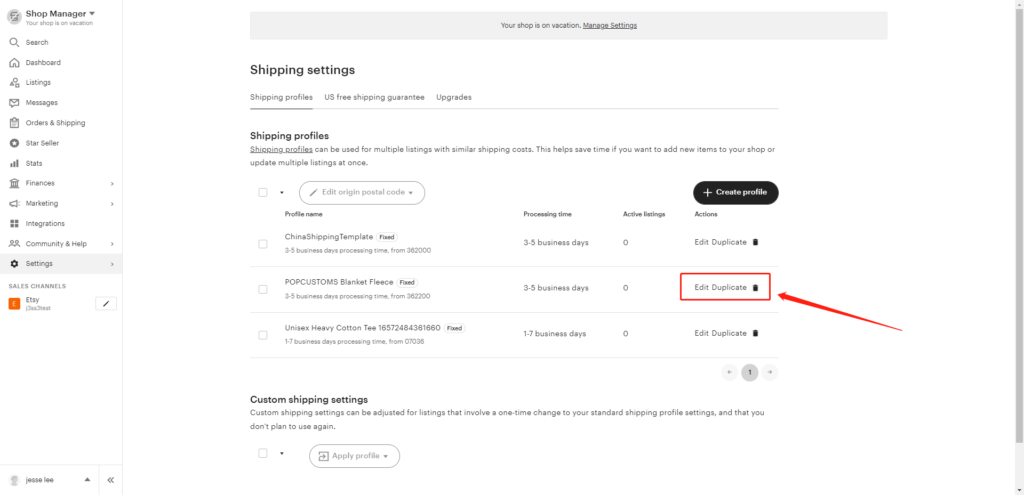
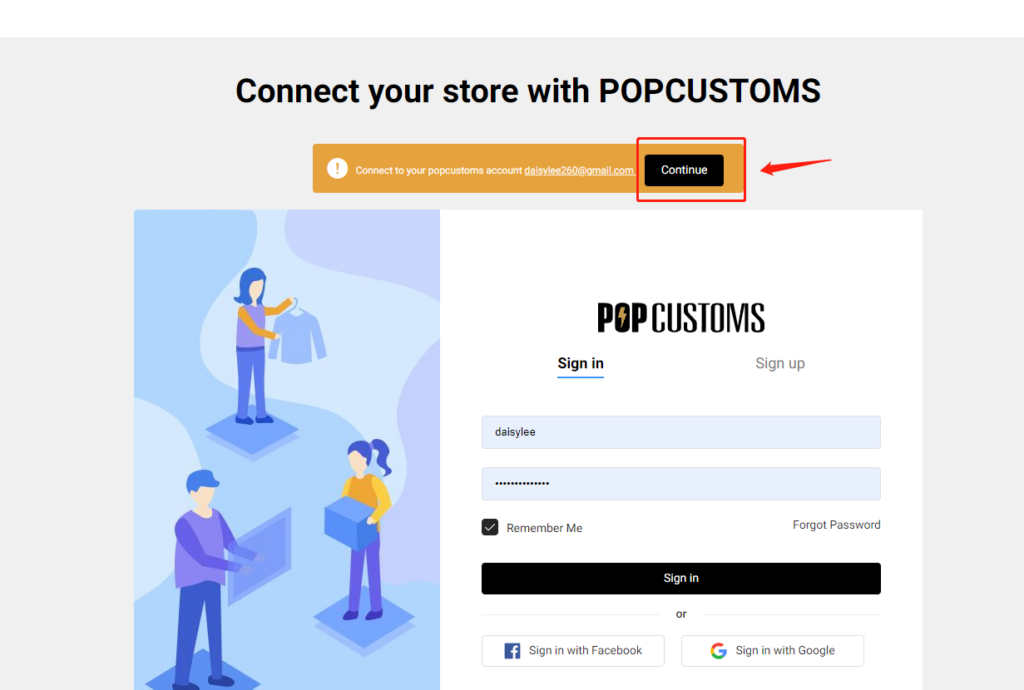
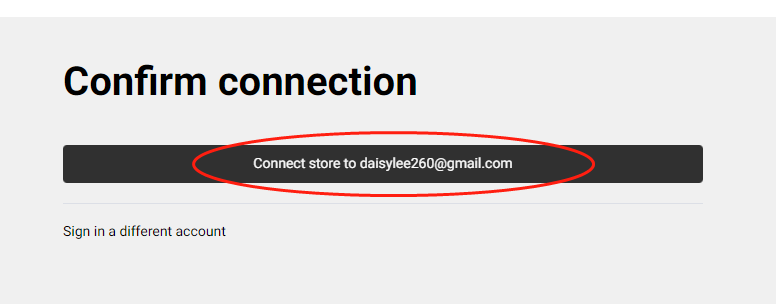
Step 1: Create a custom store
Step 2: Download Product Template from Amazon
Step 3: Export designs from POPCUSTOMS
Step 4: Fill in Amazon Product Template & Upload
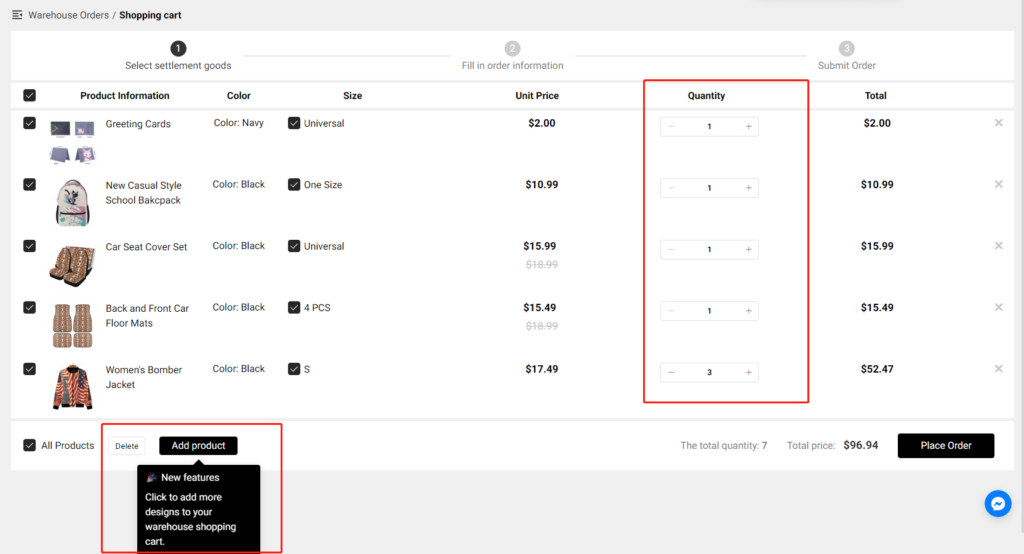
To sync products and place orders manually, create a custom store.
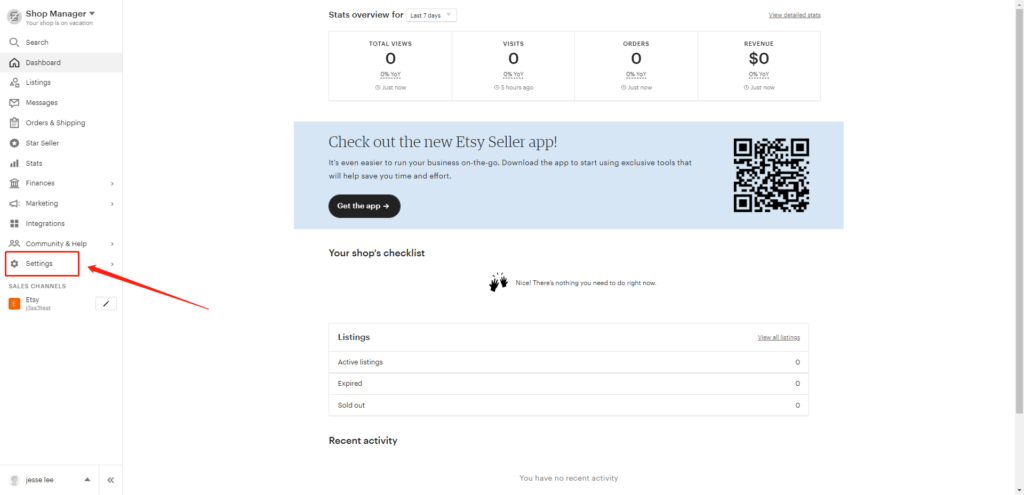
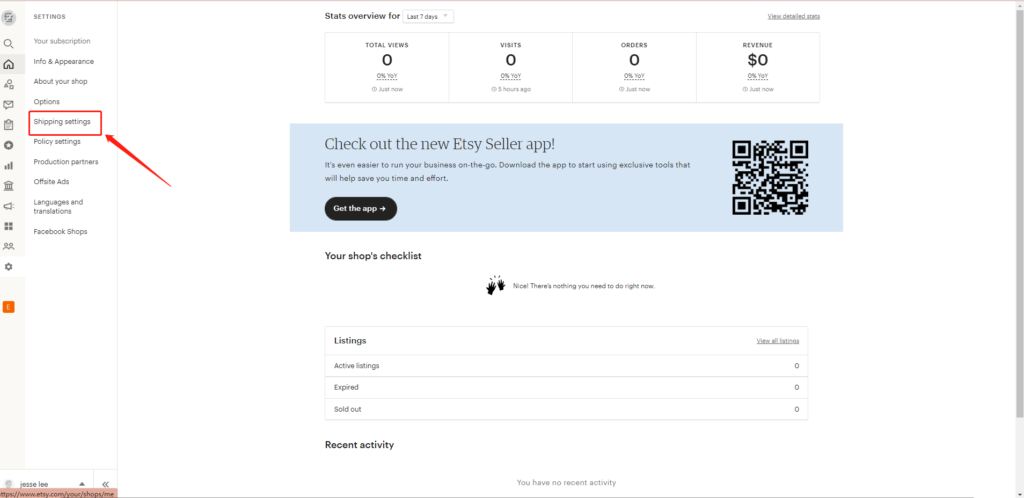
Step 1: Create a custom store
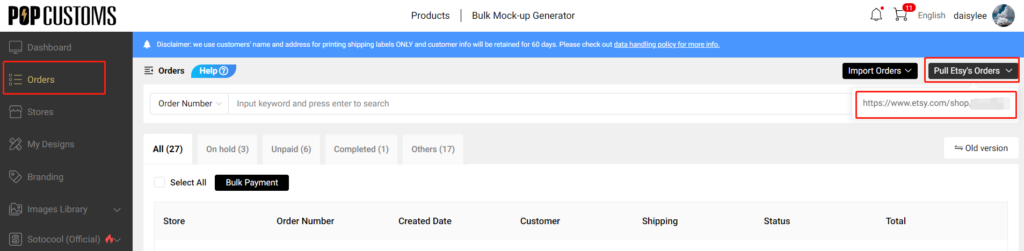
Click the Create button under Amazon to create an Amazon store, and name the store as needed. This store will be used when you import your Amazon orders.


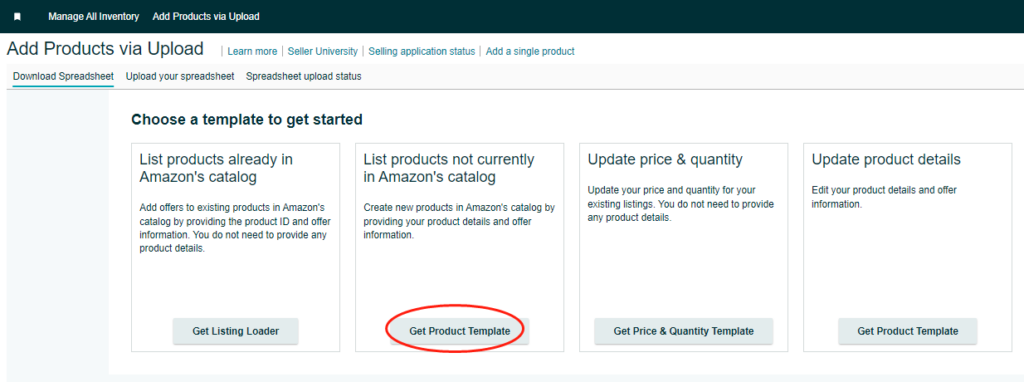
Step 2: Download Product Template from Amazon
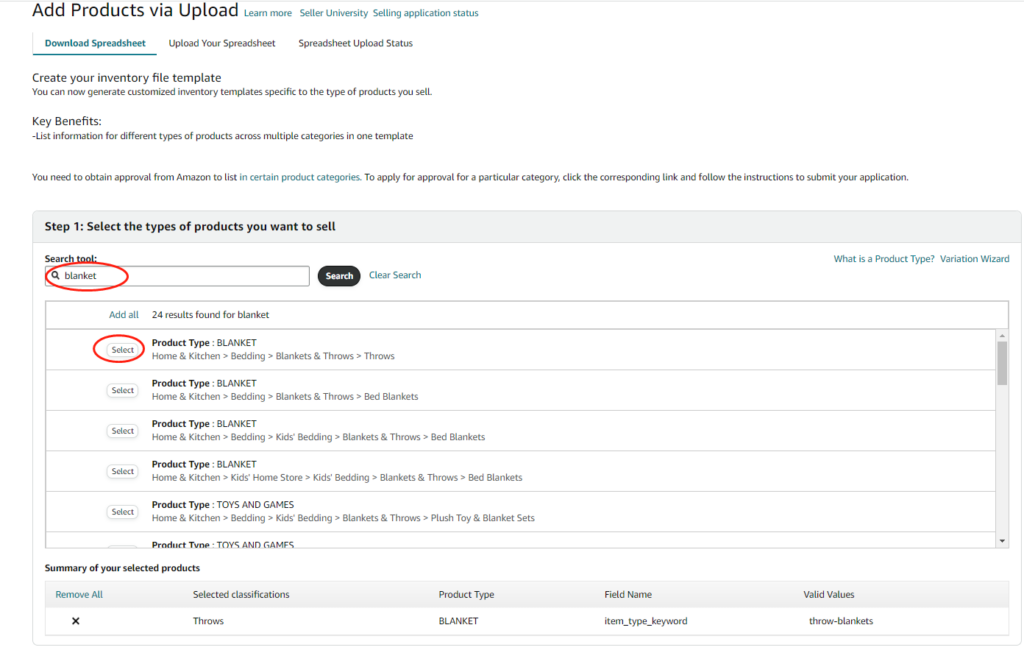
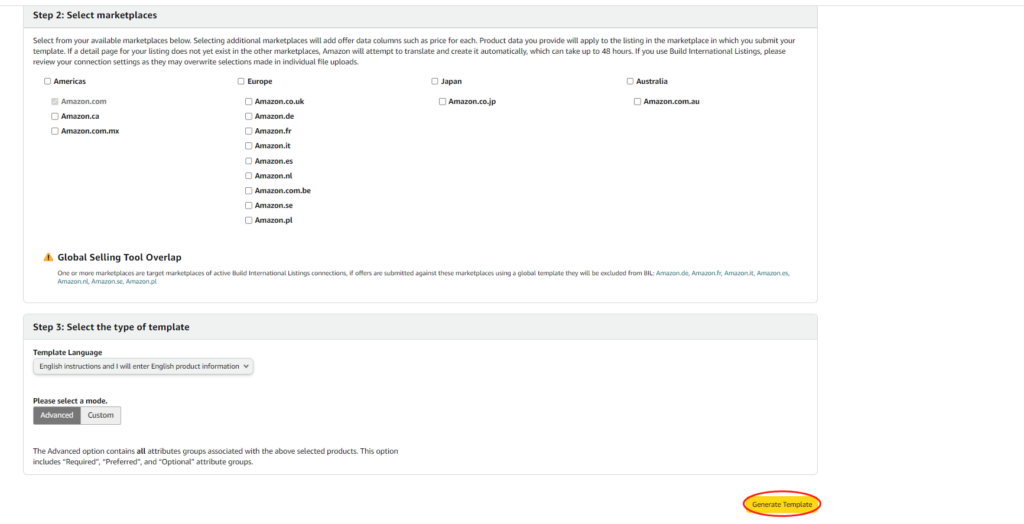
Go to your Amazon seller central to generate and download the product template you need.
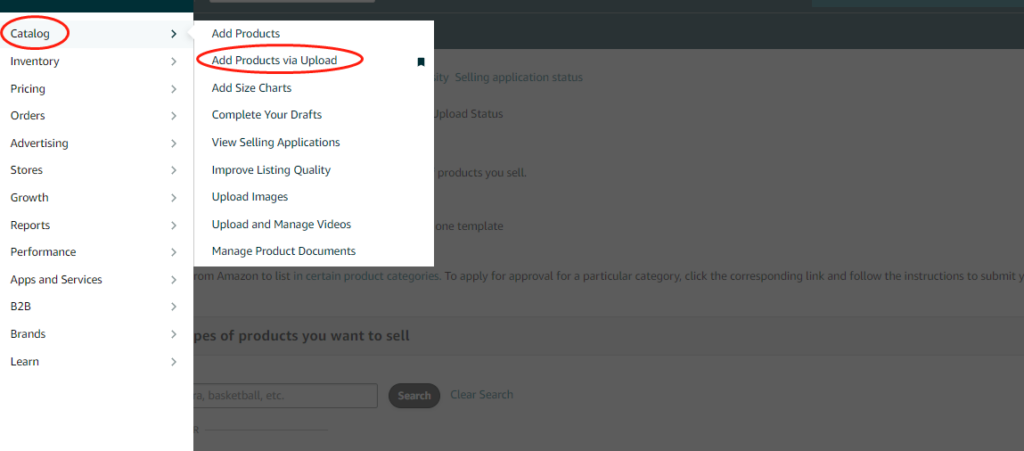
Choose the marketplace of your Amazon store.
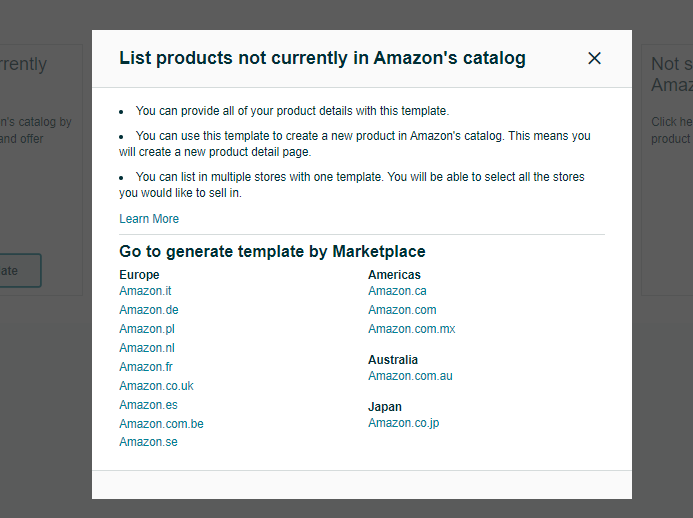
This product template file should be saved for use later.
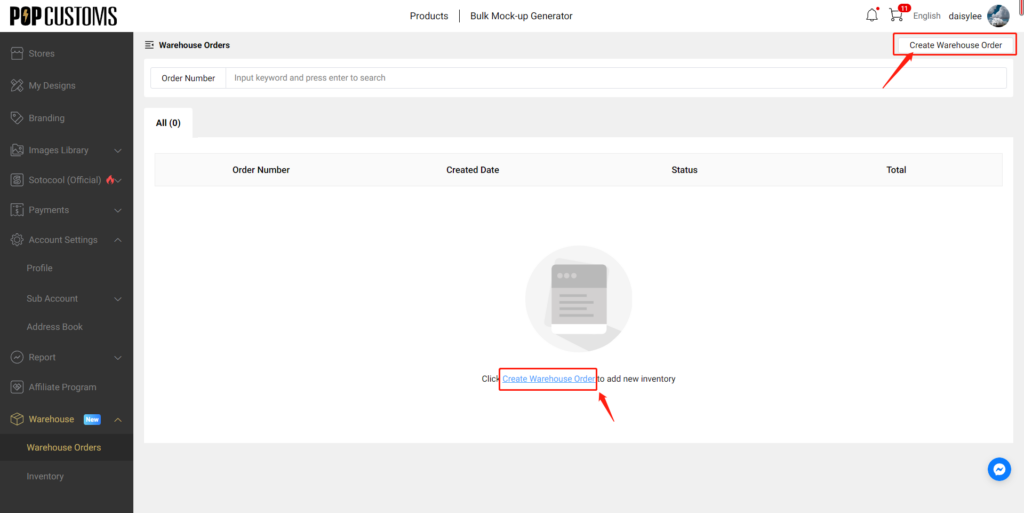
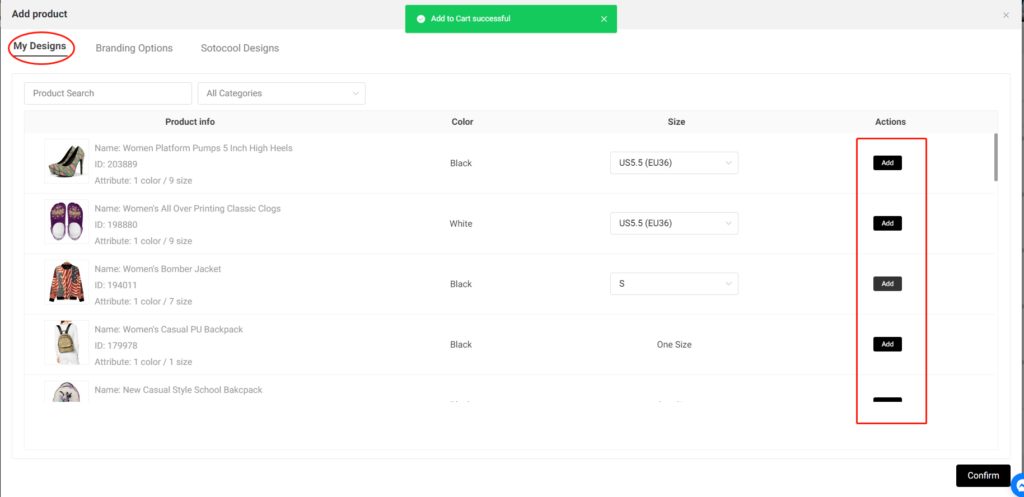
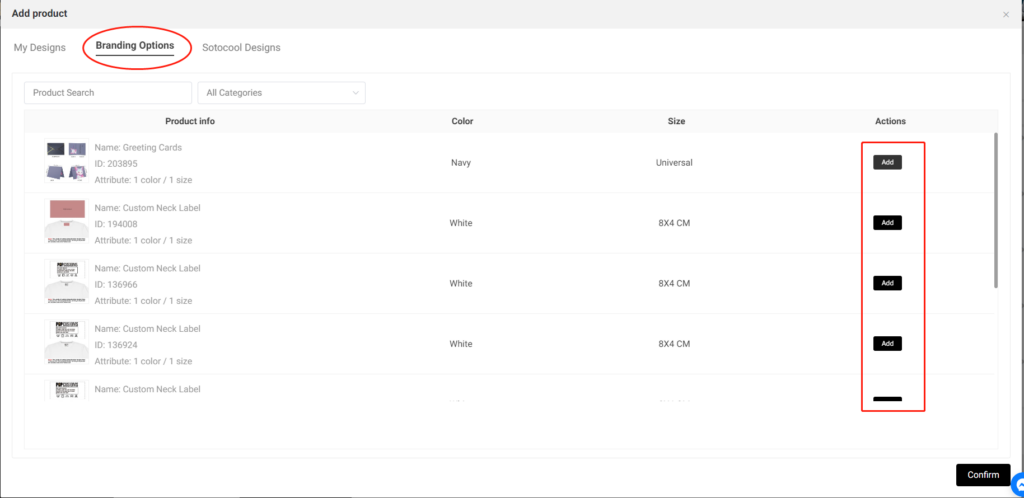
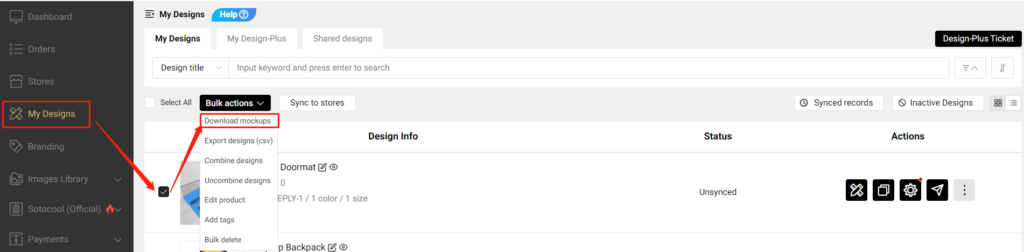
Step 3: Export designs from POPCUSTOMS
After completing your designs, you can go to Dashboard -> My Designs to find and select them, and click Bulk actions -> Download mockups to download product data.

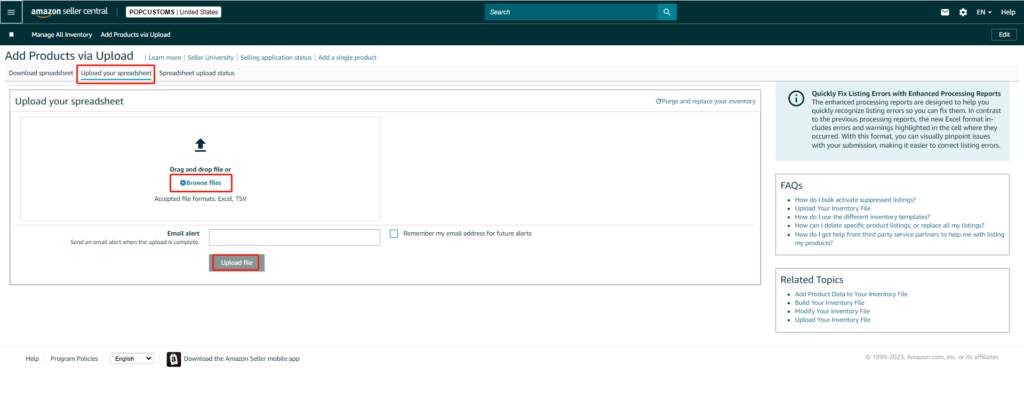
Step 4: Fill in Amazon Product Template & Upload
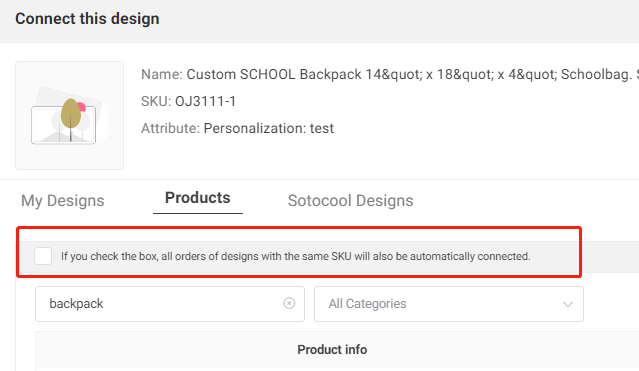
Copy descriptions, images, and SKUs from the downloaded product data file at POPCUSTOMS and paste them to the product template downloaded from Amazon.


*Since we use SKUs to match products when producing, we suggest you use our SKUs and don’t make any changes.
Finally, upload the product template to Amazon
That’s all!
*Click here to learn how to import your Amazon orders to us for fulfillment.