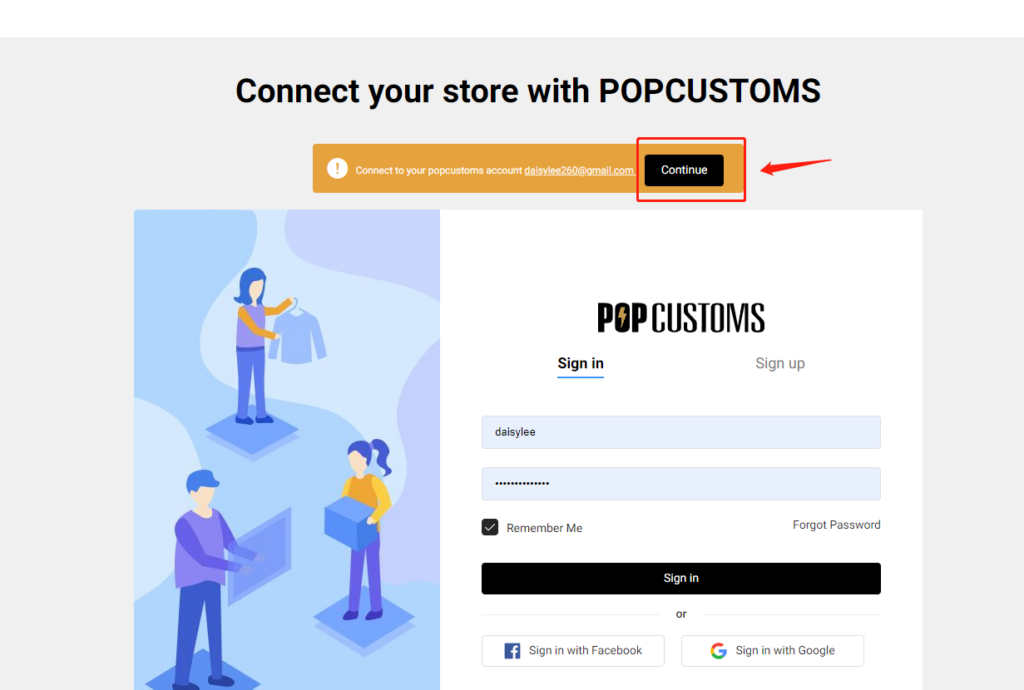
Let’s show you how to add your branding items to your designs so that they can be shipped with your orders.
*The branding items will not sync to your store as commodities so you should set your retail price of products higher enough to include the branding materials costs. However, the mock-ups of the branding items will be shown on your storefront if you use the Publish button to sync products.
Step 1: Create your brand
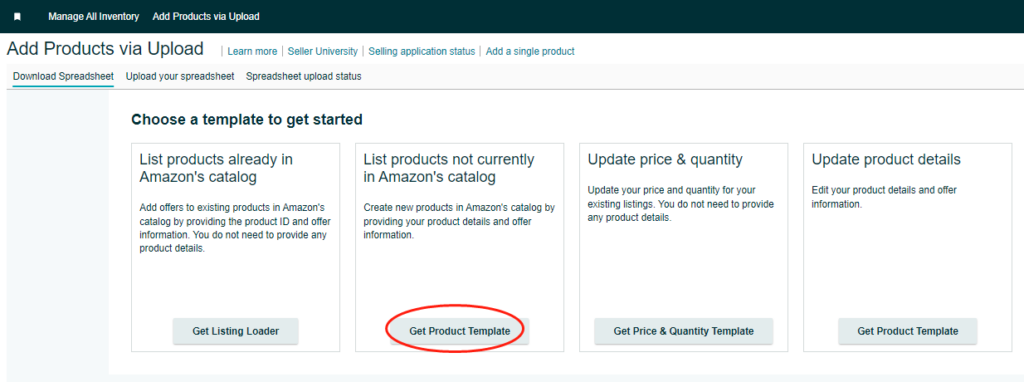
Step 2: Design and add branding materials
Step 3: Add branding materials to products
Please follow the steps below to make sure your branding materials will ship with your orders successfully.
Step 1: Create your brand
First of all, you have to create your brand. If you have different stores with different brands, you can create different brands to store your branding materials separately.

Note: You can delete the brand if needed, but all branding materials under this brand will be deleted as well. You can move them to your other brands as needed before delete.


Step 2: Design and add branding materials
Click Templates, and pick one to design.

Save the design and store it under your brand. If you have created a new brand before designing, you can choose the brand name directly here. If not, you can click Add to create one by now.

Then you’ll see your designed branding materials are under your brand.

Step 3: Add branding materials to products
Different branding materials can be added to different products, for example, custom shoe boxes can be only added to Footwear.
There are some circumstances in which you can add your branding items and make sure they will be shipped with your orders.
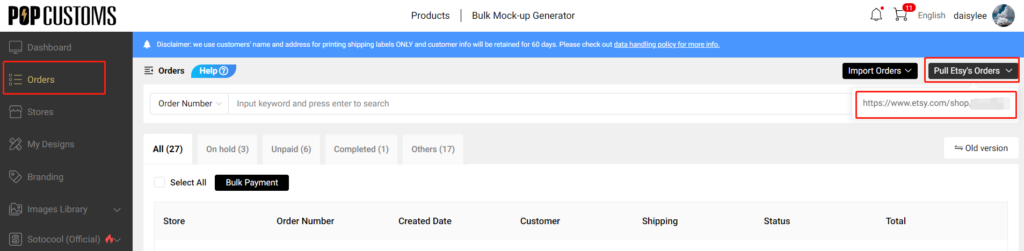
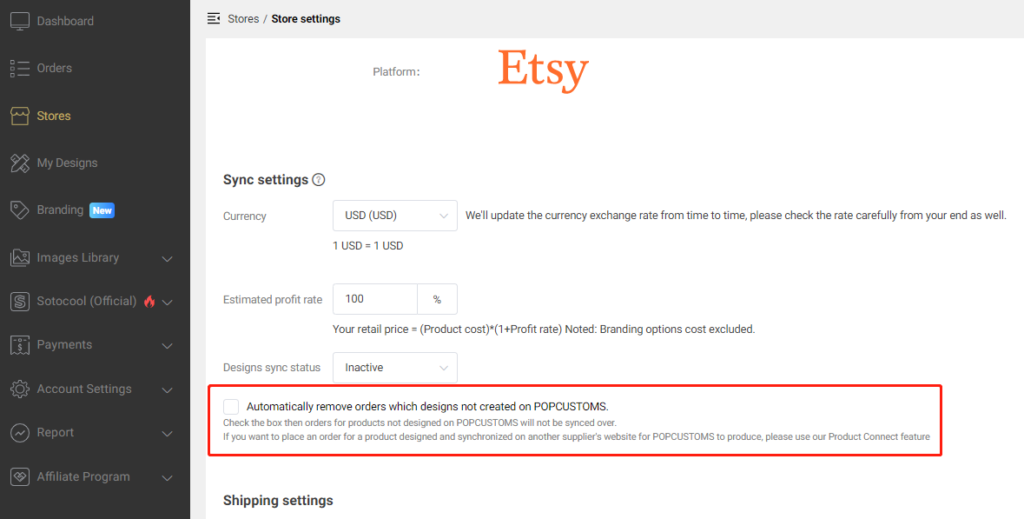
一. For orders automatically synced from stores
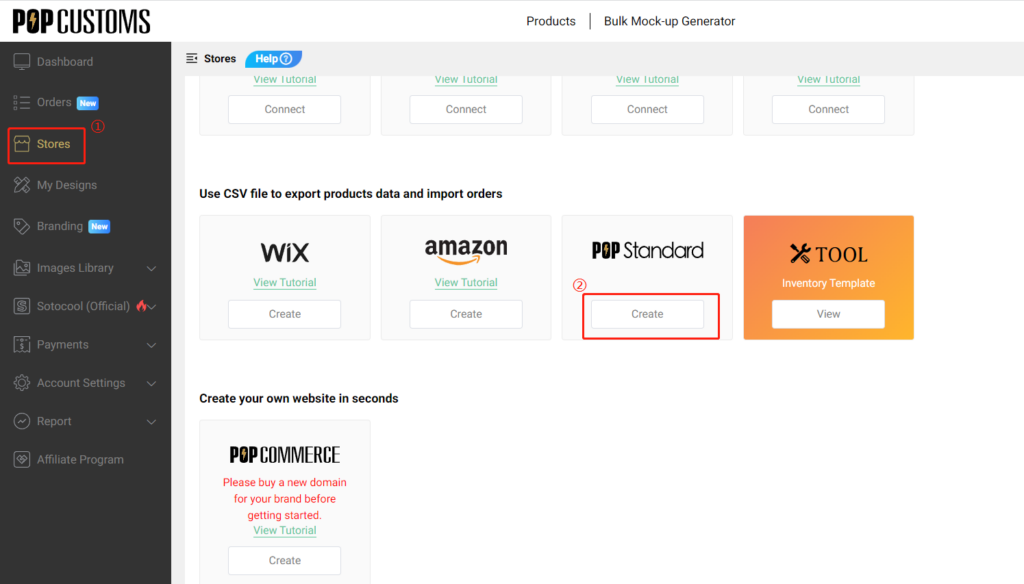
① Go to Stores, find the store you connected and click the content under Synced designs to find products that you want to add your branding materials.
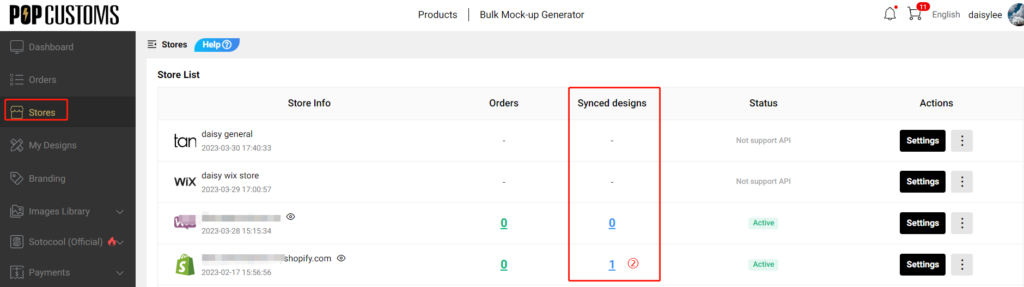
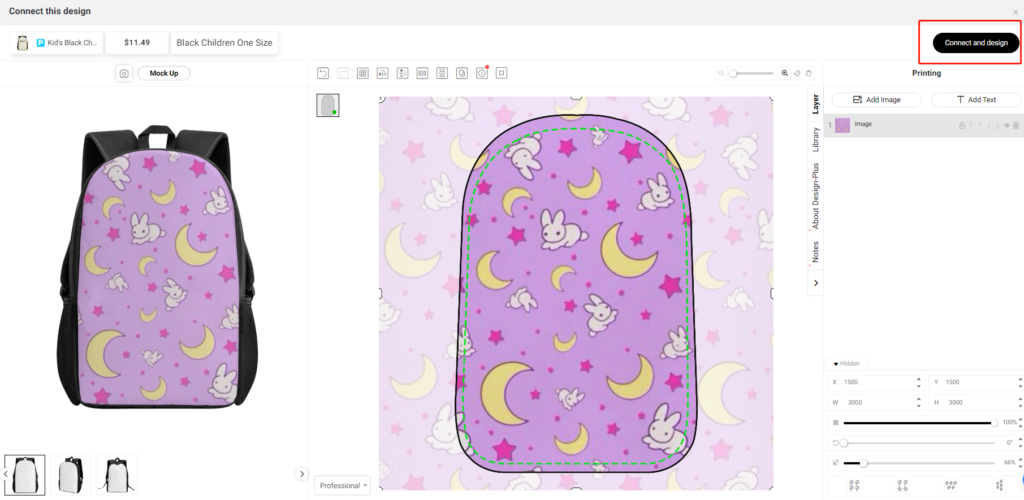
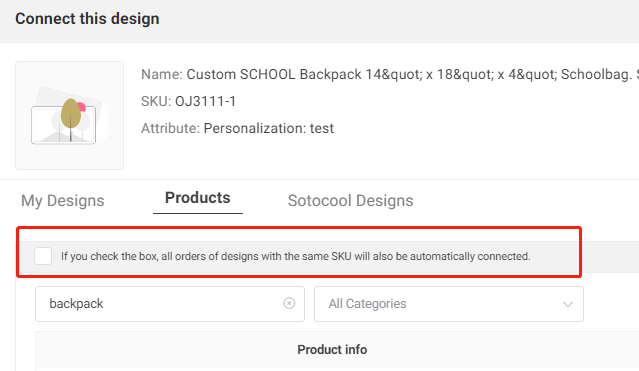
Click + to add the branding materials that you want to ship with this product.


That’s it! After that, all orders for this product synced from this store will be automatically fulfilled and shipped with the added branding materials.
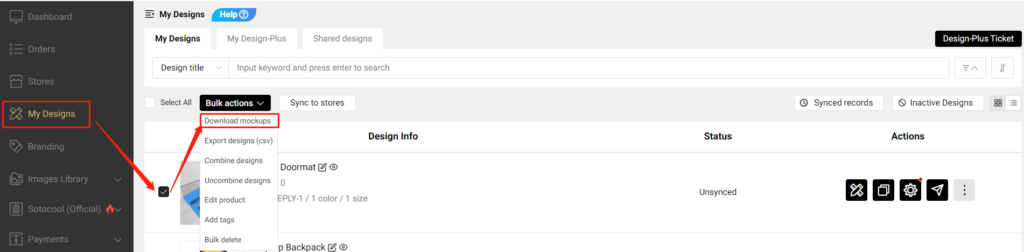
*If you forget to add the branding materials first and the order has been synced to POPCUSTOMS. You can go to Orders->On hold to find this order and add the branding materials there.
二. For orders placed from a shopping cart
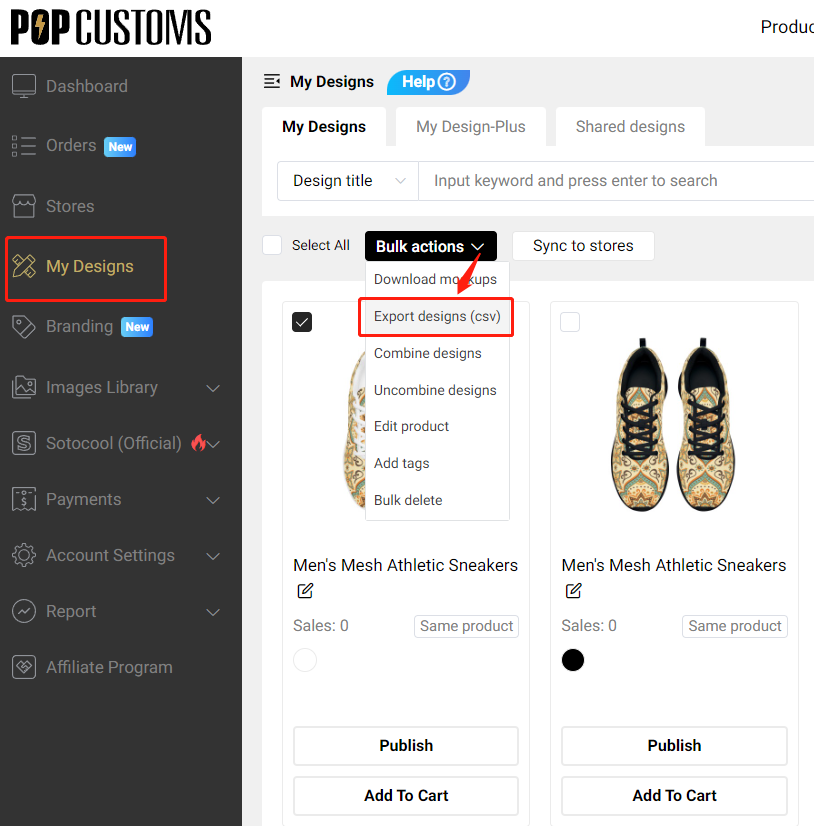
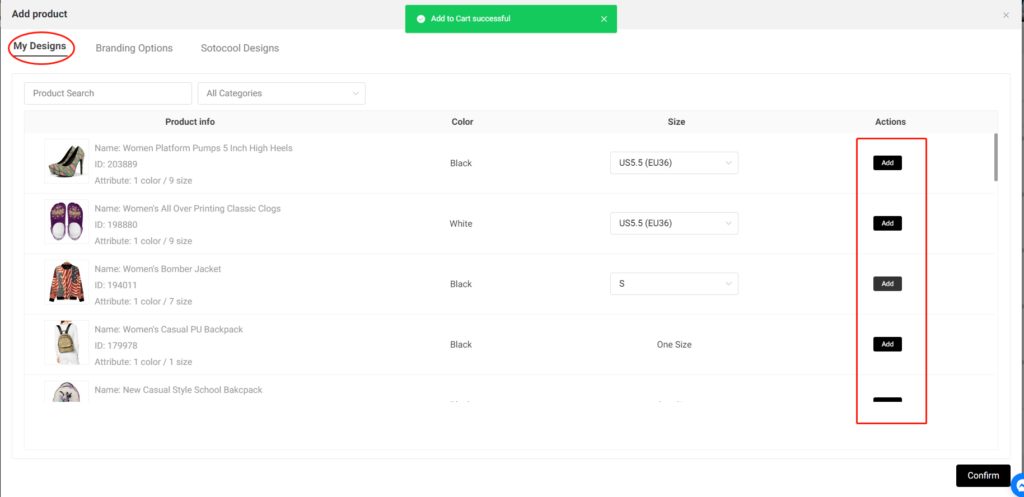
② Pick the product that you want to purchase to design, go to My Designs and add it to the shopping cart.


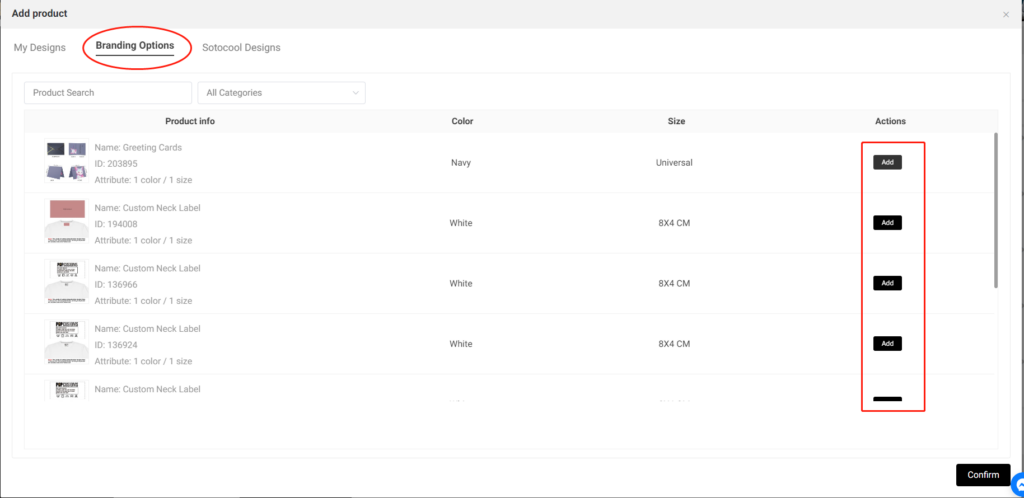
Here you can add the branding materials that you want to ship with your order.

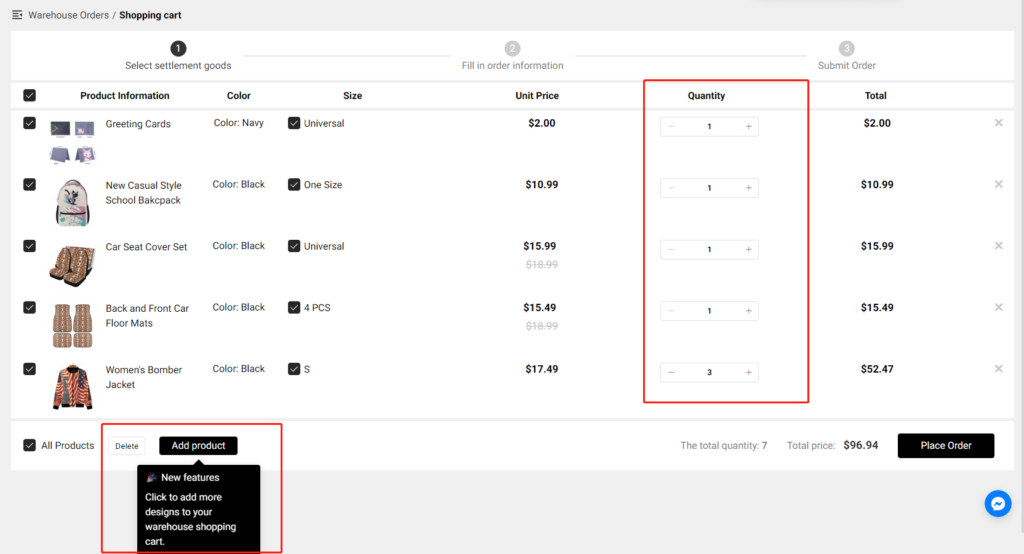
Then click the Place Order button to submit and pay.

*Please noted that the number of branding items will be the same as the number of products.
That’s all.