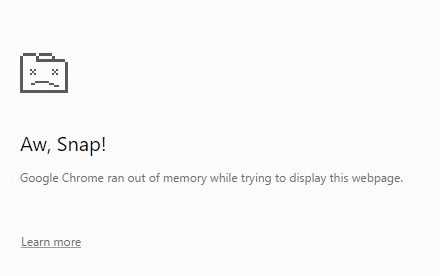
一. Google Chrome ran out of memory while trying to display this webpage
This error occurs when too many products are customized in bulk, exceeding the processing capacity of the average computer. For example, when choose 5 products and upload 5 images, eventually
25 designs will be generated. If each product has two colors, then the user’s computer has to generate hundreds of mockups and then your google chrome browser may crash depending on your hardware. To solve the issue, we’d suggest that you restart the browser first, and reduce the quantity of products and images to try again.
It’s essential to note that POPCUSTOMS currently offers a shipping rate of $0.00 for products shipped to the United States, which means the prices displayed on the website include free shipping for that region. You can also configure shipping rates for other countries and regions based on POPCUSTOMS’ shipping policies.
And pls kindly note that if shipping rates are not set up, there may be display issues with out of stock/sold out after product synchronization.
Here’s a guide to help you set up shipping rates for POPCUSTOMS products in your Shopify store.
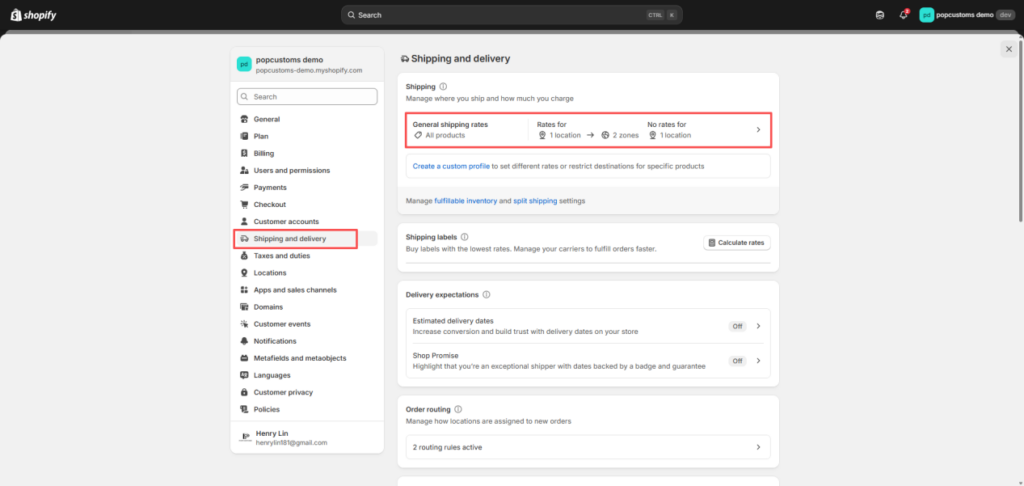
Step 1: Access Shipping Settings
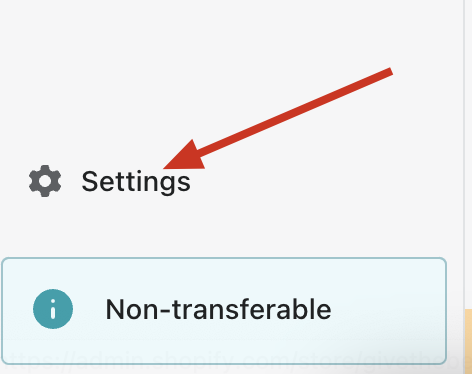
Go to your Shopify admin page. From the left-hand menu, click on the Settings option.
Then, click on Shipping and Delivery.
Shipping and delivery – General – Manage
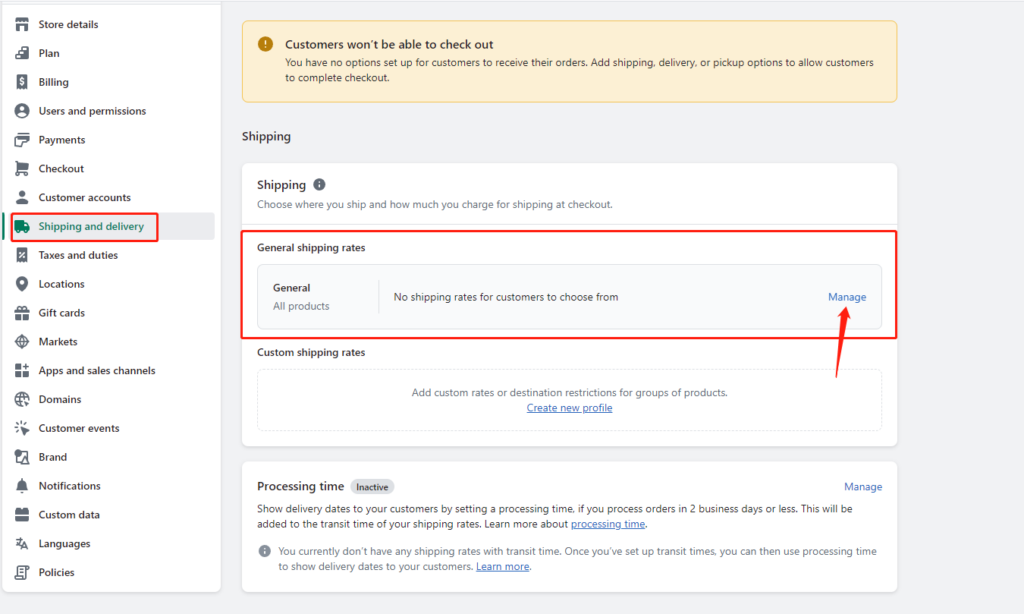
Step 2: Create or Edit Shipping Zones
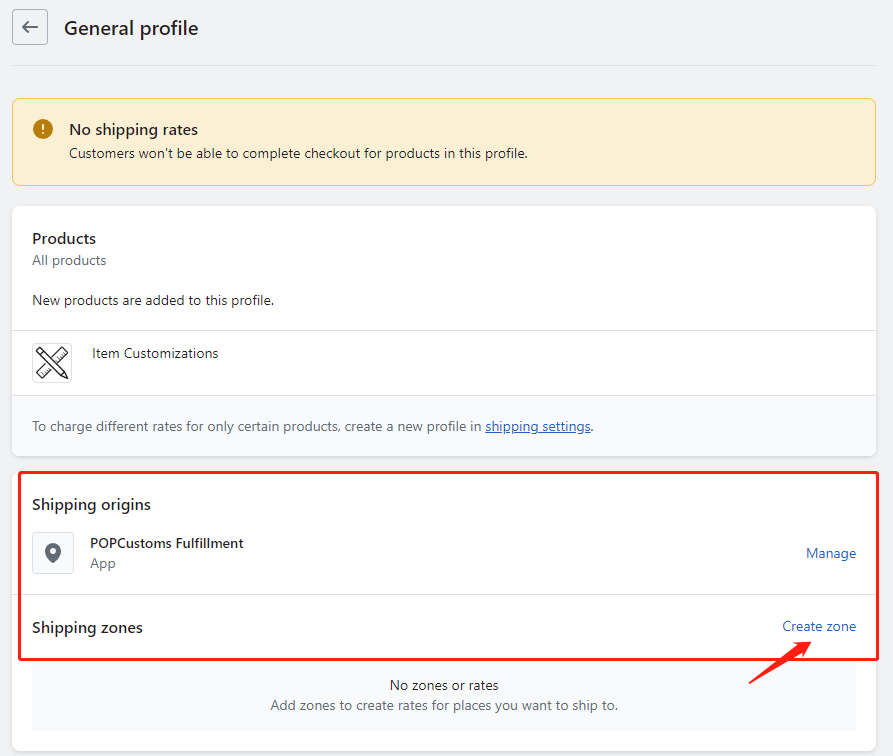
In the Shipping and Delivery page, locate the Shipping Zones section.
If you already have shipping zones created, select the one you wish to edit. If not, click the Create Shipping Zone button.
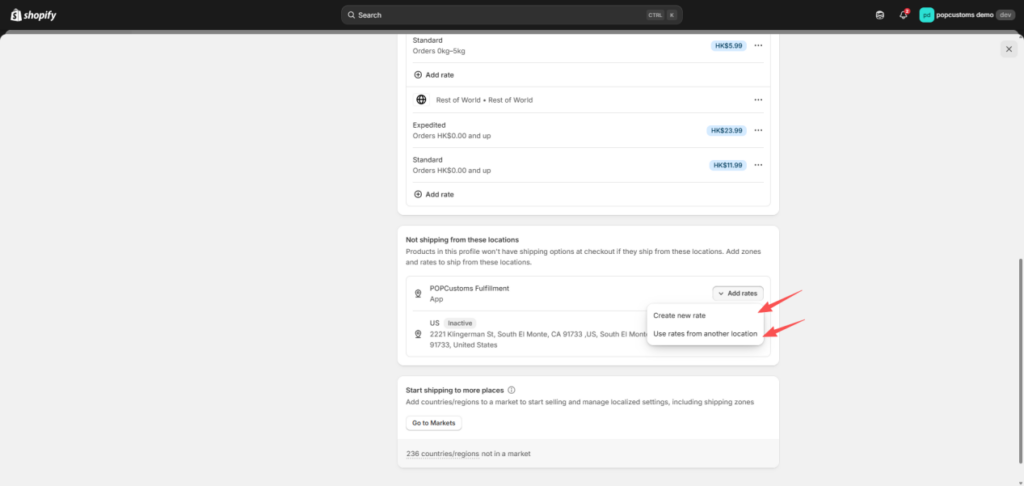
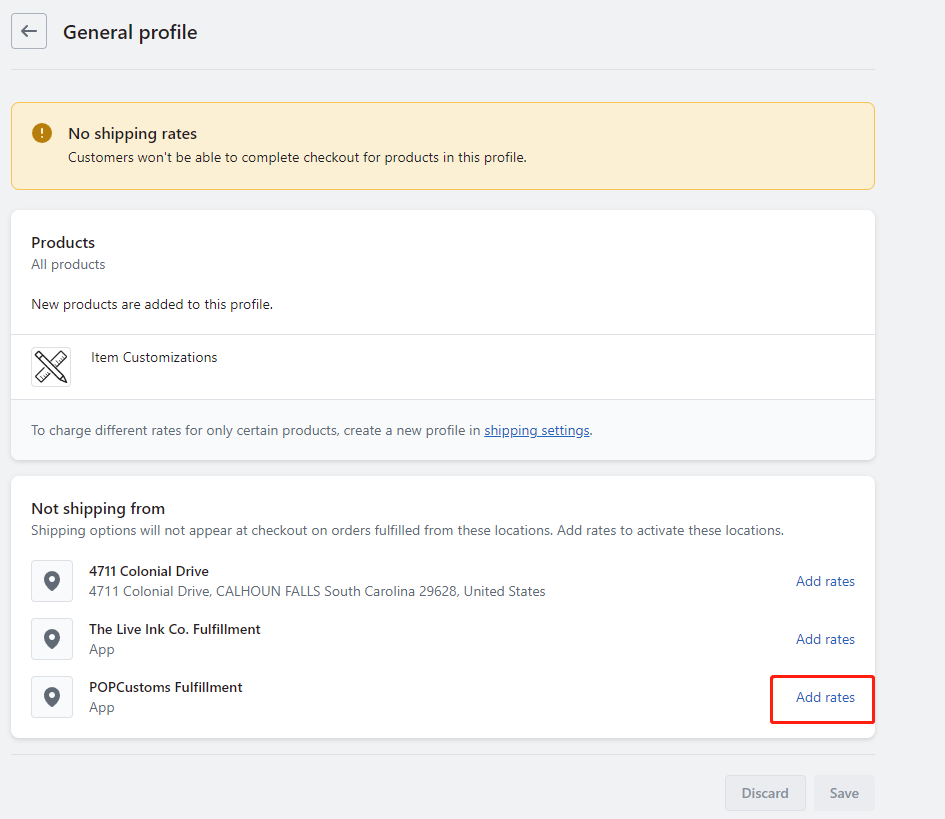
Step 3: Set Up Shipping Rates
In the shipping zone area, look for the option to Add Rate.
Click on the Add Rate button.
Example Setup:
United States:
Name: Free Shipping to the U.S.
Rate: $0.00 (since POPCUSTOMS offers free shipping to the U.S.)
Mexico:
Name: Shipping to Canada
Rate: $3.00 (set according to POPCUSTOMS’ policy)
European Union:
Name: Shipping to EU
Rate: $0.00 (set according to POPCUSTOMS’ policy)
Other Regions:
Name: Shipping to Other Countries/Regions
Rate: $9.99 (set according to POPCUSTOMS’ policy)
Download POPCUSTOMS’ product shipping rates to help you set up better shipping rates!
Step 4: Save Changes
After confirming all your shipping rate settings, don’t forget to click the Save button in the upper right corner to save your changes.
Step 5: Test Shipping Calculation
Once you’ve completed the setup, it’s a good idea to conduct a test:
Simulate a purchase in your Shopify store.
Add a POPCUSTOMS product to your cart and proceed to the checkout page.
Double-check that the shipping rates display correctly based on the selected region.
Step 6: Sync with POPCUSTOMS
Make sure you sync your product information and shipping rates with POPCUSTOMS to avoid any discrepancies:
Log in to your POPCUSTOMS account.
Ensure that your shipping-related settings are updated in your Shopify product sync records.
POPCUSTOMS Shipping Zone Information
For more details about POPCUSTOMS shipping zones, please visit this link: POPCUSTOMS Shipping Zone.
Please feel free to contact us at business@popcustoms.com if you need any assistance.
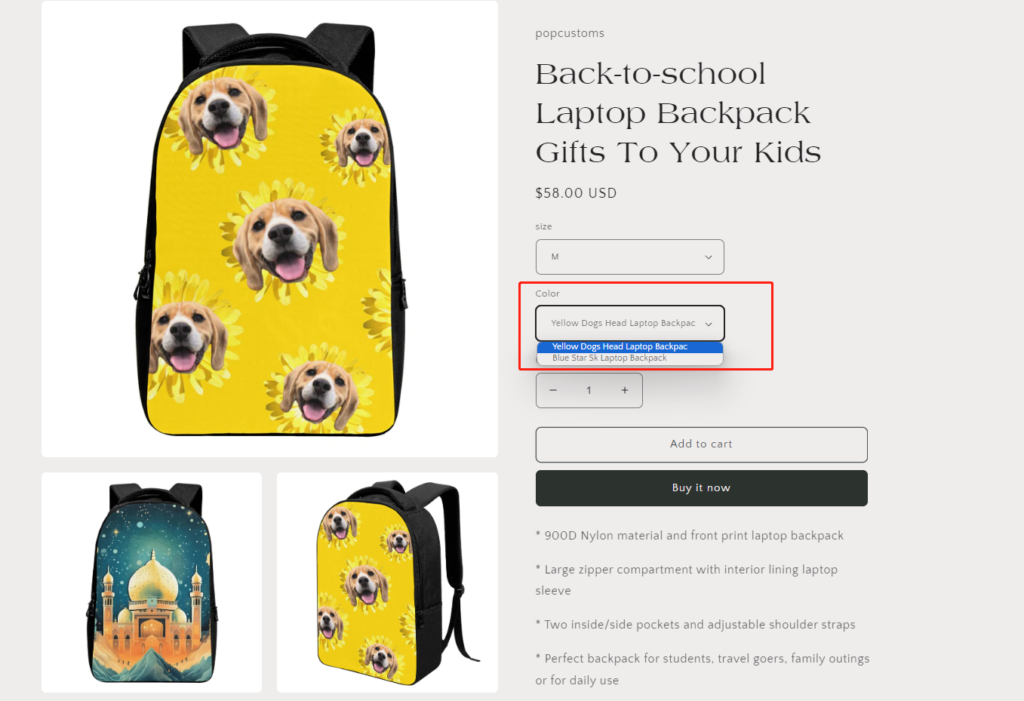
Generally, when you publish our products to your Shopify store, the color values will be the base color of the product template rather than the color of your designs.
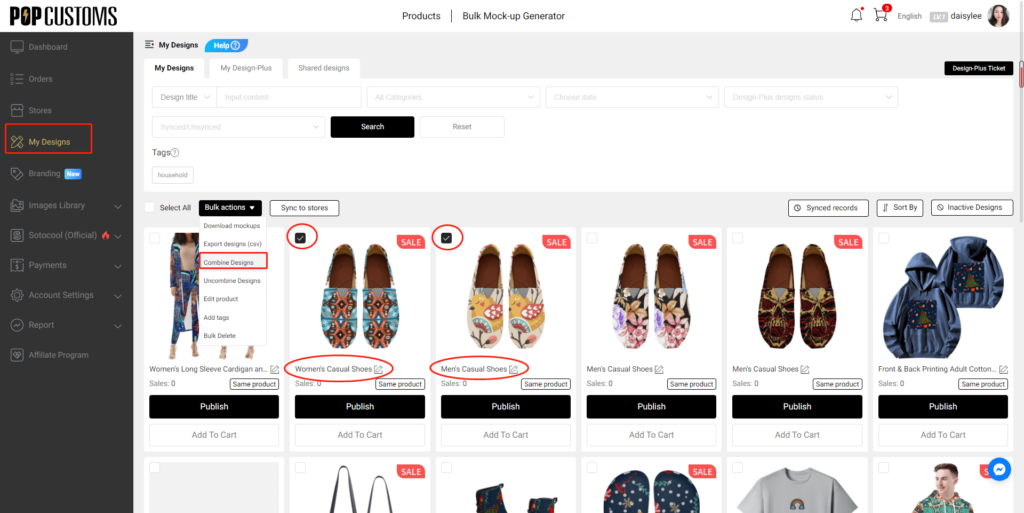
If you combine different designs of the same product and want to change the color options of the products shown on your storefront, please follow the steps below.
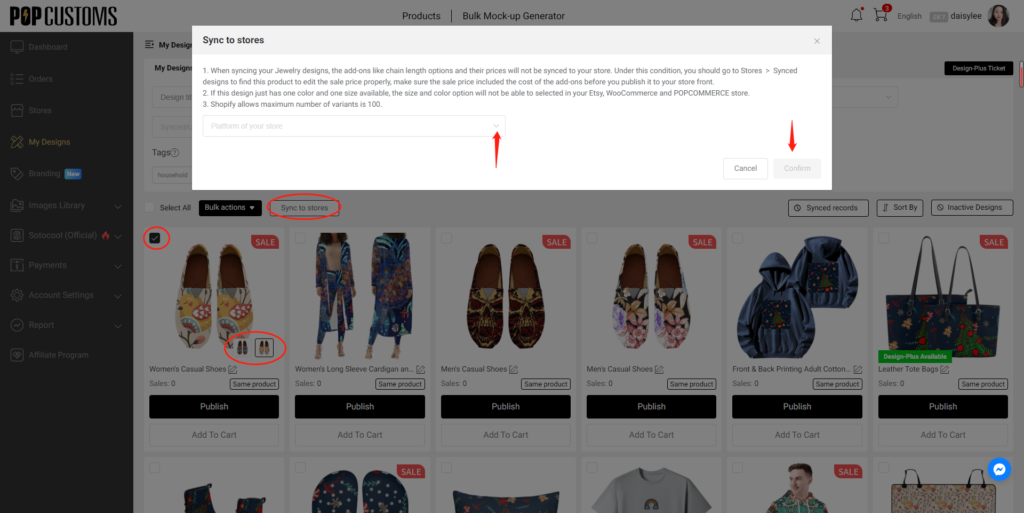
Publish combined products to your store first but set it Inactive. Since Shopify allows sellers to create up to 100 variants for a product, we suggest you check the variants of products before you combine and publish them. For shoes, we suggest you combine at most 4 of them.
Learn more about the variants’ limitations on Shopify here.
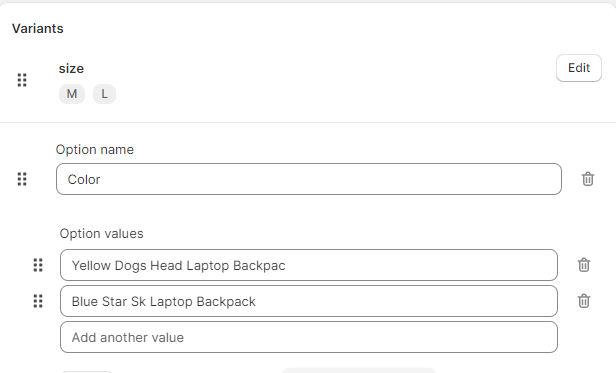
Step 2: Modification color value on Shopify
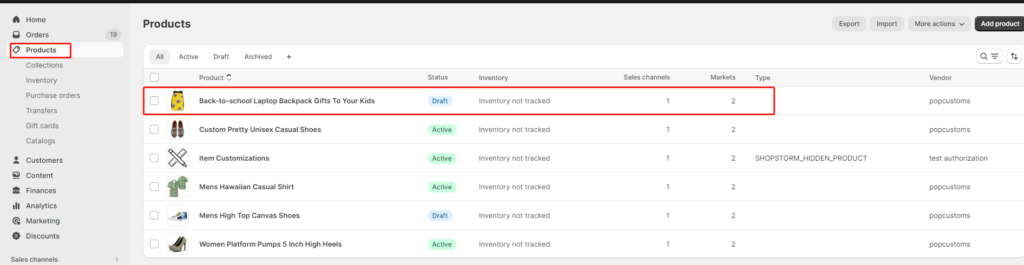
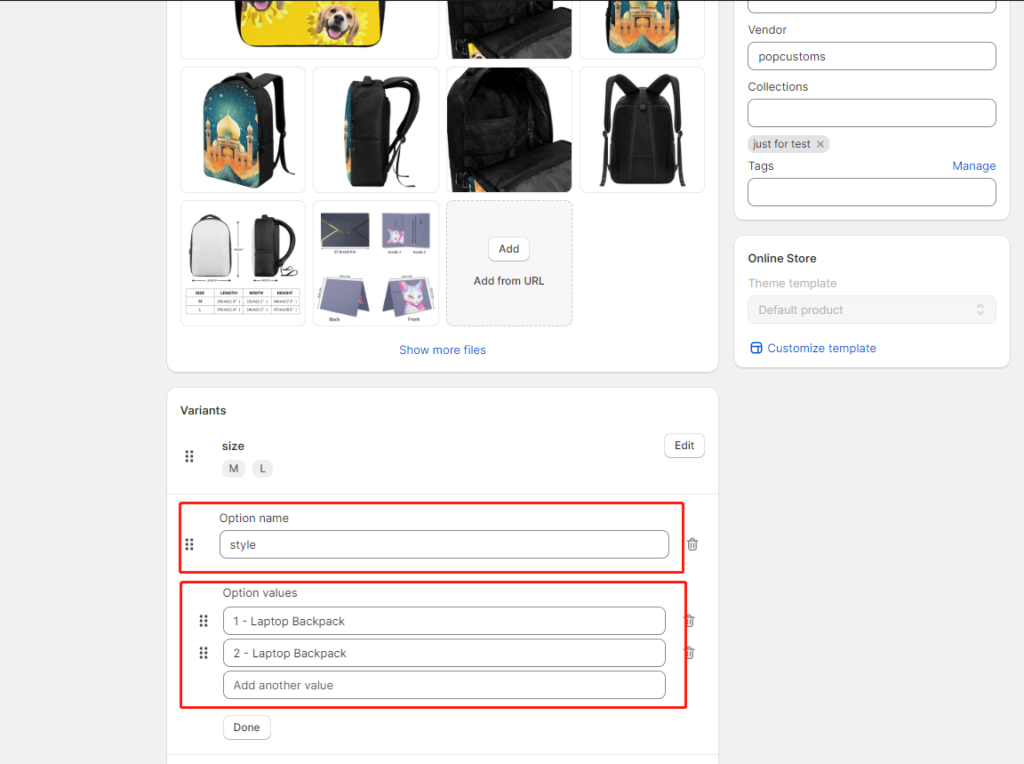
Log in to your Shopify admin, click Products to find the combined product, and click it to modify the Option name and Option values of the product.
For example, I change those two values mentioned above as below,
And then save the changes, set the product’s status to Active. That’s what it looks like on your storefront.
If you have an order placed from your Shopify store, but this order didn’t sync to our site successfully, please follow the steps below to solve this problem.
Step 1: Change order status settings
Step 2: Export orders
Step 3: Import orders
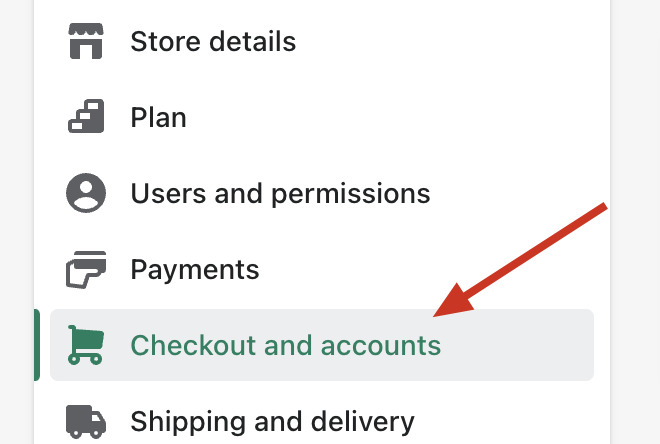
Step 1: Change order status settings
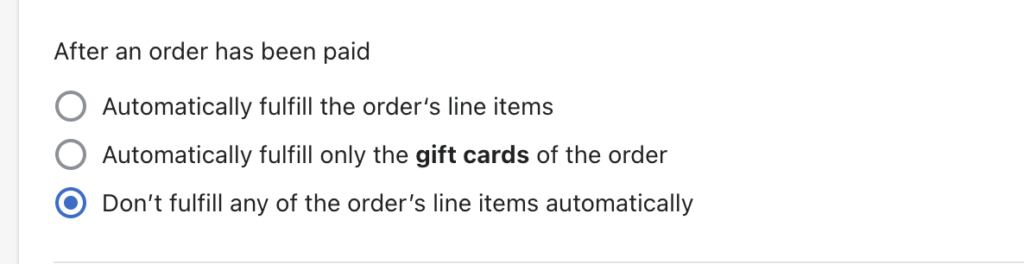
Log in to your Shopify admin account, go to Settings -> Checkout and accounts, and change the status after an order has been paid to “Don’t fulfill any of the order’s line items automatically“. Then your future orders can automatically sync to our site to fulfilled successfully.
*Noted: If you have installed Printful App to use simultaneously, you should change the setting to “Automatically fulfill the order’s line items” instead.
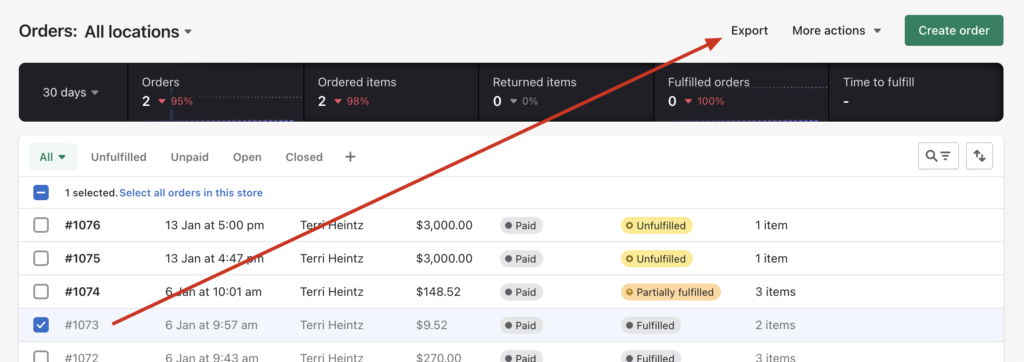
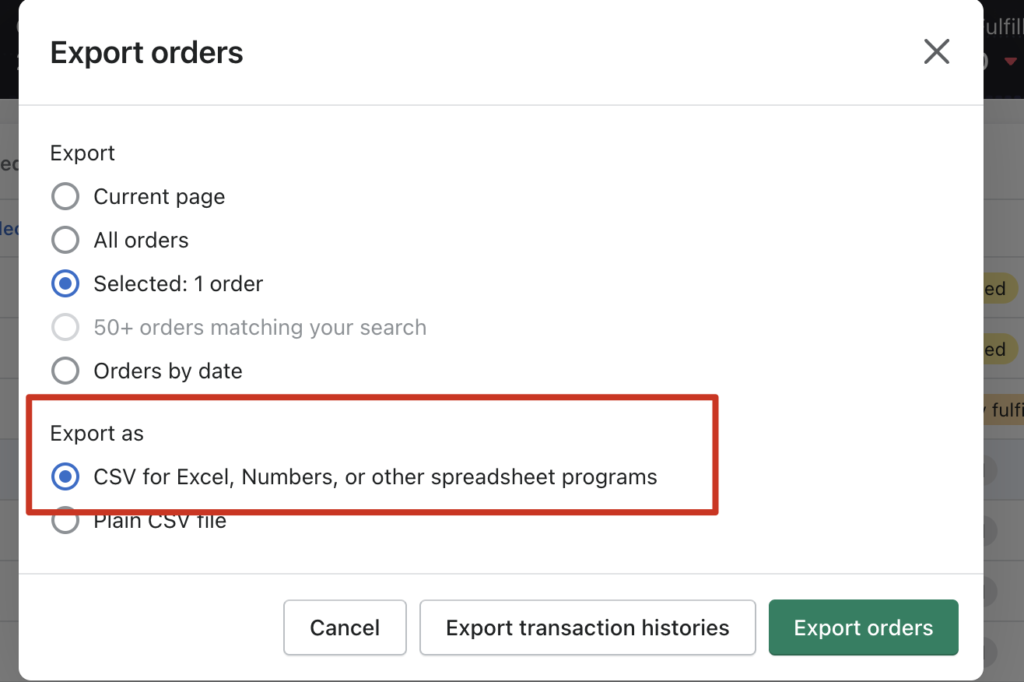
Step 2: Export orders
Regarding the order that has failed to sync, you need to export it and import it to our site manually so we can fulfill and ship it to your customers.
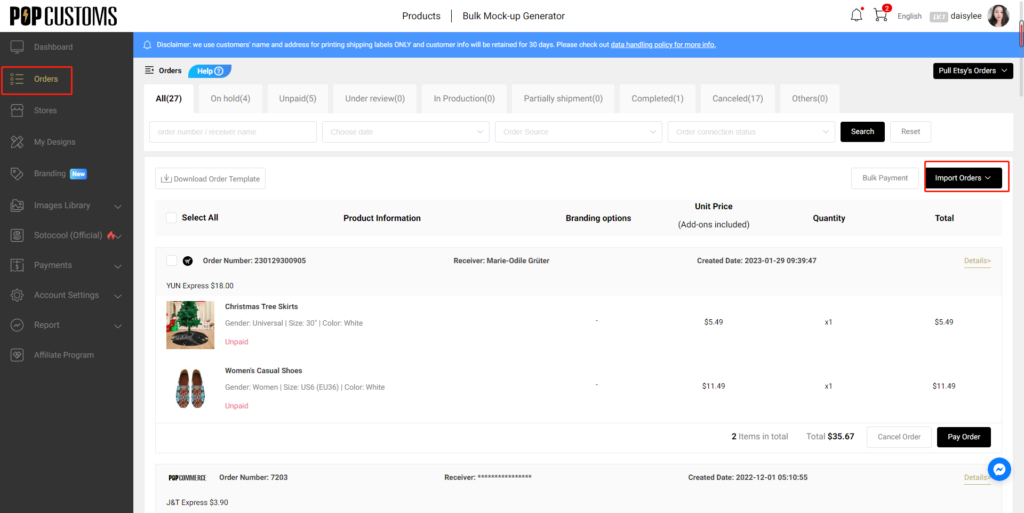
Step 3:Import orders
After exporting your order from your store, please go to our site to import it.
After you import it to our site, we can successfully fulfill and ship this order to your customers!
One important thing to know:
If you have an order which includes both POPCUSTOMS and Printful items, Shopify sync items to your different suppliers to fulfill and ship. When we all ship the items and update the tracking numbers to your store, the earlier tracking number will be overwritten by the later one because one order on Shopify can only has one tracking number, please kindly noted.
If you sync products to your store but they don’t show in your storefront, please click Stores -> Designed products -> Failed to find the reason.
We collect some reasons and solutions for your reference,
1- Exceeded the maximum number of variants allowed
If you have 50,000 or more variants/SKUs in your store, you’re subject to Shopify daily rate limit: 1,000 variants/SKUs per day. If you’re on the Shopify Plus plan, then the limit doesn’t apply to you. For a product, you can create up to 100 variants/SKUs. If you exceed the maximum number of variants allowed in Shopify, the product cannot be synced to your store. Under this condition, you must separate the product into two or more products to sync to your Shopify store.
Stores with 50000 or more variants are subject to a daily rate limit for uploading variants by using an app or CSV file import. You can add up to 1000 new variants in a day before the limit is reached. If you exceed this limit, then an error is displayed and you need to wait 24 hours to add products to your store again. Plus stores are exempt from this limit.
Click here to learn more about the rules of the variant on Shopify.
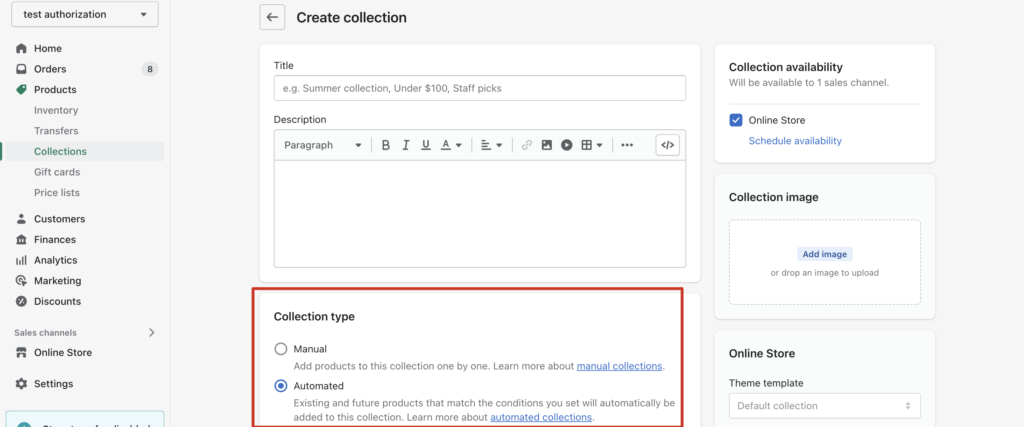
2- Collections show “No Data”
When you try to sync products to your store but there is no collection data for you to choose from. To solve this problem, you should go to your Shopify store admin to change the Collection type from Automated to Manual.
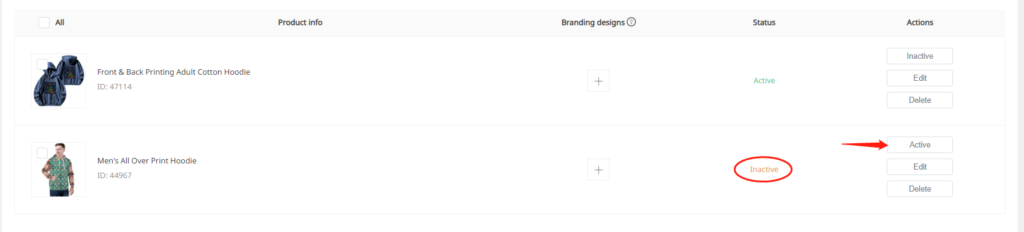
3- The status of your synced products is Inactive
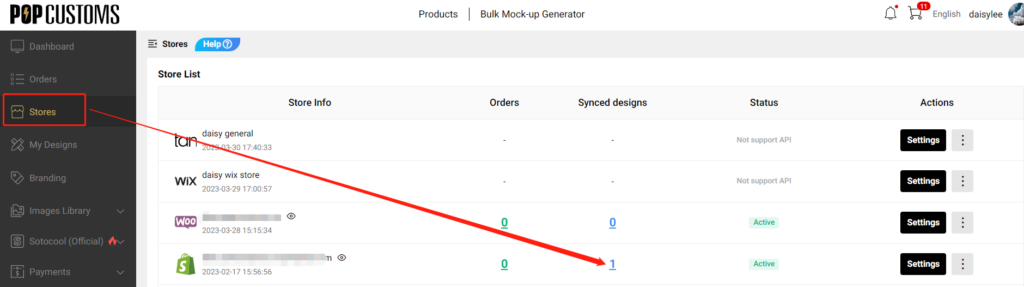
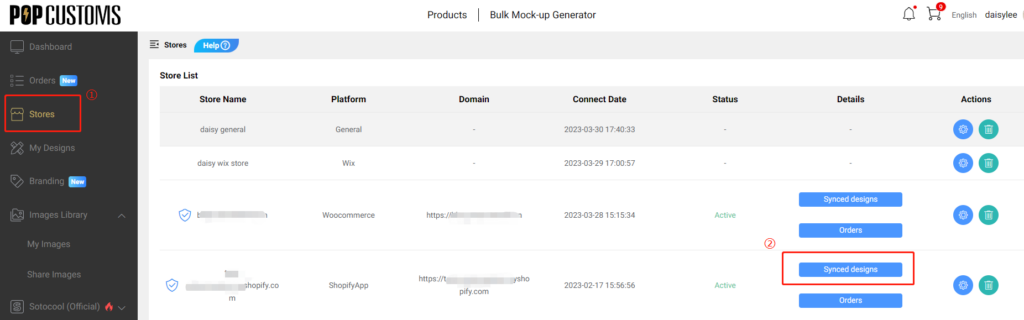
Go to your Dashboard>Stores, find your Shopify store, and then click the content under Synced designs to find it,
If the status of your synced designs is Inactive, change it to Active then it will show in your storefront successfully.
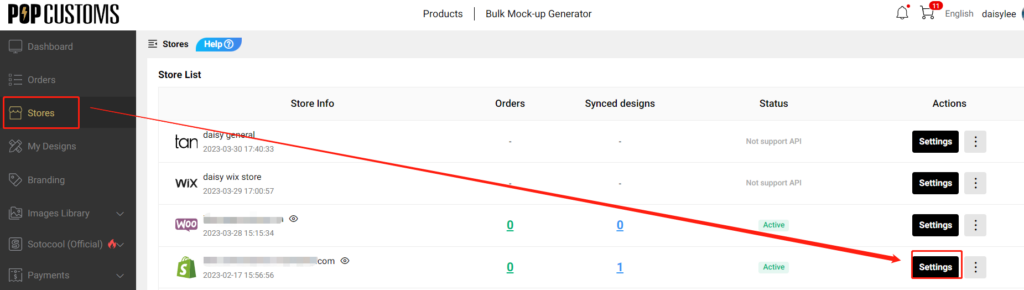
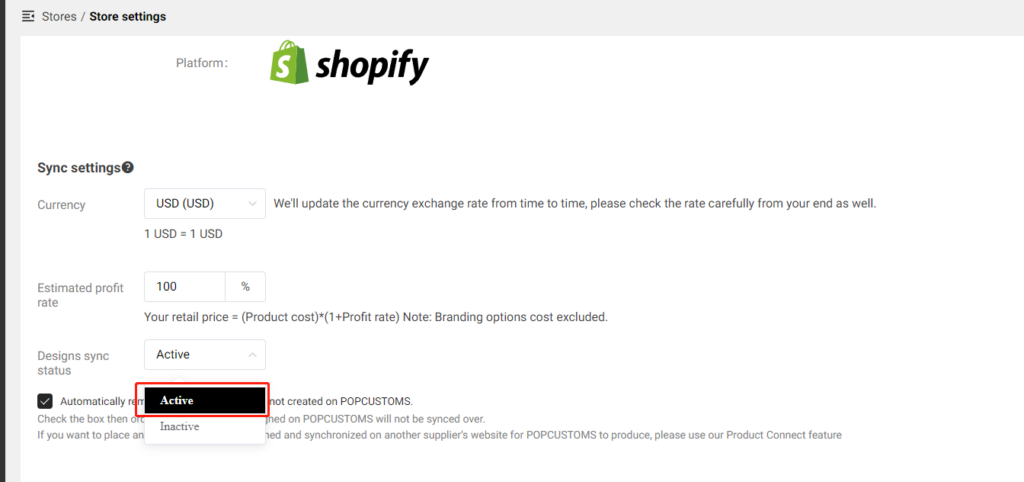
To avoid this issue happens again, we suggest you allow all synced designs from our site to your store to publish automatically in your store. Go to Stores-> Settings to complete this setup as follows.
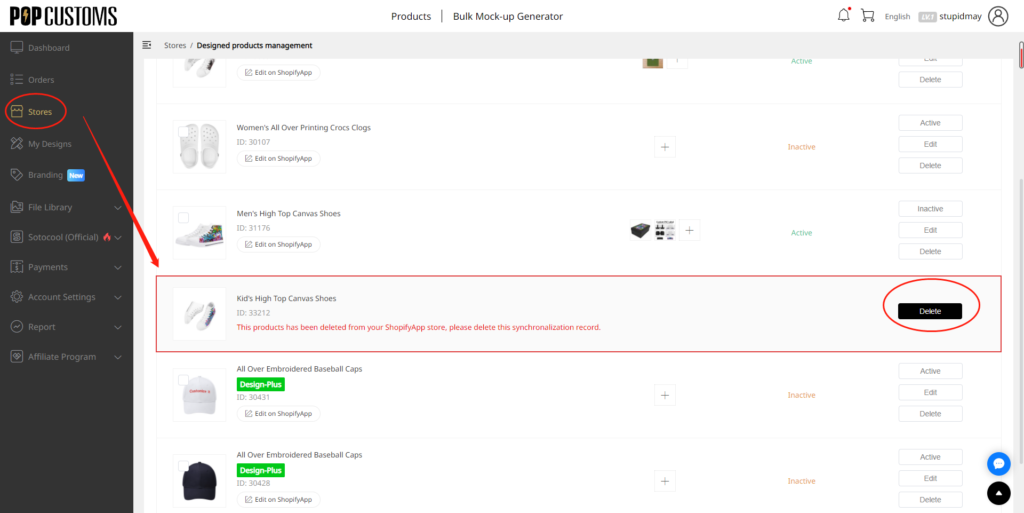
4- Delete products from my Shopify and can’t sync them again
When you delete a product from your Shopify admin page, you have to delete the previous sync record from POPCUSTOMS as well.
Then you can go to My Designs to find this product to resync it again to your Shopify store.
You can set up calculated shipping on Etsy only when you ship from the US or Canada. However, POPCUSTOMS ships items from China. Under this condition, the calculated shipping settings do not work for our products.
If you choose POPCUSTOMS as one of your suppliers, we suggest you create an exclusive shipping profile for our products. Here is the guide below,
Step 1: Create shipping profile
Step 2: Fill in shipping details
Step 3: Name the profile and save
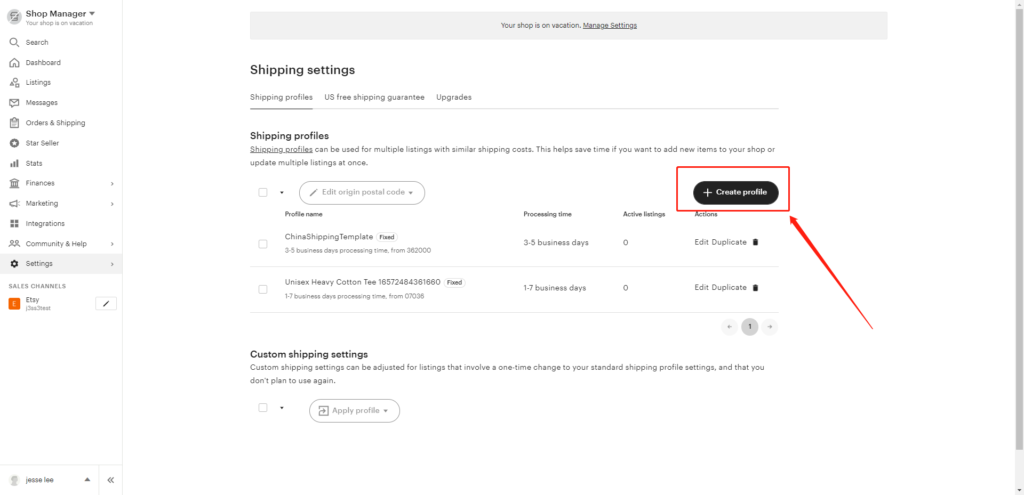
Step 1: Create shipping profile
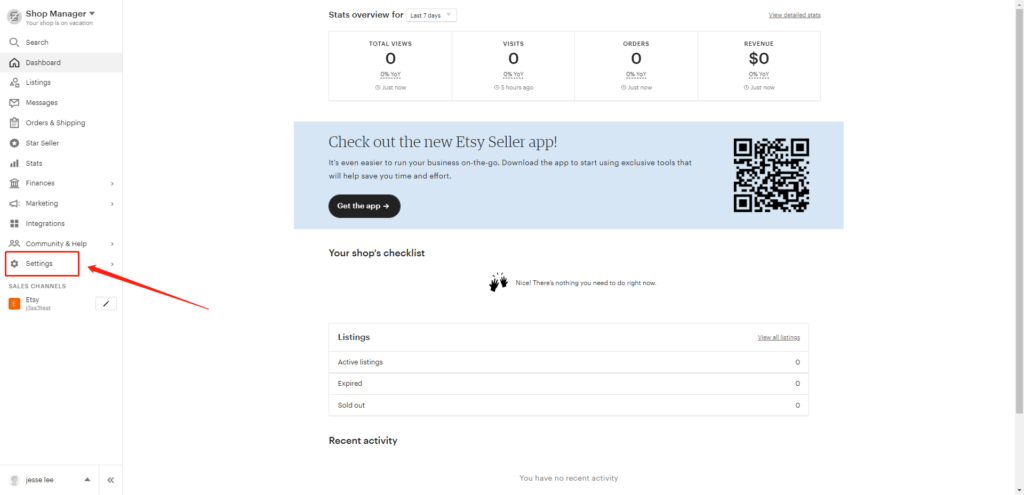
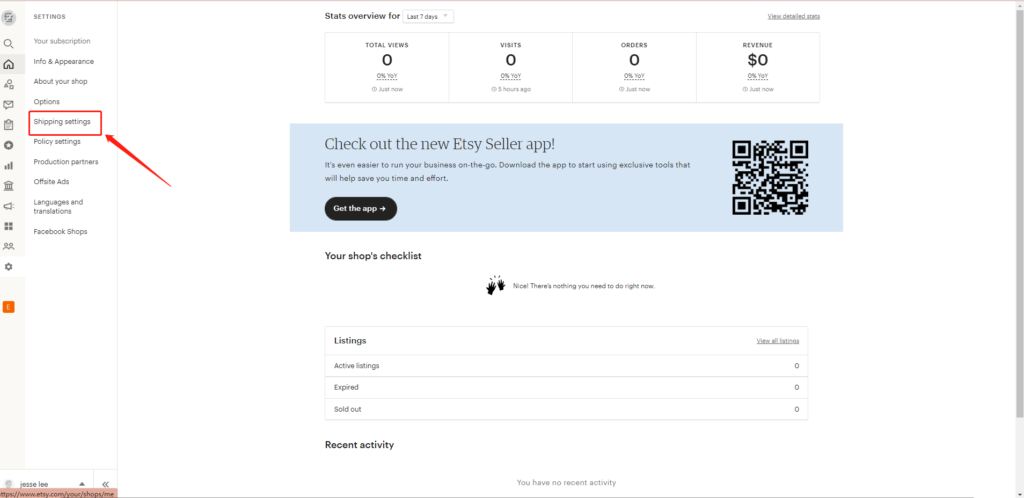
Log in to your Etsy account, go to the Shop Manager -> Settings -> Shipping settings -> Create profile.
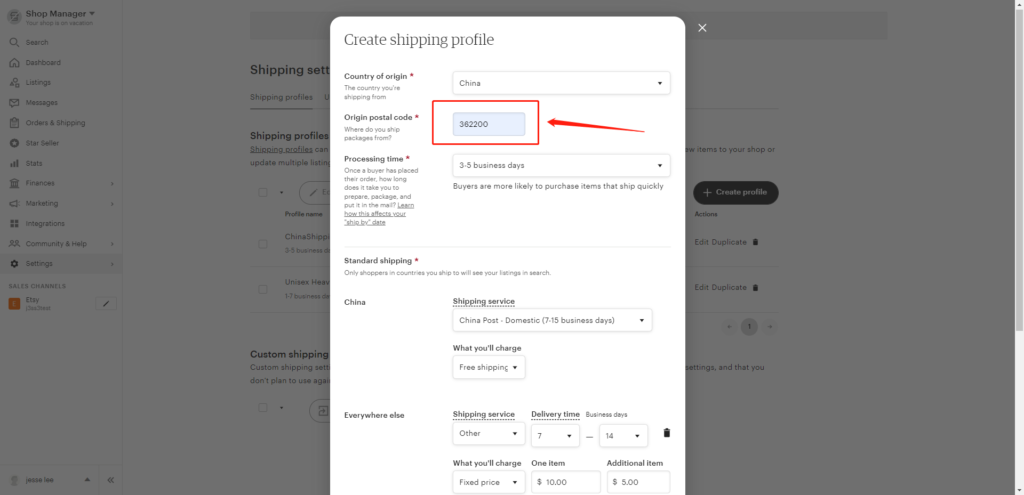
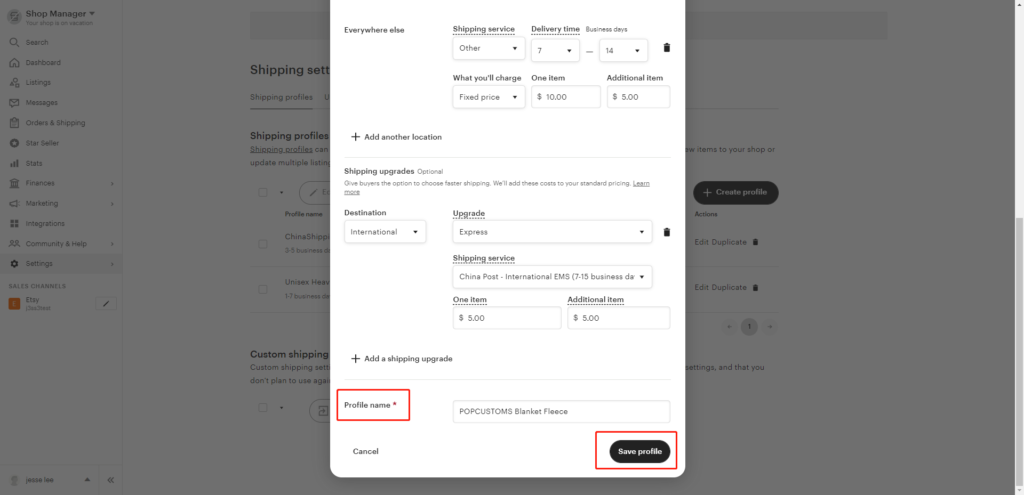
Step 2: Fill in shipping details
Fill in the requested shipping information, for example,
1- Country of origin: China
2- Original postal code: 362200
3- Processing time: You can find the production time for each product on popcustoms.com
4- Standard shipping: You can provide different Standard shipping options to different destination countries. You can set “Free Shipping” or “$xx for the first item” and “$xx for the additional items”. You can download our shipping fees for reference here https://popcustoms.com/shipping
5- Everywhere else: If you do not find the corresponding shipping services in the options, you can choose Other and enter the delivery time and shipping fees manually.
6- Add a shipping upgrade: You can also add options for shipping upgrades so that the buyers can choose a faster shipping method.
Step 3: Name the profile and save
Name this profile properly so you can distinguish it from your other shipping files created for your other suppliers. Save it to use, that’s all.
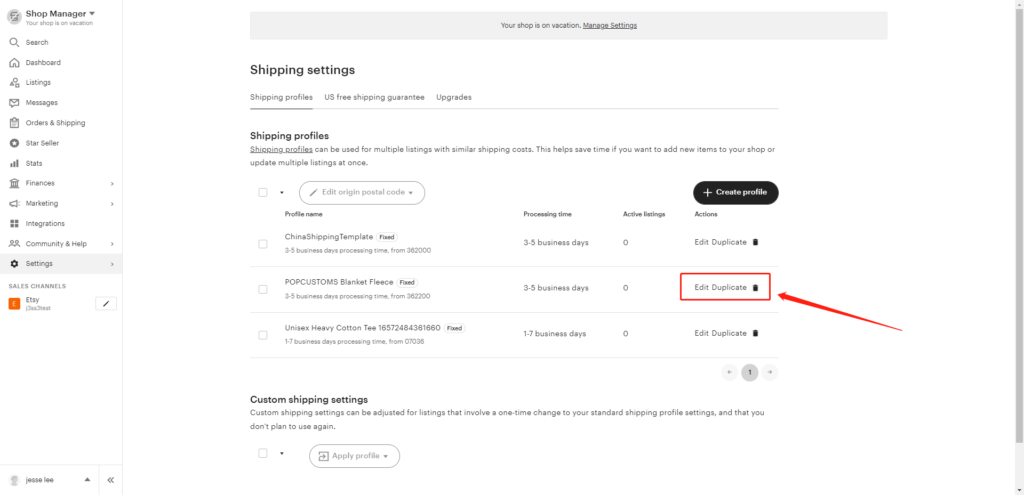
You can find all the shipping profiles you created here, you can edit or duplicate them if needed.
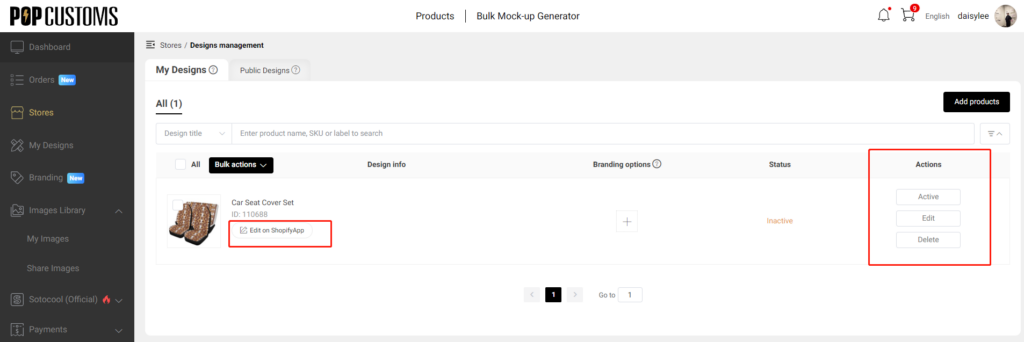
Go to Dashboard -> Stores to find your connected store first and then click Synced designs to find the design to edit. Let’s take Shopify as an example,
Click the button Edit on ShopifyApp or the button Edit to edit the product’s information.